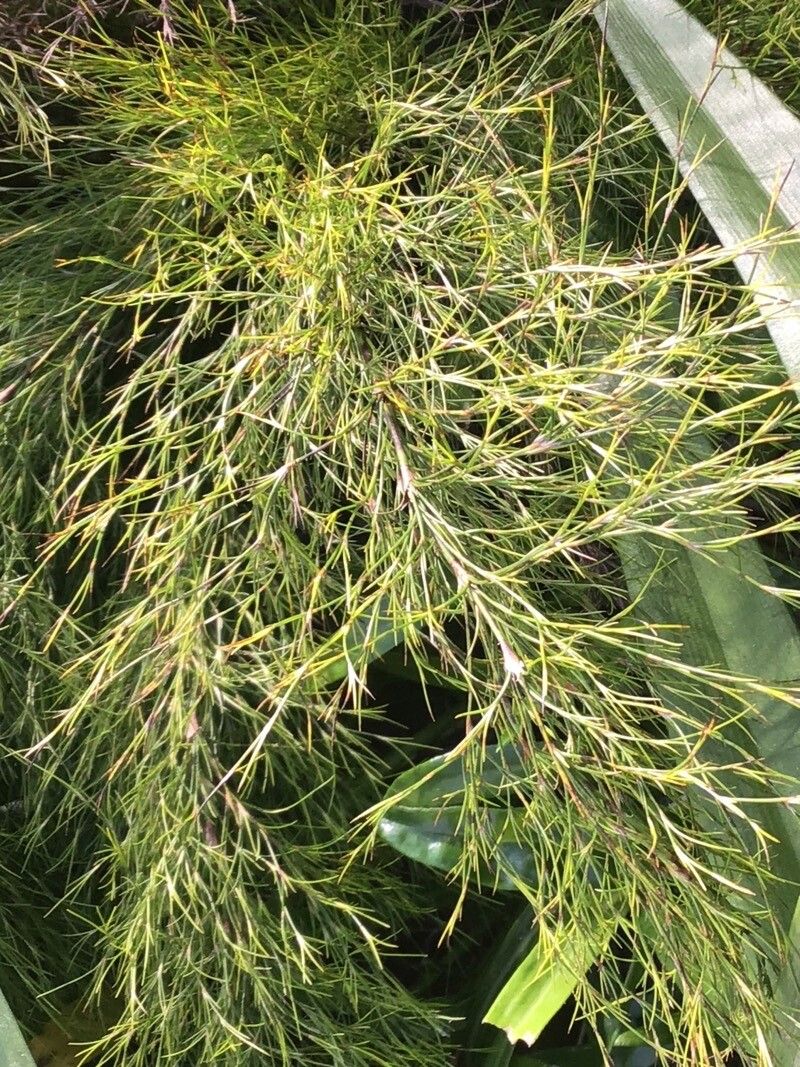
Oh, hello there, fellow plant enthusiast! Come on in, grab a mug of something warm. Today, we’re going to talk about a truly spectacular grass – Restio subverticillatus. If you haven’t met it yet, imagine elegant, arching stems, a delicate texture, and a whisper of the wild that’s just perfect for those modern, almost architectural garden designs. Propagating them is such a satisfying endeavor, and I promise, while it might seem a little daunting at first, it’s definitely achievable.
The Best Time to Start
For Restio subverticillatus, the sweet spot is really late spring to early summer. This is when the plant is actively growing and seems most receptive to new ventures. You want to be taking cuttings when the stems are firm and have a good bit of growth on them, but before they get too woody and old. Think of it as capturing the plant in its prime, full of energy.
Supplies You’ll Need
Here’s what you’ll want to gather up before we get our hands dirty:
- Sharp pruning shears or a very keen knife: Cleanliness is key to preventing disease.
- Rooting hormone powder or gel: This is optional but can give your cuttings a real boost.
- Well-draining potting mix: A good blend of perlite, coarse sand, and a quality potting soil works wonders. You want it airy!
- Small pots or trays: Clean ones, of course.
- A plastic bag or propagator: To create a humid environment.
- Watering can with a fine rose: For gentle watering.
Propagation Methods
For Restio subverticillatus, the most successful method is generally stem cuttings. It’s straightforward and usually yields great results.
Stem Cuttings:
- Select your cuttings: Look for healthy, non-flowering stems. You want sections that are about 4-6 inches long.
- Make the cut: Use your sharp shears to take a clean cutting. It’s best to make the cut just below a node (where a leaf attaches to the stem). This is where roots are most likely to form.
- Prepare the cutting: Gently remove the lower leaves from the stem, leaving just a few at the top. If you’re using rooting hormone, dip the cut end into it now, following the product’s instructions. Gently tap off any excess.
- Planting: Make a small hole in your prepared potting mix with a pencil or your finger. Insert the cutting, ensuring the nodes are buried. Gently firm the soil around it.
- Mist and cover: Water the soil very gently. Then, cover the pot with a clear plastic bag or place it in a propagator. This creates the high humidity that cuttings need to develop roots before they can take up water through them.
The “Secret Sauce” (Pro Tips)
Here are a few things I’ve learned over the years that can make a real difference:
- Hygiene is EVERYTHING: I can’t stress this enough. Make sure your pots, tools, and even your hands are scrupulously clean. Even a tiny bit of fungus can spell disaster for a tender cutting.
- Don’t Overwater: It’s tempting to keep cuttings constantly moist, but they’re much more prone to rot when the soil is waterlogged. Let the surface of the soil dry out slightly between waterings. The humidity inside the bag will keep the leaves happy.
- Bottom Heat is Your Friend (If You Have It): If you have the luxury of a heat mat, place your pots on it. This gentle warmth encourages root development from below, giving those cuttings a real head start and significantly increasing your success rate.
Aftercare & Troubleshooting
Once your cuttings have started to root – you’ll see new growth, or you can gently tug on a stem and feel resistance – it’s time to gradually introduce them to drier air. Open the plastic bag a little each day for about a week. Keep them in a bright spot, but out of direct, scorching sun, and continue to water as needed.
The most common problem you’ll encounter is rot. If a cutting turns black and mushy, it’s usually a sign of too much moisture. Unfortunately, there’s not much you can do once that happens, so prevention is key! Yellowing leaves can sometimes mean it’s not getting enough light, or it could be a sign of too much stress.
A Encouraging Closing
Propagating plants is a journey, and sometimes journeys have a few bumps. Don’t get discouraged if your first attempt isn’t a roaring success. Be patient, observe your cuttings closely, and enjoy the magic of bringing new life into being. Happy propagating!
Resource: