Well hello there, fellow plant enthusiasts! I’m so glad you’ve stopped by. Today, we’re going to get our hands a little dirty – in the best possible way! – as we dive into the fascinating world of propagating Mammillaria boelderliana.
Growing Your Own Little Mammillarias: Why It’s Worth It!
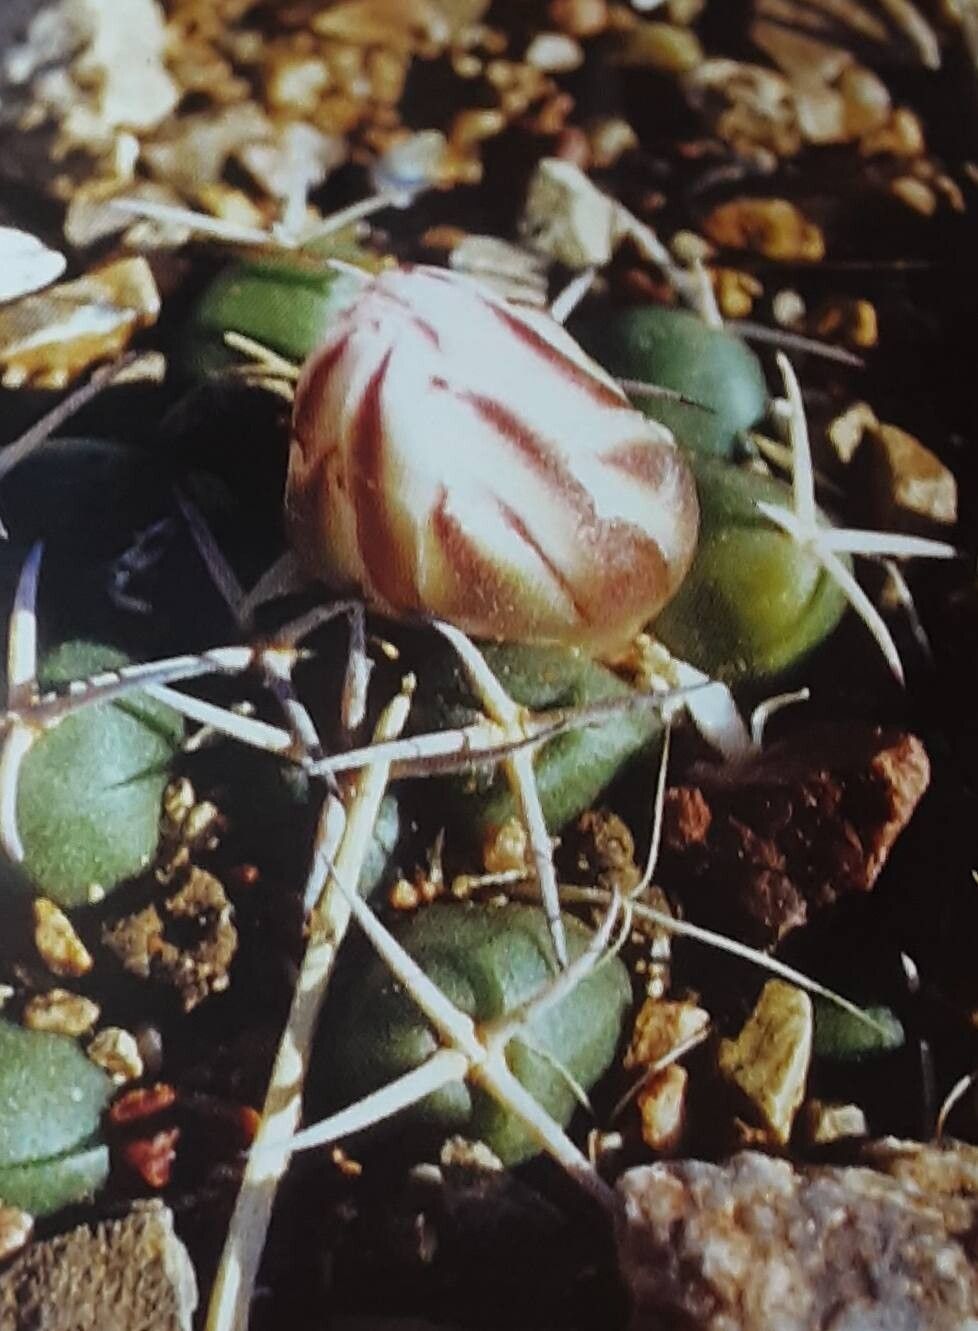
Those perfectly rounded shapes, the charming spines, and the delightful rings of flowers they produce – Mammillaria boelderliana is a true gem. I’ve always found them so endearing. There’s a special kind of joy that comes from taking a piece of a beloved plant and watching it grow into something entirely new. It’s a chance to multiply your collection, share with friends, or just marvel at nature’s resilience. Now, for the good news: while some cacti can be a bit fussy, propagating this particular Mammillaria is generally quite forgiving, making it a lovely project for beginners and seasoned gardeners alike.
When to Get Started
The golden rule for most succulent and cactus propagation is to wait for active growth. This typically means the late spring or summer months. When the days are longer and warmer, your plants have plenty of energy to dedicate to rooting and establishing new growth. Trying to propagate when things are dormant, like in the dead of winter, will likely lead to disappointment. You’ll see new buds forming or feel the plant firm up – those are your cues!
What You’ll Need to Feel Prepared
Gathering your supplies before you begin makes everything flow so much more smoothly. Here’s what I always have on hand:
- Sharp, clean pruning shears or a sterile knife: For making clean cuts.
- Well-draining potting mix: A cactus and succulent blend is perfect. I often mix in a little extra perlite for even better drainage.
- Gloves (optional but recommended): Those spines can be persistent!
- Small pots or trays: Whatever you have that’s clean and has drainage holes.
- Rooting hormone (optional): This can give your cuttings an extra boost, but it’s not always strictly necessary for Mammillaria.
- Labels and a marker: So you remember what you’ve potted and when!
- Spray bottle: For gently misting.
Let’s Get Propagating: Stem Cuttings are Your Friend!
The most straightforward and successful way to propagate Mammillaria boelderliana is through offsets, or what look like little “pups” that grow from the base of the parent plant.
- Locate the Offsets: Gently examine your Mammillaria. You’ll likely see small, round growths emerging from the sides or base.
- Make the Cut: Using your sterilized pruning shears or knife, carefully sever the offset from the main plant. Try to get a clean break as close to the parent as possible. Sometimes, you might need to gently twist or wriggle them free.
- Let Them Callus: This is a CRUCIAL step! Place the severed offsets in a dry, airy location for several days to a week. You want the cut end to dry out and form a protective callus. This prevents rot when you plant them. Think of it like a scab forming on a cut.
- Planting Time: Once the ends have callused over nicely, it’s time to plant. Fill your small pots with your well-draining cactus mix.
- Gently Insert: Make a small hole in the soil and gently place the callused end of the offset into the soil. You don’t need to plant them too deeply, just enough for them to stand upright.
- Initial Watering (or not!): I like to wait a few days after planting before giving them their first light watering. This gives the tiny wounded surfaces another chance to settle. When you do water, do so sparingly.
My “Secret Sauce” for Success!
Over the years, I’ve learned a few tricks that seem to make a big difference.
- Bottom Heat is Your Best Friend: If you can, place your newly potted offsets on a seedling heat mat. This gentle warmth from below mimics ideal rooting conditions and really encourages root development. Don’t crank it up too high; just a nice, cozy warmth is perfect.
- Resist the Urge to Water Constantly: This is probably the hardest part for many, myself included! Overwatering is the quickest way to kill a new cutting. Wait until the soil is completely dry before watering again. A light misting can be helpful in very dry environments, but direct, heavy watering is a no-no until roots are established.
- Patience, Patience, Patience: Some of my most successful propagations took weeks, even months, to show significant new growth. Don’t despair if you don’t see immediate results. The plant is working underwater!
Caring for Your New Sprouts and What to Watch For
Once your little Mammillaria has started putting on new growth, you know roots have formed!
- Gradual Acclimation: Slowly introduce your new propagations to brighter light conditions. They’re used to being a little sheltered while rooting.
- Standard Cactus Care: Continue with your well-draining soil and infrequent watering routine. Let the soil dry out completely between waterings.
- Signs of Trouble: The most common problem you’ll encounter is rot. If your offset starts to look mushy, discolored, or slimy, it’s likely rot. Sadly, there’s often no coming back from advanced rot. This is why proper drainage and allowing cuttings to callus are so vital. You might also see shriveling, which can be a sign of underwatering, but it’s usually less fatal than rot.
Keep Growing!
There you have it! Propagating Mammillaria boelderliana is a truly rewarding experience. It takes a little patience and observation, but the chance to nurture new life from a single piece of a plant is simply magical. Don’t be afraid to experiment, and most importantly, enjoy the journey of watching your tiny cacti grow! Happy gardening!
Resource:
https://identify.plantnet.org/k-world-flora/species/Mammillaria%20boelderliana%20Wohlschl./data