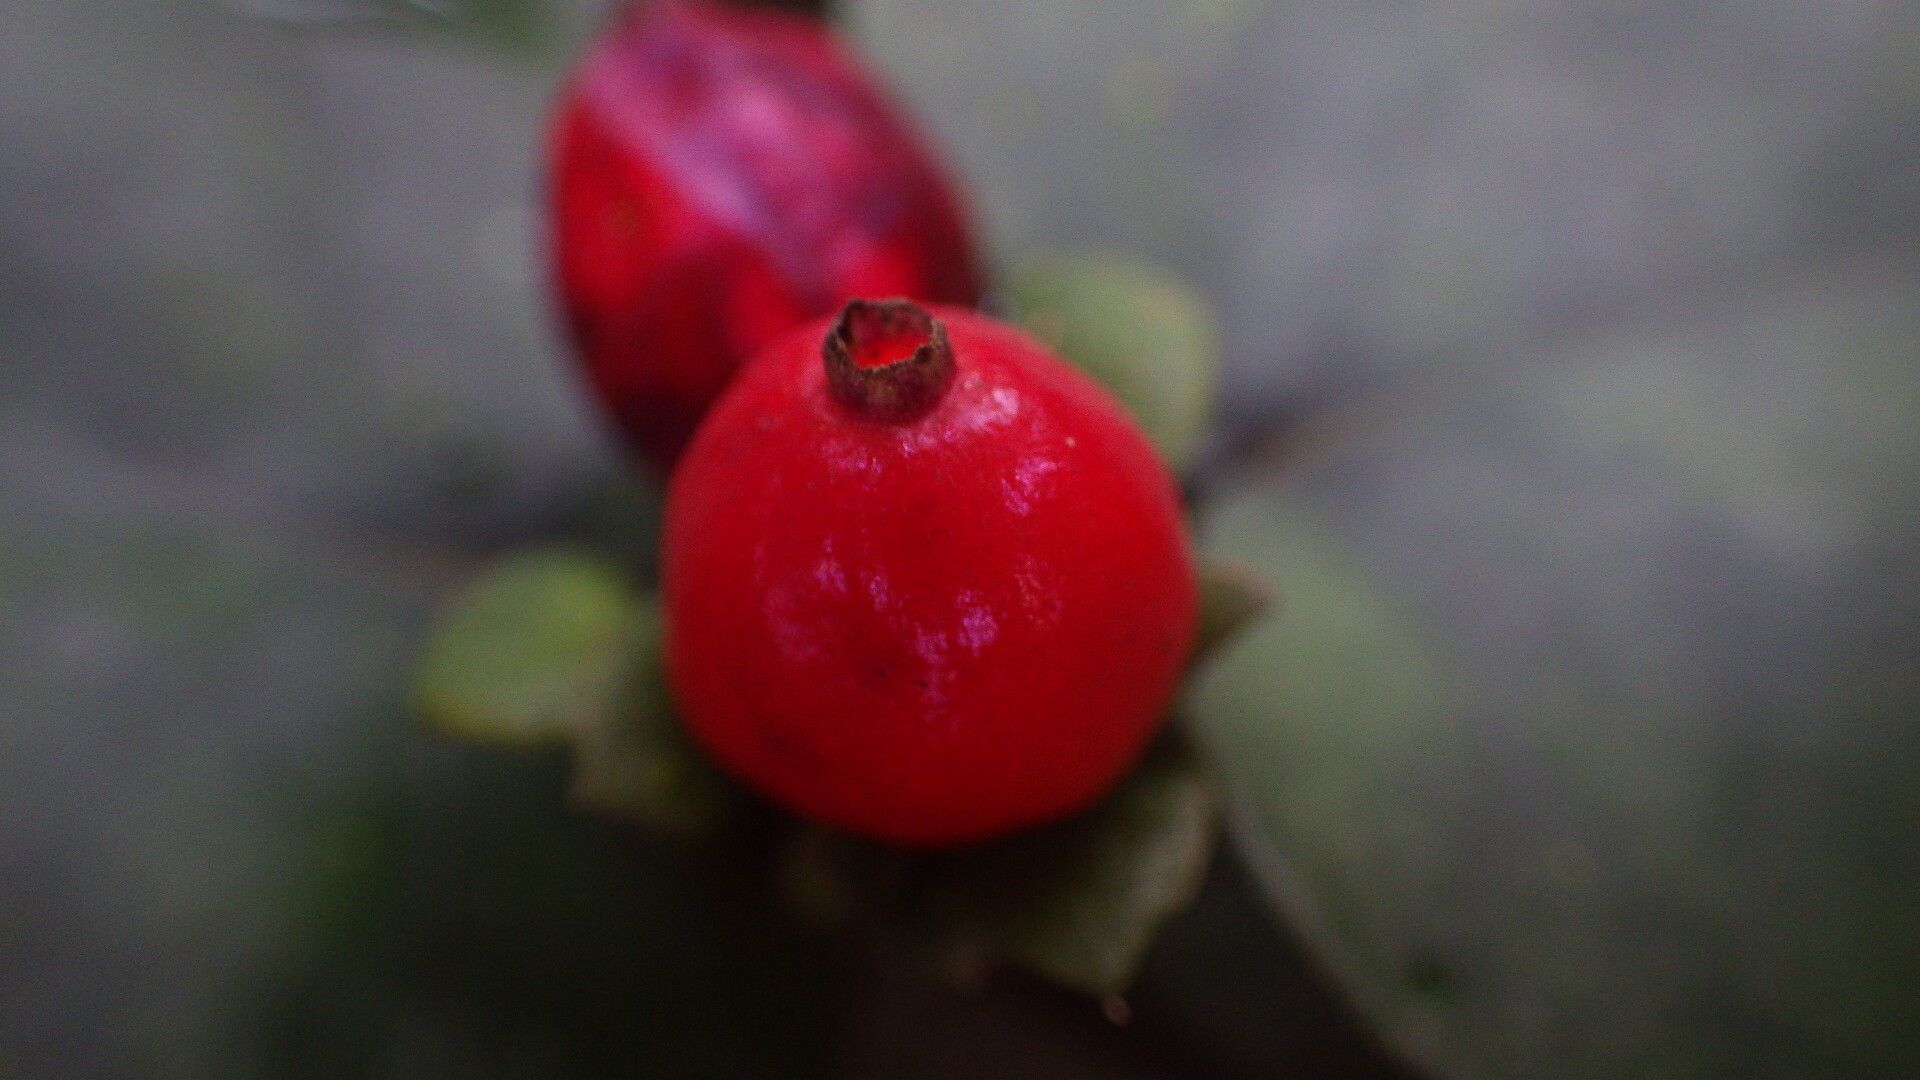
Hello, fellow plant enthusiasts! Today, we’re diving into the wonderful world of propagating Geophila afzelii. If you’re drawn to its delicate, heart-shaped leaves and desire to fill your home with more of its graceful presence, you’ve come to the right place. Trust me, multiplying your plant collection is one of the most satisfying parts of this hobby, and Geophila afzelii is a fantastic candidate to try your hand at. For beginners, I’d say it’s a moderately easy plant to propagate, with a little patience and the right approach.
The Best Time to Start
When it comes to Geophila afzelii, the spring and early summer are your best friends. This is when the plant is in its most vigorous growth phase. You’ll notice new shoots and leaves unfurling, which means it has plenty of energy to put into developing roots. Trying to propagate outside of this active growth period can be a bit more of a struggle.
Supplies You’ll Need
Before we get our hands dirty, let’s gather our arsenal:
- Sharp pruning shears or a clean knife: For making precise cuts.
- Propagation rooting hormone (optional but recommended): This can give your cuttings a helpful boost.
- Well-draining potting mix: A blend of peat moss, perlite, and a bit of fine bark works beautifully. Store-bought sterile seedling mix is also a good choice.
- Small pots or trays: For your new cuttings. Make sure they have drainage holes!
- Plastic bags or a propagation dome: To create a humid environment for your cuttings.
- Watering can with a fine rose or a spray bottle: For gentle watering.
- Labels and a pen: To keep track of your propagated babies.
Propagation Methods: Step-by-Step
Geophila afzelii is quite adaptable, and I’ve had great success with a couple of methods.
Stem Cuttings: My Go-To Method
This is usually the most straightforward way to get new plants.
- Select aHealthy Stem: Look for a healthy stem on your mature plant that has at least two to three sets of leaves. Avoid old, woody stems or very soft, new growth.
- Make the Cut: Using your sharp shears or knife, make a clean cut just below a leaf node. This is the point where a leaf attaches to the stem, and it’s where roots are most likely to form.
- Prepare the Cutting: Gently remove the lower leaves from the cutting, leaving just the top one or two. This prevents them from rotting in the soil.
- Apply Rooting Hormone (Optional): Dip the cut end into your rooting hormone. Tap off any excess.
- Plant Your Cuttings: Fill your small pots with your chosen potting mix. Make a small hole in the center and insert the cutting, ensuring the leaf node is covered by the soil. Gently firm the soil around the stem.
- Water Gently: Water thoroughly but gently, ensuring the soil is moist but not waterlogged.
- Create Humidity: Cover the pot with a plastic bag, propping it up with a stick or two so it doesn’t touch the leaves, or place it under a propagation dome. This traps moisture and creates the humid environment cuttings love.
- Find a Suitable Spot: Place the pot in a warm spot with bright, indirect light. Avoid direct sunlight, which can scorch your delicate cuttings.
Water Propagation (with a Caveat)
You can propagate Geophila afzelii in water, but I find it’s a bit trickier due to potential rot. If you do try it:
- Take Your Cutting: Follow steps 1-3 from the stem cutting method.
- Place in Water: Place the cutting in a clean jar or glass of water, ensuring the leaf node is submerged. Crucially, make sure that no leaves are touching the water. This is a common mistake that leads to rot.
- Change Water Regularly: Change the water every few days to keep it fresh and oxygenated.
- Wait for Roots: Once you see roots forming (this can take a few weeks!), you’ll need to pot it up into soil quickly. Letting it stay in water too long can make it difficult for the roots to adapt to soil later.
The “Secret Sauce” (Pro Tips)
Here are a couple of things I’ve learned over the years that really make a difference:
- Bottom Heat is Your Friend: If you have a seedling heat mat, use it! Placing your pots on a gentle heat mat can significantly speed up root development. Think of it as giving your cuttings a warm tropical vacation.
- Don’t Overwater, But Don’t Let it Dry Out: This is a delicate balancing act. The soil should always feel slightly moist, like a wrung-out sponge. If it dries out completely, your cutting is likely a goner. If it’s constantly swampy, rot can set in. Feel the soil regularly.
Aftercare & Troubleshooting
Once you see signs of new growth, like tiny leaves emerging from the top, you know your cutting has rooted!
- Gradual Acclimation: For cuttings that were under plastic, start gradually removing the cover. Take it off for a few hours a day, increasing the time until the bag is off permanently. This helps them adjust to normal humidity.
- Gentle Watering: Continue to water when the top inch of soil feels dry.
- Fertilizing: Wait until you see a few sets of new leaves before introducing a diluted liquid fertilizer.
- Signs of Trouble: The most common issue is rot. If your cutting turns black and mushy, it’s usually a sign of too much moisture and poor air circulation. If your leaves start to yellow and drop, it could be a sign that it’s not getting enough light or is too dry. Don’t despair if a few don’t make it – it’s part of the learning curve.
Keep Growing!
Propagating plants is a journey, not a race. Be patient with your little Geophila afzelii cuttings. Celebrate each tiny leaf that unfurls, and don’t be discouraged if you have a few setbacks. The joy of nurturing a new life from a simple stem is truly a gift. Happy propagating!
Resource:
https://identify.plantnet.org/k-world-flora/species/Geophila%20afzelii%20Hiern/data