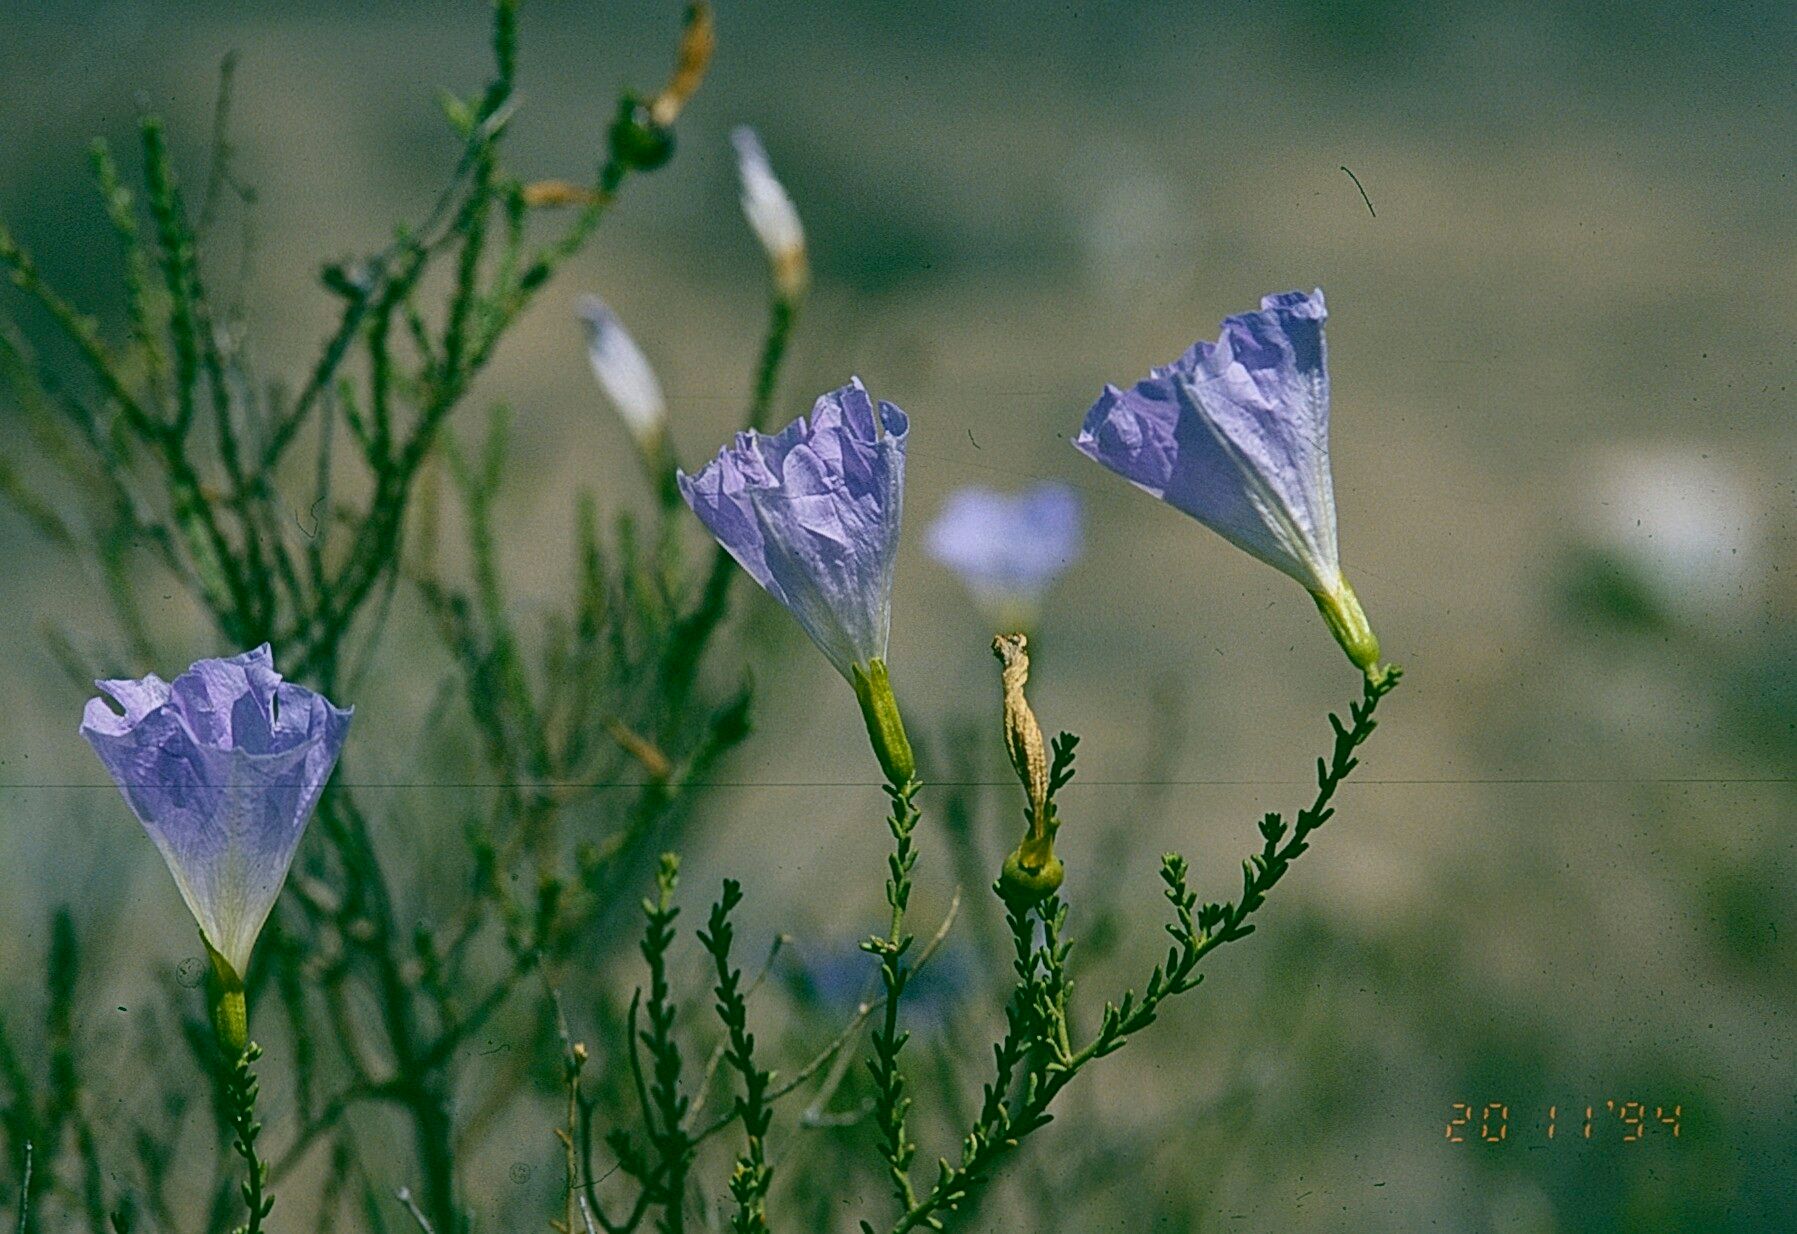
Oh, Nolana rostrata! If you’ve ever admired those delicate, bell-shaped blooms cascading from a container or spilling over a garden wall, you’re not alone. I remember the first time I saw them, a riot of blues and purples that just begged to be brought home. The good news? Propagating these beauties is incredibly rewarding, and while they aren’t unobtainable for a beginner, a little know-how goes a long way. Think of it as learning a new dance step – a bit tricky at first, but soon you’ll be twirling!
The Best Time to Start
For Nolana rostrata, late spring to early summer is your golden window. This is when the plant is actively growing and has plenty of energy to put into forming new roots. Waiting until after the main flush of flowering has passed can also be a good time, as you’ll have plenty of healthy stems to work with.
Supplies You’ll Need
Here’s what I keep handy when I’m propagating Nolana:
- Sharp, clean pruning shears or a sharp knife: Crucial for making clean cuts.
- A well-draining potting mix: I like to use a blend of equal parts perlite and peat moss, or a commercial seed starting mix.
- Rooting hormone (optional but recommended): A powdered hormone can give your cuttings a real boost.
- Small pots or trays: Clean yogurt cups with drainage holes work in a pinch!
- A spray bottle: For keeping things consistently moist.
- Clear plastic bags or a propagator lid: To create a humid environment.
Propagation Methods
Now, let’s get our hands dirty! For Nolana rostrata, stem cuttings are the way to go.
- Take Your Cuttings: Select healthy, non-flowering stems. Look for ones that are about 4-6 inches long. Using your clean shears, make a clean cut just below a leaf node (that little bump where a leaf emerges from the stem).
- Prepare the Cuttings: Gently remove the lower leaves from the stem, leaving just a few at the top. This prevents them from rotting in the soil. If you’re using rooting hormone, dip the cut end of the stem into the powder, tapping off any excess.
- Planting Time: Fill your small pots or trays with your prepared potting mix. Make a small hole in the center with your finger or a pencil.
- Insert and Water: Carefully insert the cut end of your stem into the hole. Gently firm the soil around it. Water the soil thoroughly until it’s evenly moist but not waterlogged.
- Create a Humid Environment: Place the pots or trays into a clear plastic bag, sealing it loosely with a twist tie or rubber band. Alternatively, cover them with a propagator lid. This traps the humidity, which is vital for cuttings to root.
The “Secret Sauce” (Pro Tips)
Here are a few tricks I’ve learned over the years that can really make a difference:
- “Don’t let the leaves touch the water!” – This is especially true if you’re tempted to try water propagation (though I find soil is more reliable for Nolana). In soil, it means making sure any leaves you leave on the cutting are well above the soil surface. Any contact can lead to rot.
- “Bottom heat is your friend.” If you have a heated propagator or can place your pots on a heat mat (usually set to a gentle 70-75°F), it can significantly speed up root development. It’s like giving your cuttings a warm hug to encourage growth.
- “Patience is a virtue, and so is observation.” Don’t be tempted to pull up your cuttings too early to check for roots. You’ll only damage them. Instead, look for signs of new growth at the tip of the stem or a slight resistance when you gently tug on the cutting itself.
Aftercare & Troubleshooting
Once you see signs of new growth – maybe a little leaf unfurling at the top or the cutting feels firm and resistant – it’s time to start acclimatizing your new baby. Gradually open the plastic bag or propagator lid over a few days to let in fresh air and reduce humidity. Keep the soil consistently moist, but not soggy.
The most common issue you might face is rot. If your cuttings turn mushy and dark, or if the leaves go limp and black, it’s a sign of too much moisture and not enough air circulation. Sadly, once rot sets in, it’s usually game over. Next time, try using a slightly drier soil mix or ensure better ventilation.
A Encouraging Closing
Propagating Nolana rostrata is a wonderful way to fill your garden or hang baskets without spending a fortune. Be patient with the process. Not every cutting will succeed, and that’s perfectly normal! Just keep trying, learn from each batch, and soon you’ll have a lovely collection of these enchanting blooms. Happy gardening!
Resource: