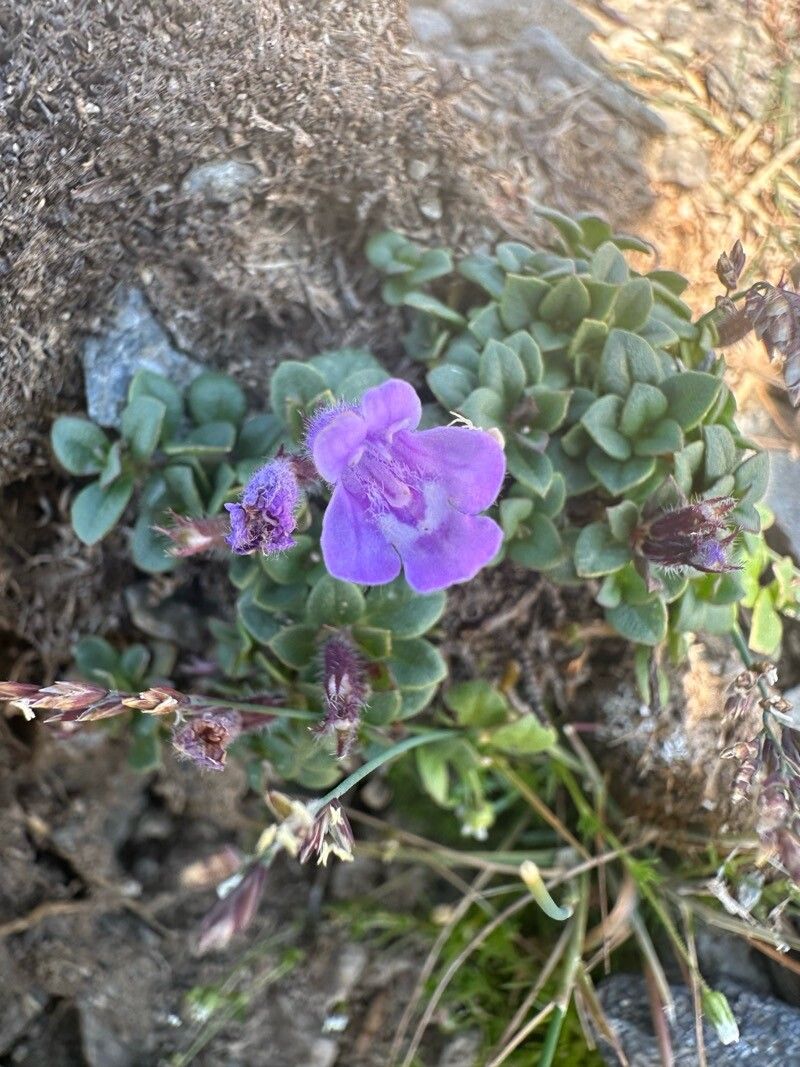
Oh, Clinopodium corsicum! What a charmer. If you’ve ever encountered this little gem, you know what I’m talking about. Its delicate, fragrant leaves and those lovely little whorls of flowers are just delightful in any garden nook. And the best part? Getting more of them is a truly rewarding experience. For beginners, I’d say this one is a pleasantly achievable project. It’s not one of those plants that demands finicky conditions, which is always a relief.
The Best Time to Start
When you’re looking to grow new Clinopodium corsicum, your best bet is to aim for late spring or early summer. This is when the plant is actively growing and has plenty of energy to put into developing new roots. You want to be working with healthy, tender new growth, not woody old stems. Think of it as capturing that vibrant springtime energy for your new babies.
Supplies You’ll Need
Gathering your supplies before you begin makes the whole process so much smoother. Here’s what I usually have on hand:
- Sharp pruning shears or a clean knife: For making clean cuts.
- A good quality potting mix: I like a blend that offers excellent drainage. A mix of peat moss, perlite, and a little bit of sand usually does the trick beautifully. You can also find specialized propagation mixes.
- Small pots or seed trays: Whatever you have that’s a good size for cuttings.
- Rooting hormone (optional but helpful): This can give your cuttings a bit of a boost.
- A spray bottle: For gentle misting.
- Plastic bags or a propagator: To create a humid environment.
- Labels and a marker: Trust me, you will forget what you planted!
Propagation Methods
There are a couple of reliable ways to get more Clinopodium corsicum. I tend to favor stem cuttings, and here’s how I do it:
1. Stem Cuttings:
This is my go-to method for Clinopodium corsicum. It’s straightforward and usually yields great results.
- Select your cuttings: Look for healthy, non-flowering stems. You want pieces that are about 3-6 inches long.
- Make the cut: Using your sharp pruning shears or knife, make a clean cut just below a leaf node (where a leaf emerges from the stem). This is where roots are most likely to form.
- Prepare the cutting: Gently remove the lower leaves, leaving just a few at the top. This prevents them from rotting in the soil.
- Dip in rooting hormone (optional): If you’re using rooting hormone, dip the cut end into it. Tap off any excess.
- Plant your cuttings: Fill your small pots with your prepared potting mix. Make a small hole with a pencil or your finger. Insert the cut end of the stem into the hole, making sure at least one leaf node is below the soil surface. Gently firm the soil around the cutting.
- Water gently: Water the soil thoroughly but avoid waterlogging. A gentle mist from your spray bottle is perfect.
- Create humidity: You can cover the pots with a clear plastic bag (making sure the bag doesn’t touch the leaves) or place them in a propagator. This creates a humid microclimate that helps prevent the cuttings from drying out.
2. Water Propagation (Less Common for This Plant, but Possible):
While I find stem cuttings in soil more successful for Clinopodium corsicum, you can try water propagation.
- Prepare your cutting: Follow the same steps as above for selecting and preparing the stem.
- Place in water: Put the cutting in a jar or glass of clean water. Make sure no leaves are submerged in the water.
- Change water regularly: Replace the water every few days to keep it fresh and prevent bacterial growth.
- Wait for roots: It can take a few weeks to see roots emerging from the submerged stem. Once you have good root development (about an inch long), you can then carefully plant it into your potting mix.
The “Secret Sauce” (Pro Tips)
Now, for those little bits of wisdom that can make all the difference.
- Don’t let those leaves touch the water: If you’re doing water propagation, this is crucial. Submerged leaves are a direct invitation for rot. If you’re doing cuttings in soil, ensure you’ve stripped off enough lower leaves so none are in contact with the soil surface once planted.
- Bottom heat can be a game-changer: Placing your pots on a propagation mat or a sunny windowsill that gets gentle warmth can significantly speed up root development. It mimics that lovely warm soil you’d find in spring.
- Patience is key with misting: While humidity is vital, overwatering is your enemy. I find a light misting every day or two is usually sufficient, depending on your home’s humidity levels. The goal is consistently damp, not soggy, soil.
Aftercare & Troubleshooting
Once you see signs of new growth emerging from your cuttings – a tiny sprout, a new leaf – that’s a good indicator that roots are forming!
- Gradually acclimate: If you’ve used a plastic bag or propagator, start to remove it for increasing periods each day. This allows the new plant to get used to the drier air in your home.
- Water carefully: Continue to water when the top inch of soil feels dry. Avoid the temptation to overwater – this is the most common cause of cuttings failing.
- Signs of failure: The most common issue you’ll see is rotting. If your cutting turns black and mushy, it’s likely succumbed to rot. This is usually due to too much moisture or not enough air circulation. Another sign is wilting that doesn’t recover after misting; this can also be related to rot or the cutting simply not taking. Don’t be discouraged if a few don’t make it! It’s part of the learning process.
A Encouraging Closing
Propagating Clinopodium corsicum is a delightful way to multiply your enjoyment of this fragrant plant. Be patient with the process, and celebrate each little success. You’re nurturing new life, and that’s a truly special thing. Happy growing!
Resource:
https://identify.plantnet.org/k-world-flora/species/Clinopodium%20corsicum%20(Pers.)%20Govaerts/data