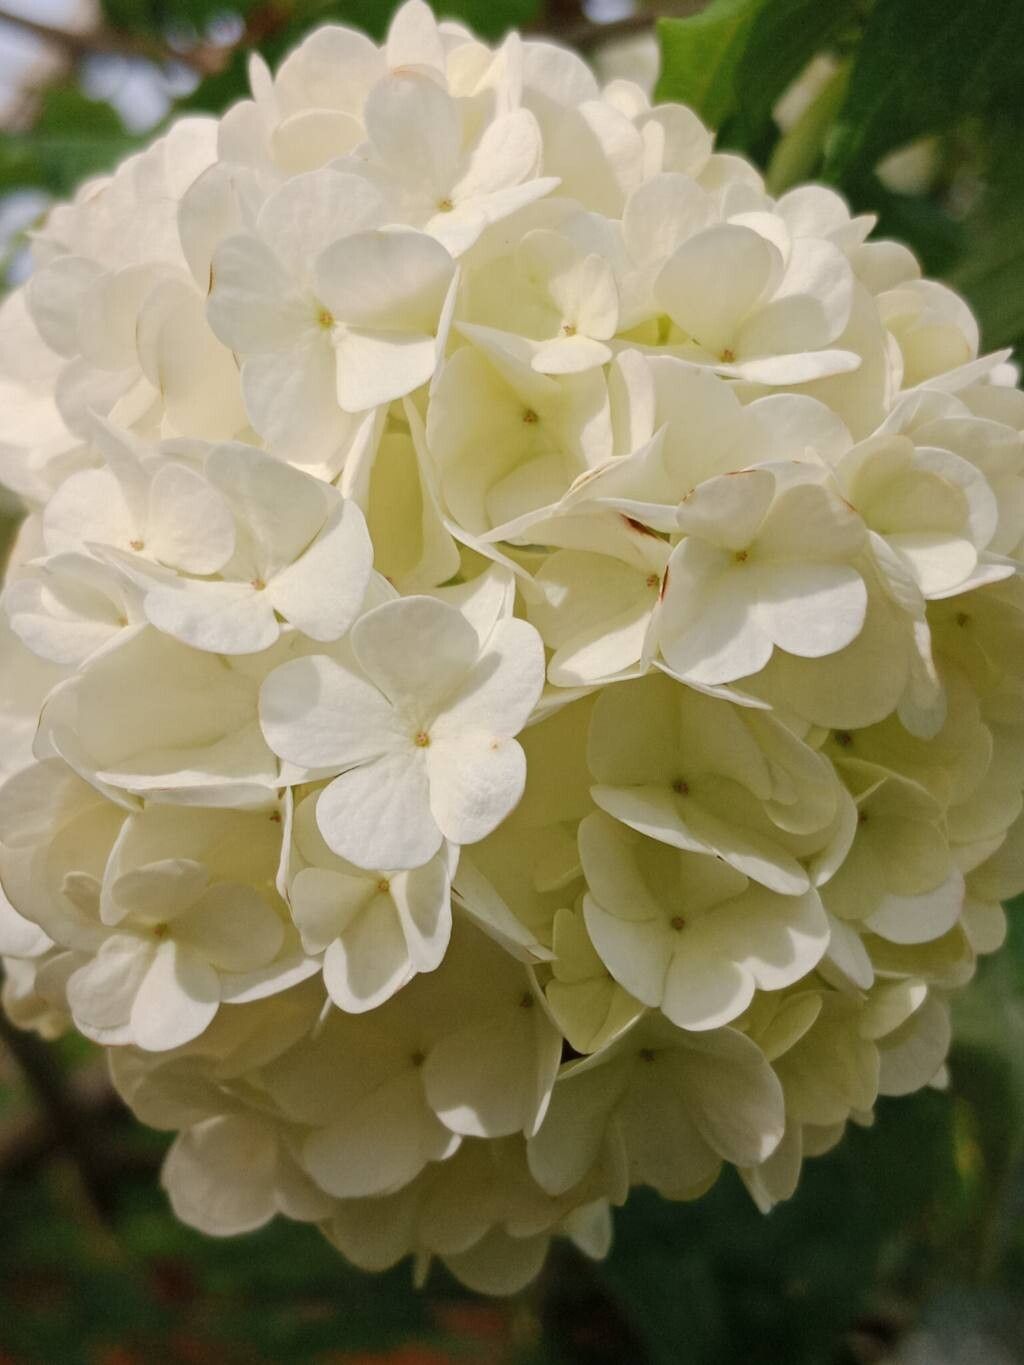
Hey there, fellow plant lovers! I’m so excited to chat with you today about a plant that truly stole my heart years ago – Viburnum macrocephalum, or Chinese snowball viburnum. If you’ve ever seen one of these beauties in full bloom, you know what I’m talking about. Those magnificent, snowball-shaped clusters of white flowers are simply breathtaking. They have this lovely, sweet fragrance too, and they really make a statement in the garden.
Lately, I’ve had so many of you asking about how to get more of these stunners for yourselves. And you know, I just love that! Propagating plants is one of my favorite gardening pastimes. It’s incredibly rewarding to take a small piece of a beloved plant and nurture it into a whole new, thriving specimen. It feels like a little bit of garden magic, doesn’t it? Now, if you’re new to propagating, you might be wondering if Viburnum macrocephalum is a good starting point. Honestly, it’s moderately easy. It’s not as foolproof as, say, a pothos, but with a little care and attention, you can definitely achieve success. Don’t be intimidated – I’ll walk you through it every step of the way.
The Best Time to Start
For the highest success rate with Viburnum macrocephalum, I always recommend aiming for late spring to early summer. This is when the plant is actively growing, and you’re looking for what we call semi-hardwood cuttings. Essentially, these are stems that have started to firm up but are still a bit flexible. Think of it like a pencil – not too soft and green, but not hard and woody either. Taking cuttings at this stage gives them the best chance to establish roots before the cooler weather sets in.
Supplies You’ll Need
Gathering your supplies beforehand makes the whole process smoother. Here’s a rundown of what you’ll need:
- Sharp Pruning Shears or a Knife: Cleanliness is key here to prevent disease. I like to give mine a quick wipe with rubbing alcohol.
- Rooting Hormone: This isn’t strictly essential, but it really does give your cuttings a significant boost in getting roots started. Look for a powder or gel form.
- Small Pots or Seedling Trays: These should have drainage holes, of course!
- Propagating Mix: A good, well-draining mix is crucial. I usually use a 50/50 blend of perlite and peat moss or perlite and coco coir. You can also buy specific seed-starting or propagation mixes.
- Plastic Bags or a Humidity Dome: This will help maintain the moisture around your cuttings.
- Watering Can or Spray Bottle: For gentle watering.
- Labels and a Marker: To keep track of what you’ve planted and when!
Propagation Methods
We’ll focus on the most reliable method for Viburnum macrocephalum: stem cuttings.
- Select Your Cuttings: Head out to your Viburnum macrocephalum plant on a nice day. Look for healthy, vigorous stems that are about 4-6 inches long. Gently bend a stem; if it snaps cleanly rather than just bending, it’s probably too mature. If it’s very soft and green, it’s too young. You’re looking for that happy medium.
- Make the Cut: Using your clean pruning shears or knife, make a clean cut just below a leaf node. A leaf node is where a leaf attaches to the stem. This is where the magic happens for root formation.
- Prepare the Cutting: Once you have your cutting, gently remove the leaves from the bottom half of the stem. You want to expose at least one or two leaf nodes along the lower section. Leave just a couple of top leaves, and if they’re very large, you can even cut them in half horizontally. This reduces water loss through transpiration.
- Apply Rooting Hormone: Dip the cut end of the stem into your rooting hormone, tapping off any excess. Make sure the nodes where you removed leaves are covered.
- Plant Your Cuttings: Fill your pots or trays with your propagating mix. Make a small hole in the center of the mix with your finger or a pencil. Gently insert the cutting into the hole, ensuring the leaf nodes are buried. Firm the mix gently around the stem.
- Water and Cover: Water the mix thoroughly but gently. You don’t want to dislodge the cuttings. Then, cover the pot or tray with a clear plastic bag or place it under a humidity dome. This creates a mini-greenhouse effect, keeping the humidity high, which is vital for cuttings to root.
- Placement: Place your pots in a bright location but out of direct sunlight. A spot on a windowsill that gets bright, indirect light is perfect.
The “Secret Sauce” (Pro Tips)
Here are a few little tricks I’ve picked up over the years that really can make a difference:
- Bottom Heat is Your Friend! If you can get your hands on a heat mat, place your pots on it. This gentle warmth encourages root development from the bottom up. It’s especially helpful if your home tends to be a bit cooler.
- Don’t Let Leaves Drip into the Water: If you’re using a slightly deeper tray with some water at the bottom (which I sometimes do), make sure those leaf nodes or leaves don’t sit submerged. Rot can set in surprisingly quickly, and we want to encourage roots to grow down into the soil, not just hang out in stagnant water.
- Be Patient with Air Circulation: While we want high humidity, you also need some air exchange so things don’t get too stagnant and promote fungal growth. If you’re using a plastic bag, open it for about 10-15 minutes each day to let fresh air in. It’s a quick step during your morning coffee!
Aftercare & Troubleshooting
Once your cuttings have been planted, it’s a waiting game. I usually start checking for roots after about 4-6 weeks. You can gently tug on a cutting; if there’s resistance, you know roots are forming. Another sign is new leaf growth appearing.
When roots have developed, you’ll need to gradually acclimate your new plants to normal humidity. Start by opening the plastic bag or humidity dome for longer periods each day. Once they seem to be handling the drier air well, you can remove the cover completely.
The biggest challenge you might face is rot. If you notice the stem turning black and mushy, or the leaves wilting and dying off quickly, it’s likely rot. This is usually a sign of too much moisture and not enough air circulation. It’s tough to save a cutting that’s already rotting, but if you catch it early, you can try trimming away the rotted section and repotting in fresh, dry mix, and ensuring better airflow. Sometimes, it just doesn’t work out, and that’s okay! Plant propagation is a learning curve for all of us.
A Encouraging Closing
So there you have it! Propagating Viburnum macrocephalum is a journey, and like any good garden adventure, it requires a bit of patience and a lot of love. Don’t get discouraged if your first few attempts aren’t perfect. Every cutting you try is a lesson learned. Celebrate the small victories, enjoy the process of nurturing these new life forms, and soon enough, you’ll have a whole garden full of those glorious snowball viburnums to share with friends and family. Happy propagating!
Resource:
https://identify.plantnet.org/k-world-flora/species/Viburnum%20macrocephalum%20Fortune/data