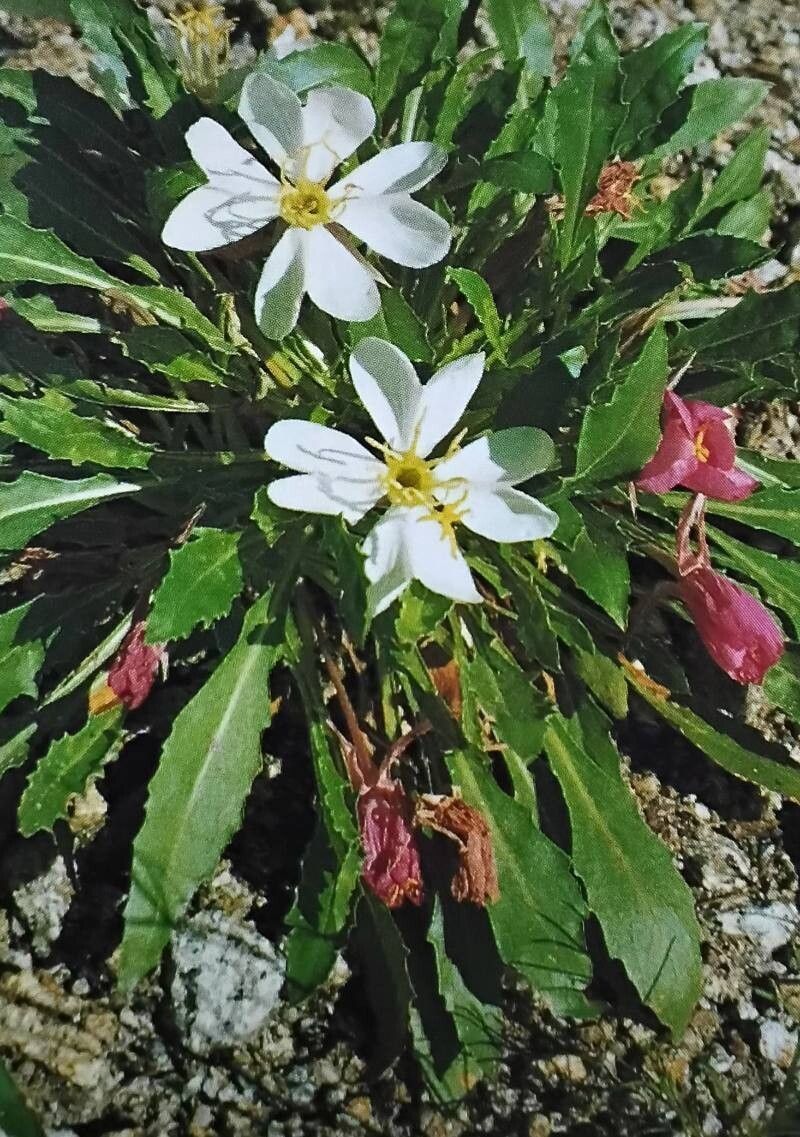
Oh, Oenothera cespitosa! If you’ve ever encountered this delightful native beauty, you’ll know exactly why I’m so excited to talk about it. Also known as the tufted evening primrose, it’s a real gem, particularly for drier, rockier gardens. Those elegant, often fragrant, white flowers that unfurl in the evening light are just magical. And the best part? You can easily multiply this wonder for your own garden and to share with friends!
I find Oenothera cespitosa to be a fairly straightforward plant to propagate, even for those of you who are just dipping your toes into the world of plant multiplication. It’s incredibly rewarding to see a tiny cutting or a division transform into a thriving new plant.
The Best Time to Start
For the most success, I always recommend early spring or late summer. This is when the plant is actively growing but not under the intense stress of high summer heat or the onset of deep winter. Spring gives the new propagules plenty of time to establish before hot weather arrives, while late summer cuttings can often establish enough to overwinter nicely.
Supplies You’ll Need
Here’s what I typically have on hand when I’m propagating Oenothera cespitosa:
- Sharp pruning shears or a clean knife: For taking cuttings and dividing clumps. Sterilize them first, please!
- Small pots or seed trays: With good drainage holes.
- Well-draining potting mix: A good blend for me is about 50% perlite or coarse sand and 50% peat moss or coco coir. You can also find excellent pre-made cactus or succulent mixes that work wonderfully.
- Rooting hormone (optional but helpful): A powdered or gel type.
- Watering can or mister: For gentle watering.
- Plastic bag or propagation dome: To create a humid environment.
- Labels: To keep everything identified!
Propagation Methods
Here are my tried-and-true ways to get more Oenothera cespitosa:
Stem Cuttings
This is my go-to method for a quick boost!
- Select healthy stems: Look for non-flowering, semi-hardwood stems that are about 4-6 inches long. They should be firm but not woody.
- Make the cut: Using your sterilized shears or knife, take cuttings just below a leaf node (the little bump where leaves emerge).
- Prepare the cutting: Gently remove the lower leaves, leaving about 2-3 leaves at the top. If the leaves are very large, I’ll even snip them in half to reduce water loss.
- Apply rooting hormone (if using): Dip the cut end into the rooting hormone, tapping off any excess.
- Plant your cuttings: Make a small hole in your prepared potting mix and insert the cutting. Firm the soil gently around it. You can place several cuttings in one pot, as long as they aren’t touching each other.
- Create humidity: Water gently and then cover the pot with a plastic bag or propagation dome to keep the humidity high.
Division
This is a fantastic way to rejuvenate established plants and get multiple new ones.
- Dig carefully: In early spring or fall, when the plant is dormant or just starting to grow, gently dig up the entire plant. Try to disturb the roots as little as possible.
- Inspect the root ball: You’ll see established crowns or clumps.
- Separate the divisions: Using your hands or a clean trowel, carefully pull or cut the root ball into smaller sections. Each division should have at least one healthy bud or growing point and a good amount of root system.
- Replant immediately: For the strongest divisions, plant them directly back into your garden in well-prepared, well-draining soil. For smaller divisions you want to nurture, pot them up as described for cuttings.
The “Secret Sauce” (Pro Tips)
Here are a couple of things I’ve learned over the years that make a real difference:
- Bottom Heat is Your Friend: Especially for stem cuttings, placing the pot on a gentle heat mat can dramatically speed up root formation. It mimics the warmth of spring soil and really encourages those roots to get going.
- Don’t Overwater the Cuttings: This is crucial! Wet feet are the quickest way to kill a promising cutting. Those leaves on your cuttings are still working hard, but excess moisture in the soil leads to rot. I like to let the surface of the soil dry out slightly between waterings.
Aftercare & Troubleshooting
Once you see new growth (tiny leaves emerging!), that’s a good sign roots are forming.
- Acclimatize: Gradually remove the plastic bag or dome over a week or two to let the new plants adjust to normal humidity.
- Water gently: Continue to water sparingly, allowing the soil to dry out a bit between waterings.
- Transplanting: Once the new plants have a good root system and are growing strongly, you can transplant them into their permanent garden spots or larger pots.
The most common problem you’ll encounter is rot, which is almost always a sign of overwatering or poor drainage. If you see a cutting looking limp, mushy, or blackening at the base, it’s unfortunately likely a goner. Blackleg is a gardener’s sadness! Don’t be discouraged though; just try again with better drainage and less water.
A Encouraging Closing
Propagating Oenothera cespitosa is such a satisfying part of gardening. It’s a chance to really get to know your plants and to share their beauty. Be patient with the process, celebrate every little sign of success, and enjoy the journey of growing more of these lovely evening primroses. Happy propagating!
Resource:
https://identify.plantnet.org/k-world-flora/species/Oenothera%20cespitosa%20Nutt./data