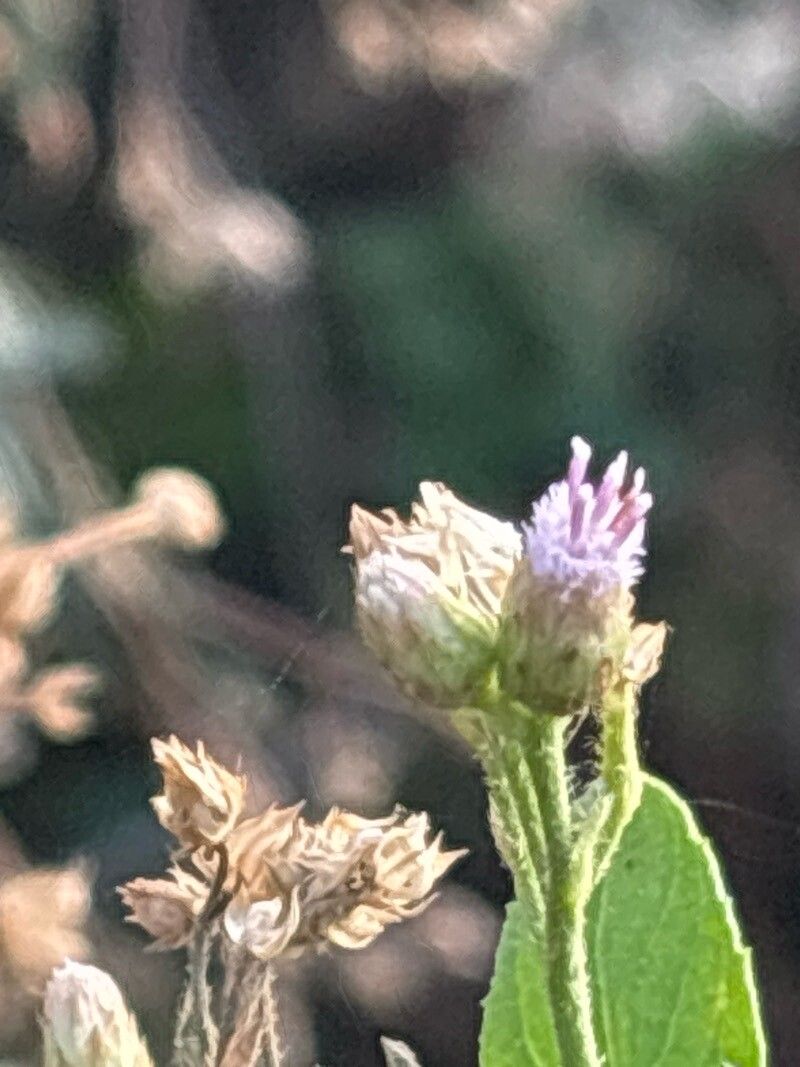
Hello, fellow garden enthusiasts! Let’s talk about a little botanical gem that might not be on everyone’s radar yet, but oh boy, does it deserve to be: Pluchea ovalis. This plant, often known for its fragrant foliage and delicate, often pinkish flowers, brings a touch of effortless charm to any garden or windowsill. And the best part? Bringing more of it into your life through propagation is surprisingly rewarding, and I’m happy to report, quite accessible for beginners. You’ll find yourself with new plants to share in no time!
The Best Time to Start
When you’re looking to get your Pluchea ovalis babies going, spring and early summer are your golden ticket. This is when the plant is actively growing and has plenty of energy. You’ll want to take cuttings from healthy, non-flowering stems. Think new growth that’s firm but not woody. Starting now means your new plants will have a lovely long growing season to establish themselves.
Supplies You’ll Need
Gathering your tools beforehand makes the whole process a breeze. Here’s what I always have on hand:
- Sharp pruning shears or a clean knife: For making clean cuts. You don’t want to crush those delicate stems.
- Potting mix: A well-draining mix is crucial. I often use a blend of peat moss and perlite, or a good quality seed-starting mix.
- Small pots or trays: Clean ones, of course! Anything from small nursery pots to recycled yogurt cups with drainage holes will work.
- Rooting hormone (optional, but helpful): This isn’t strictly necessary for Pluchea ovalis, as it’s a pretty good rooter on its own, but it can certainly speed things up and increase your success rate.
- A spray bottle: For keeping things consistently moist.
- Plastic bags or a propagator: To create a humid environment for your cuttings.
Propagation Methods
Pluchea ovalis is wonderfully forgiving, and I’ve had great luck with a couple of methods.
Stem Cuttings
This is my go-to method. It’s straightforward and yields excellent results.
- Select your stem: Look for healthy, flexible stems on your mature plant. Aim for pieces about 4-6 inches long.
- Make the cut: Using your sharp shears or knife, make a clean cut just below a leaf node (where a leaf attaches to the stem). This is where the magic happens for root development.
- Prepare the cutting: Gently remove the lower leaves, leaving just a couple at the top. This prevents them from rotting in the soil and directs the plant’s energy towards root formation.
- Apply rooting hormone (if using): Dip the bottom inch of the cutting into your rooting hormone. Tap off any excess.
- Plant your cuttings: Fill your small pots with your prepared potting mix. Make a small hole in the center with your finger or a pencil. Insert the cutting into the hole, ensuring the nodes are buried. Gently firm the soil around the stem.
- Water and cover: Water the soil gently until it’s moist but not waterlogged. Then, cover the pot with a plastic bag or place it in a propagator to maintain high humidity. You can prop the bag up with a skewer or two so it doesn’t touch the leaves.
Water Propagation
If you’re feeling really experimental or just enjoy watching the roots grow, water propagation is a fun option.
- Take your cutting: Follow steps 1 and 2 from the stem cutting method.
- Remove lower leaves: Just as before, clear away the lower leaves.
- Place in water: Put the cuttings in a clean glass or jar filled with fresh water. Make sure no leaves are submerged; they will rot.
- Find a bright spot: Place the jar in bright, indirect light. Change the water every few days to keep it fresh. You’ll start to see little white roots emerge in a couple of weeks.
- Pot up when ready: Once the roots are about an inch long, you can carefully transplant them into potting mix. Be very gentle with those initial roots.
The “Secret Sauce” (Pro Tips)
Over the years, I’ve picked up a few tricks that just seem to give my cuttings a little extra boost.
- Bottom Heat is a Game Changer: If you have a heating mat designed for seedlings, pop your pots on it. This gentle warmth really encourages root development, especially if the ambient temperature isn’t consistently warm. It mimics the natural warmth of spring soil!
- Don’t Overwater, Even in Humidity: It’s a tricky balance, but rot is the enemy of new cuttings. While they need humidity to prevent drying out, soggy soil is a death sentence. I always aim for consistently moist, not wet, soil. A gentle poke with your finger tells you more than looks sometimes.
- The “Air-Out” Trick: If your cuttings are under plastic for a long time and you notice condensation building up excessively, lift the plastic for an hour or so each day to let them breathe a little. This helps prevent fungal issues.
Aftercare & Troubleshooting
Once you start seeing those little roots emerge – hooray! It’s time for a little extra TLC.
- Acclimatize: Gradually introduce your new plants to the outside world. If they’ve been covered, start by removing the plastic for a few hours each day, then leave it off entirely for a day or two before you start watering more regularly.
- Watering: Once roots are established, water when the top inch of soil feels dry. You can also mist them occasionally, especially in dry conditions.
- Light: Place your new plants in bright, indirect light. Avoid direct, harsh sun for the first few weeks.
- Troubleshooting: The most common issue you’ll face is rot. If a cutting looks mushy or turns black at the base, it’s likely rotted. Remove it immediately to prevent spread. If your cuttings look wilted even when the soil is moist, they might be drying out too quickly, or they simply haven’t rooted yet and are struggling to take up water. Patience is key here.
A Bit of Encouraging Closing
Propagating Pluchea ovalis is such a satisfying endeavor. It’s a chance to multiply the joy your plant brings, to share its beauty with friends, or just to fill your own space with more of what you love. Don’t be discouraged if a few don’t make it – that’s all part of the learning process! Enjoy the journey, observe your little cuttings, and celebrate every new root that appears. Happy propagating!
Resource:
https://identify.plantnet.org/k-world-flora/species/Pluchea%20ovalis%20(Pers.)%20DC./data