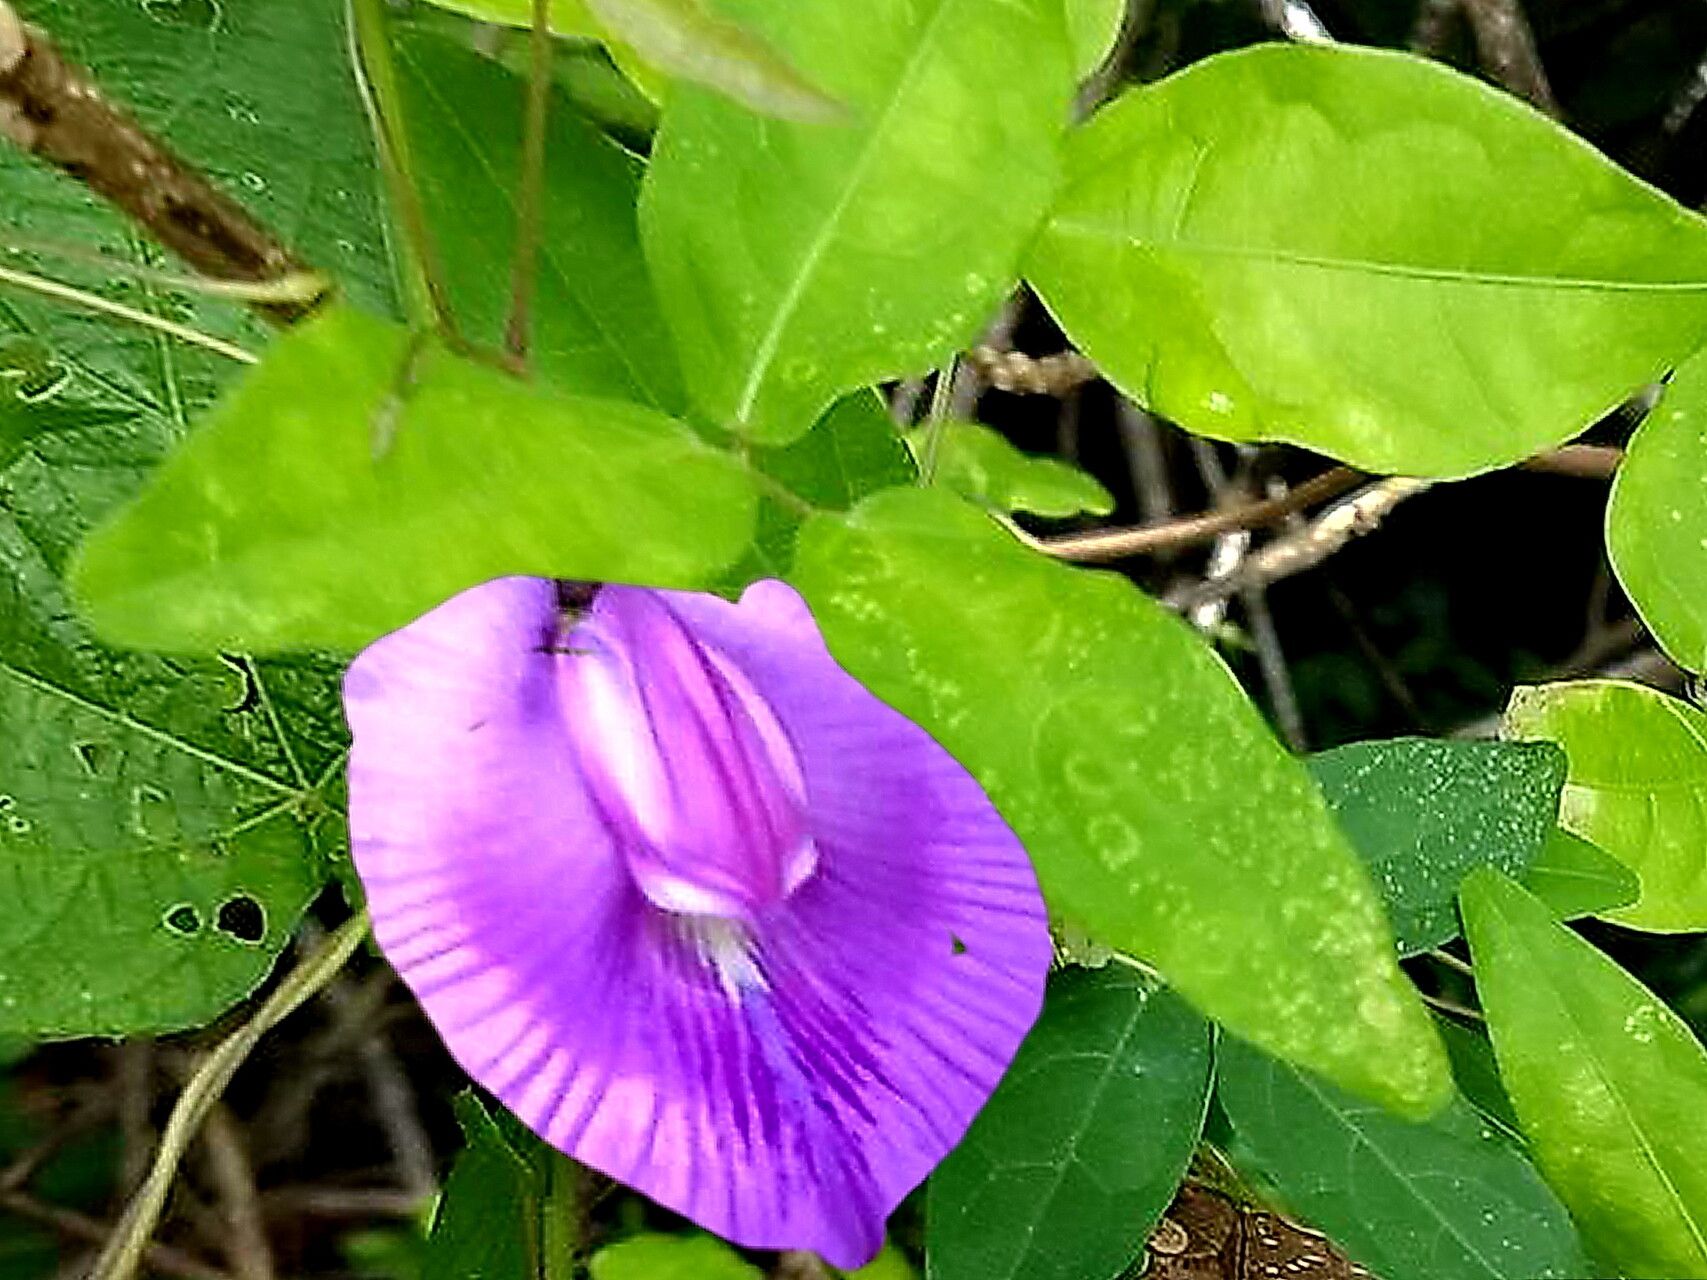
Oh, hello there! Pull up a chair. I’m so glad you’re interested in Centrosema brasilianum. This beautiful legume, with its delicate, butterfly-shaped flowers, is a true charmer in the garden. They add such a lovely splash of color and attract pollinators galore. It’s incredibly rewarding to take a piece of your existing plant and grow a whole new one from it.
Now, about its fussiness. Centrosema brasilianum is a generally easy plant to propagate, making it a wonderful choice for both seasoned gardeners and those just dipping their toes into the wonderful world of plant babies. You’ll be amazed at how readily it responds.
The Best Time to Start
My favorite time to get my hands dirty with Centrosema brasilianum propagation is in late spring to early summer. This is when the plant is actively growing, and the cuttings tend to have the best vigor. You want to work with healthy, fresh stems that aren’t flowering profusely, as the energy is better directed towards root development.
Supplies You’ll Need
Here’s a little list of what I always have on hand:
- Sharp pruning shears or a clean knife: For making clean cuts.
- Rooting hormone powder or gel: While not strictly essential, it gives cuttings a really great boost.
- Well-draining potting mix: A blend of peat moss or coco coir, perlite, and a bit of compost works wonders. You can also use a seed-starting mix.
- Small pots or seed trays: With drainage holes, of course!
- Plastic bags or a propagator: To keep humidity high around the cuttings.
- Watering can with a fine rose: For gentle watering.
- Optional: Bottom heat mat: This can speed up root formation considerably.
Propagation Methods
Centrosema brasilianum is quite obliging and thrives with stem cuttings. It’s my go-to method, and I think you’ll find it very successful.
Stem Cuttings:
- Take Your Cuttings: Select healthy, non-flowering stems from your parent plant. Aim for cuttings that are about 4-6 inches long. Using your clean shears or knife, make a clean cut just below a leaf node (the point where a leaf attaches to the stem).
- Prepare the Cuttings: Gently remove the lower leaves from the bottom half of the cutting. This prevents them from rotting when buried in the soil. Leave just a couple of leaves at the top. You can even dip the cut end into your rooting hormone, tapping off any excess.
- Plant the Cuttings: Fill your pots or trays with your well-draining potting mix. Make a small hole with your finger or a pencil. Insert the cut end of the stem cutting deep enough so that a couple of leaf nodes are buried. Gently firm the soil around the stem.
- Water Gently: Give the soil a good, gentle watering to help settle it around the cuttings.
- Create a Humid Environment: This is crucial! Cover the pots with clear plastic bags, making sure the leaves aren’t touching the plastic. If you have a propagator, place the pots inside. This creates a mini-greenhouse effect.
The “Secret Sauce” (Pro Tips)
Now, for a couple of things I’ve learned over the years that really make a difference:
- Don’t let the leaves touch the water (if using water propagation): While I primarily use soil for Centrosema, if you were to try water propagation, never let the leaves sit in the water. They’ll rot right off. Only the stem should be submerged.
- Bottom heat is your friend: I can’t stress this enough, especially if you’re propagating in cooler months. Placing your trays or pots on a bottom heat mat provides consistent warmth to the base of the cuttings, encouraging root development much faster and more reliably. It’s like a cozy little incubator for your new plants.
- Patience, dear gardener, patience! Sometimes with new cuttings, you might not see much action for a few weeks. Don’t give up! Keep the humidity up and the soil consistently moist (but not soggy), and roots will eventually form.
Aftercare & Troubleshooting
Once you see new leaf growth or gently tug on a cutting and feel resistance (indicating roots!), it’s time to transition.
- Gradual Acclimation: If you used a plastic bag, start by venting it a little each day for a few days before removing it completely. This helps the new plant adjust to normal humidity levels.
- Watering: Water when the top inch of soil feels dry to the touch. Always allow excess water to drain away.
- Light: Provide bright, indirect light. Avoid direct, harsh sun for the first few weeks as the young roots establish.
Troubleshooting:
The most common sign of failure is a rotting stem. This usually happens because the soil is too wet and lacks drainage, or the humidity is too high without enough air circulation. If a cutting turns black and mushy, unfortunately, it’s probably best to discard it and try again. Also, yellowing leaves early on can sometimes indicate too much direct sun or under-watering, so keep an eye on your little ones!
A Encouraging Closing
Growing new plants is such a joy, isn’t it? It’s a little bit of magic, right in your own home. Don’t be discouraged if your first attempt isn’t a runaway success. Every gardener has had their share of wilting cuttings and disappointing failures. The key is to keep learning and keep trying. You’ve got this! Now go forth and multiply your beautiful Centrosema brasilianum!
Resource:
https://identify.plantnet.org/k-world-flora/species/Centrosema%20brasilianum%20(L.)%20Benth./data