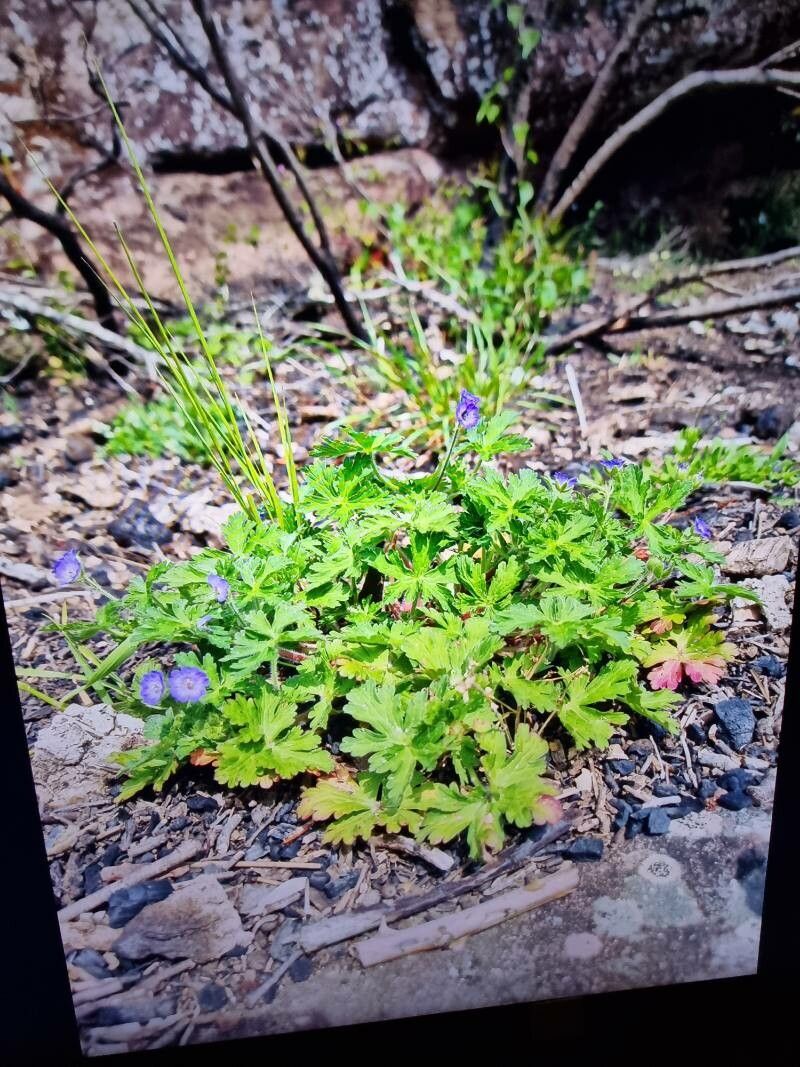
Oh, Geranium lanuginosum, isn’t she a beauty? That soft, fuzzy foliage just makes you want to reach out and touch it. And the flowers! They’re like little pops of joy. If you’ve got a patch of this lovely plant growing, you’re in for a real treat, and I think you’ll find propagating it to be a truly satisfying endeavor. Good news for those just starting out: Geranium lanuginosum is generally a pretty forgiving plant to propagate. I’d say it leans towards the easier side, which is always a bonus!
The Best Time to Start
For me, the sweetest spot to propagate Geranium lanuginosum is in late spring to early summer. The plant is really kicking into gear then, and the new growth is vigorous. You want to grab stem cuttings that are firm and healthy, not floppy or old. This time of year gives your cuttings the longest growing season ahead to establish themselves.
Supplies You’ll Need
Gathering your supplies beforehand makes the whole process so much smoother. Here’s what I usually have on hand:
- Sharp pruning shears or a clean knife: For taking clean cuts.
- A good quality potting mix: I like a mix that drains well, maybe a blend of peat moss and perlite, or even a specialized seedling mix.
- Rooting hormone (optional but helpful): A powder or gel can give your cuttings a nice boost.
- Small pots or seed trays: With drainage holes, of course!
- A watering can with a fine rose: For gentle watering.
- Labels and a pen: It’s a lifesaver for remembering what you planted where!
- A clear plastic bag or propagation dome: To keep humidity up.
Propagation Methods
The most reliable way for me to multiply my Geranium lanuginosum is by taking stem cuttings. It’s straightforward and often yields great results.
- Select your cuttings: Look for healthy, non-flowering stems that are about 4-6 inches long. You want to take them from the tip of a stem, where the growth is still a bit soft.
- Make the cut: Using your sharp shears, make a clean cut just below a leaf node (where a leaf joins the stem). This is where roots are most likely to form.
- Prepare the cutting: Gently remove the lower leaves from the bottom half of the stem. You can leave a couple of leaves at the top to help with photosynthesis. If the remaining leaves are quite large, I’ll often snip them in half to reduce water loss.
- Apply rooting hormone (if using): Dip the cut end of the stem into your rooting hormone, tapping off any excess.
- Plant the cuttings: Fill your small pots with the potting mix. Make a small hole with your finger or a pencil and gently insert the cut end of the geranium cutting into the soil, ensuring the leaf nodes that were buried are in good contact with the mix. Firm the soil around the stem.
- Water gently: Water the soil thoroughly but gently. You don’t want to wash the cuttings out.
- Create humidity: Cover the pots loosely with a clear plastic bag or place them under a propagation dome. This keeps the humidity high, which is crucial for preventing the cuttings from drying out before they can root.
The “Secret Sauce” (Pro Tips)
Here are a few things I’ve learned over the years that seem to make a difference:
- Bottom Heat is Your Friend: While not strictly necessary, placing your pots on a seedling heat mat can significantly speed up root development. It mimics the warmth of spring.
- Don’t Overwater! This is probably the most common mistake. The soil should be consistently moist, but not soggy. Soggy soil is a fast track to rot, and nobody wants that. Let the surface of the soil dry out slightly between waterings.
- Freshness Matters: Try to get your cuttings planted as soon as possible after taking them. If you can’t plant them immediately, keep them in a cool, shaded spot and mist them occasionally.
Aftercare & Troubleshooting
Once your cuttings have been planted, keep them in a bright spot, but out of direct, scorching sun. When you see signs of new growth, like tiny leaves unfurling, that’s a fantastic indicator that roots have formed! You can gently tug on a cutting – if there’s resistance, it’s rooting.
At this point, you can start to gradually acclimate your new plants to lower humidity by removing the plastic cover for longer periods each day. Continue to water when the top inch of soil feels dry.
If your cuttings look uniformly wilted, are mushy at the base, or develop dark spots, it’s likely rot. This usually means they’ve been kept too wet. Don’t be disheartened if you lose a few; it happens even to the best of us. Just try again with fresh cuttings and adjust your watering.
A Encouraging Closing
Propagating plants is a journey, and every little success is a cause for celebration. Be patient with your new Geranium lanuginosum babies. Nature works on its own timetable. Enjoy the process, learn from each one, and soon you’ll be gifting these beautiful plants to all your friends! Happy gardening!
Resource:
https://identify.plantnet.org/k-world-flora/species/Geranium%20lanuginosum%20Lam./data