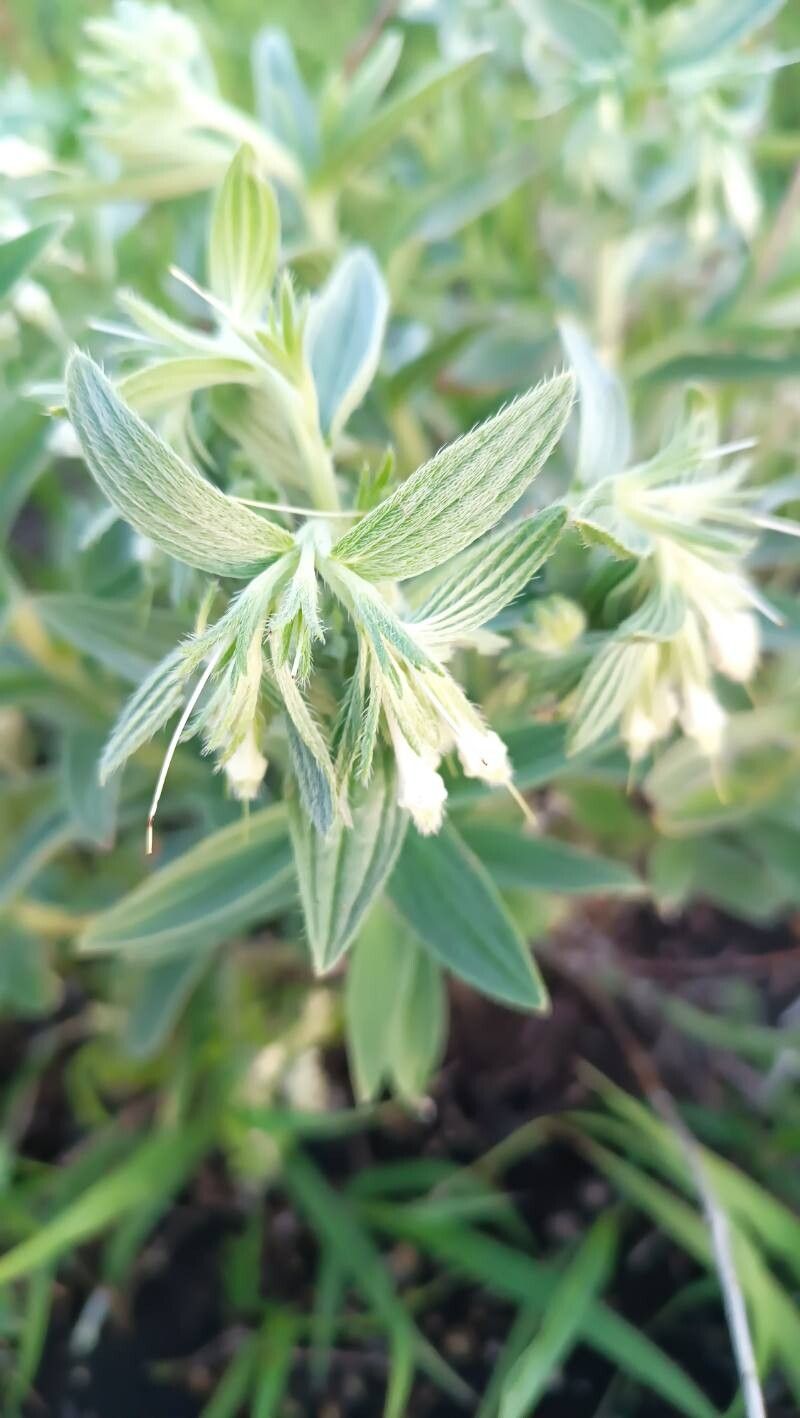
Ah, Lithospermum molle! You know, that lovely little plant with the soft, almost velvety leaves and those delicate, often sky-blue flowers. It’s one of those treasures that really brightens up a corner. And the reward of coaxing a brand new plant from a cutting or a division? Pure gardening joy, if you ask me. If you’re new to plant propagation, Lithospermum molle is a moderately friendly one to try. It’ll teach you a thing or two, but it’s not overly fussy.
The Best Time to Start
For the highest chance of success with Lithospermum molle, I always aim for late spring or early summer. This is when the plant is actively growing and has plenty of energy. You’re looking for stems that are semi-hardened – not brand new, floppy growth, but not woody old stems either. Think of them as pencil-thin and firm to the touch.
Supplies You’ll Need
Here’s what I usually gather before I start:
- Sharp Pruning Shears or a Craft Knife: Clean cuts are key.
- Small Pots or Seed Trays: Anything that’s about 3-4 inches deep.
- Well-Draining Potting Mix: I often blend about two parts peat or coco coir with one part perlite or coarse sand. This ensures good aeration.
- Rooting Hormone (Optional but Recommended for Cuttings): A powdered or gel form works beautifully.
- Plastic Bags or a Propagator: To create a humid environment.
- Watering Can with a Fine Rose: For gentle watering.
- Labels: To keep track of what you’ve propagated!
Propagation Methods
Let’s get our hands dirty!
Stem Cuttings
This is my go-to method for Lithospermum molle.
- Take Your Cuttings: From your healthy mother plant, select those semi-hardened stems. Using your clean shears, cut pieces that are about 4-6 inches long. Make sure each cutting has at least two sets of leaves.
- Prepare the Cuttings: Gently remove the lower leaves, leaving just the top two or three. This prevents them from rotting in the soil.
- Apply Rooting Hormone (If Using): Dip the cut end of each stem into the rooting hormone, tapping off any excess.
- Plant the Cuttings: Make small holes in your prepared potting mix with a pencil or your finger. Insert the cut end of the cuttings, ensuring the nodes where you removed the leaves are covered by soil. Gently firm the soil around them.
- Create Humidity: Water the soil gently. Then, cover the pots loosely with a plastic bag, or place them in a propagator. You want to create a little greenhouse effect.
Division (If Your Plant is Clump-Forming)
If your Lithospermum molle has started to form a nice clump, division is a simple way to create new plants.
- Unearth the Plant: Gently dig up the entire clump.
- Inspect the Roots: Gently shake off excess soil to expose the root ball.
- Divide: Using your hands or a clean trowel (or even a sharp knife for tougher roots), carefully divide the clump into sections. Each section should have a good amount of roots and some healthy shoots.
- Replant: Pot up each division into its own pot filled with your well-draining mix. Water thoroughly.
The “Secret Sauce” (Pro Tips)
Here are a few things I’ve learned over the years that make a real difference:
- Bottom Heat is Your Friend: For stem cuttings, placing your pots on a heat mat can significantly speed up root development. It mimics spring soil temperatures and really kicks things into gear.
- Don’t Drown Them! While humidity is crucial, don’t let the leaves of your cuttings touch the water inside the humidity dome. If they sit in moisture for too long, they’re more prone to fungal issues. Prop up the plastic bag if needed.
- Patience with the Potting Mix: When planting cuttings, I often make a slurry of rooting hormone powder with a tiny bit of water to create a paste. Dipping the end into this often ensures better adhesion of the powder.
Aftercare & Troubleshooting
Once you see new growth on your cuttings, that’s a great sign! It means roots are forming. Keep the soil consistently moist but not waterlogged. Gradually introduce them to more ambient air by opening the plastic bag a little more each day for about a week, allowing them to acclimatize. If you’ve divided a plant, keep it well-watered until it shows signs of settling in.
The most common issue you might face is rot. If your cuttings turn black and mushy, or if your divided plants seem to wilt and die even with adequate watering, it’s usually a sign of too much moisture and not enough air circulation. Make sure your mix is draining well and maybe avoid overwatering. Sometimes, unfortunately, a cutting just doesn’t take. Don’t be discouraged; it’s part of the learning process!
A Little Patience Goes a Long Way
There you have it! Propagating Lithospermum molle is a rewarding journey. Remember to be gentle, provide the right conditions, and most importantly, enjoy the quiet anticipation of new life. Happy gardening!
Resource:
https://identify.plantnet.org/k-world-flora/species/Lithospermum%20molle%20(Michx.)%20Muhl./data