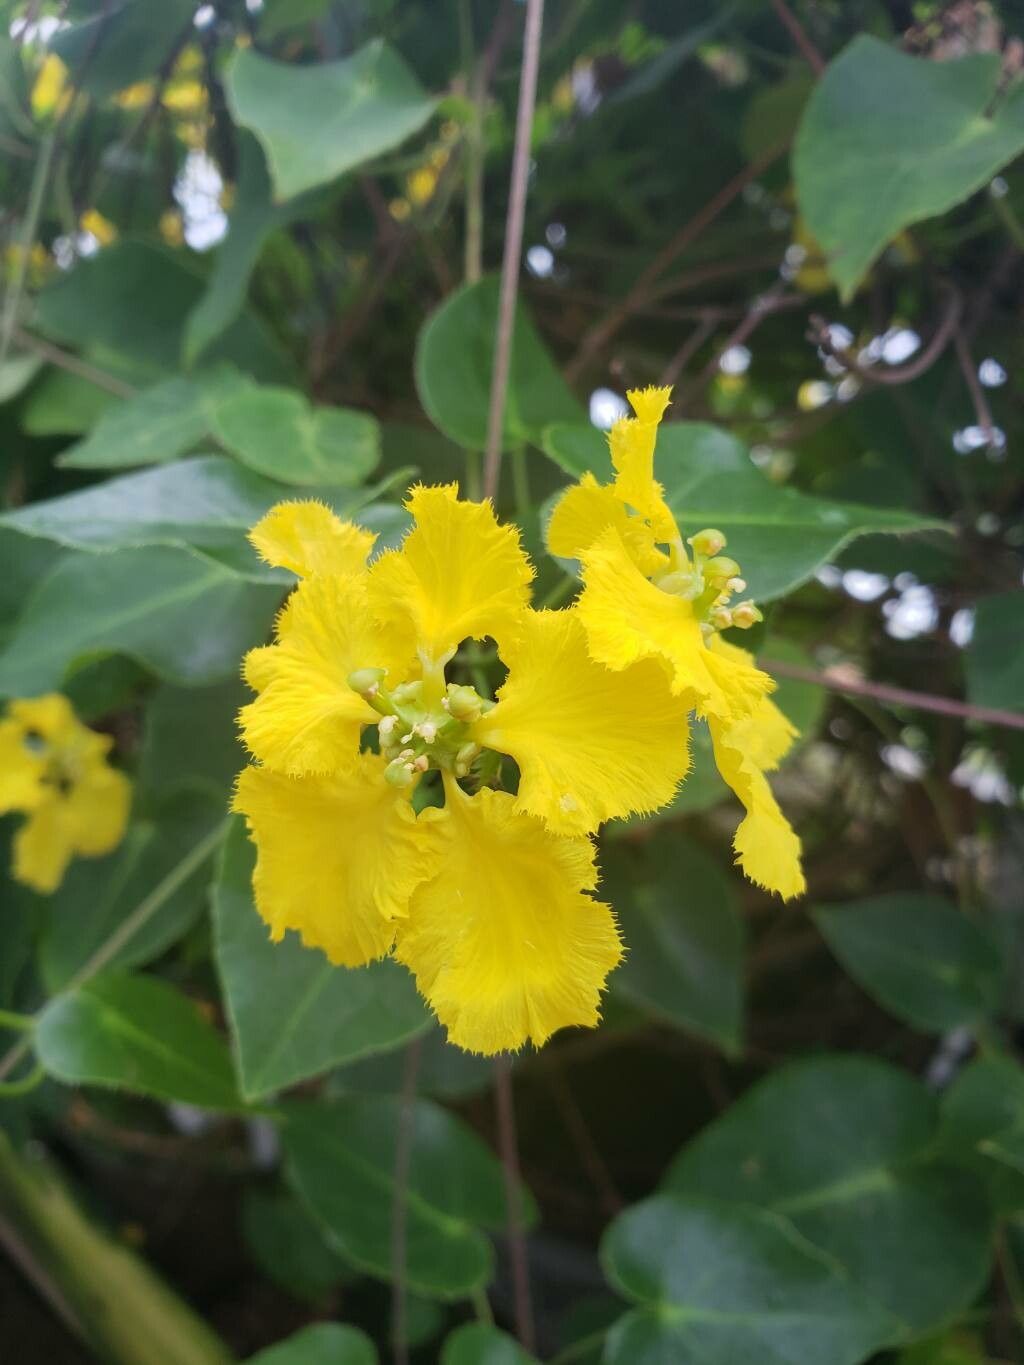
Oh, hello there, fellow plant lover! It’s so good to have you pull up a chair. Today, we’re going to chat about a plant that brings such a cheerful burst of color and texture to any garden: Stigmaphyllon ciliatum, or as some of us affectionately call it, the “Golden Vine.” Its glorious yellow, fringed flowers are a real showstopper, and seeing a little piece of that magic grow into a whole new plant? Well, it’s one of the most rewarding feelings a gardener can experience.
If you’re new to propagating, you might be wondering if Stigmaphyllon is going to be an uphill battle. Honestly, I’d say it’s moderately easy. With a little patience and a few key steps, you’ll be enjoying your own Golden Vines before you know it.
The Best Time to Start
For Stigmaphyllon ciliatum, the sweet spot for propagation is definitely late spring to early summer. This is when the plant is actively growing and has plenty of energy to put into developing new roots. You’re looking for stems that are plump and have a good bit of new growth, but not yet completely woody. Think of it as catching them at their most vibrant, just before the heat of summer really kicks in.
Supplies You’ll Need
Gathering your tools beforehand makes the whole process so much smoother. Here’s what I always have on hand:
- Sharp Pruning Shears or a Craft Knife: Clean cuts are crucial!
- Rooting Hormone: A good rooting powder or gel will dramatically increase your success rate.
- Potting Mix: A light, well-draining mix is essential. I like a blend of potting soil, perlite, and a little bit of peat moss or coco coir. You want something that doesn’t hold too much moisture.
- Small Pots or Seedling Trays: Clean pots are a must to prevent disease.
- Plastic Bags or Propagation Dome: To create a humid environment.
- Watering Can with a Fine Rose: Gentle watering is important.
- Labels: So you don’t forget what you planted where!
Propagation Methods
We’ll focus on stem cuttings, which is generally the most reliable way to get new Stigmaphyllon plants going.
-
Taking the Cuttings: On a bright, morning day, select healthy, new growth stems that are about 4-6 inches long. Using your sharp shears or knife, make a clean cut just below a leaf node (that little bump where a leaf attaches to the stem). Remove the lower leaves from the cutting, leaving just two or three at the very top. This prevents them from rotting once planted.
-
Applying Rooting Hormone: Dip the cut end of your stem into your rooting hormone. Give it a good shake or tap to remove any excess. You want a nice, even coating.
-
Planting the Cuttings: Fill your small pots with your prepared potting mix. Make a small hole in the center of the soil with your finger or a pencil. Gently insert the cutting into the hole, making sure the cut end is fully covered by soil. Firm the soil gently around the stem.
-
Creating Humidity: Water the soil lightly until it’s evenly moist, but not soggy. Then, place a plastic bag over the pot, securing it with a rubber band, or cover it with a propagation dome. This creates a greenhouse effect, keeping the humidity high, which is vital for cuttings to root.
-
Placement: Put your potted cuttings in a bright spot that receives indirect sunlight. Avoid direct sun, as it can scorch the delicate cuttings.
The “Secret Sauce” (Pro Tips)
You asked for my insider tricks, and I’m happy to share! These little things can make a big difference:
- The “Bottom Heat” Trick: If you have a heating mat designed for seedlings, using it is a game-changer! Plugging it in and placing your potted cuttings on top provides gentle warmth from below, which really encourages root development. It mimics the warmth of spring soil beautifully.
- Not Too Much Water, Not Too Little: This is a fine balance. You want the soil to stay consistently moist, like a wrung-out sponge. If it dries out, the cutting will shrivel. If it’s waterlogged, it’s a recipe for rot. Check it regularly by feeling the soil.
- Cleanliness is King: I can’t stress this enough. Make sure your pots, tools, and even your hands are clean. Any lingering bacteria or fungus can quickly take hold of tender cuttings. A quick wash with soap and water does wonders.
Aftercare & Troubleshooting
Once your cuttings have been planted for a few weeks, you might start to see signs of life! The best indicator that roots are forming is new leaf growth at the top of the cutting. You can also gently tug on the cutting; if you feel resistance, it means roots have anchored it.
When you see good growth, you can begin to gradually acclimate your new plant to normal air by opening the plastic bag a little more each day, or by lifting the propagation dome for increasing periods. Eventually, you can remove the cover entirely. Once the roots are well-established and the plant looks robust, you can transplant it into a slightly larger pot.
Now, what if things don’t go as planned? The most common issue is rot, which usually looks like a brown, mushy stem. This is almost always due to overwatering and poor drainage. If you see rot, sadly, that cutting is likely lost. The best approach is to learn from it and ensure better airflow and drainage with your next batch. Another sign of failure is if the cutting shrivels and turns brown – this usually means it’s too dry or not getting enough light.
A Encouraging Closing
Propagating plants is a journey, and like any good journey, it has its ups and downs. Don’t be discouraged if your first few attempts aren’t picture-perfect. The joy is in the process, the learning, and that incredible moment when you see a tiny stem transform into a vibrant new life. Be patient with your Stigmaphyllon, offer it a little extra care, and you’ll be rewarded with its beautiful blooms for years to come. Happy growing!
Resource:
https://identify.plantnet.org/k-world-flora/species/Stigmaphyllon%20ciliatum%20(Lam.)%20A.Juss./data