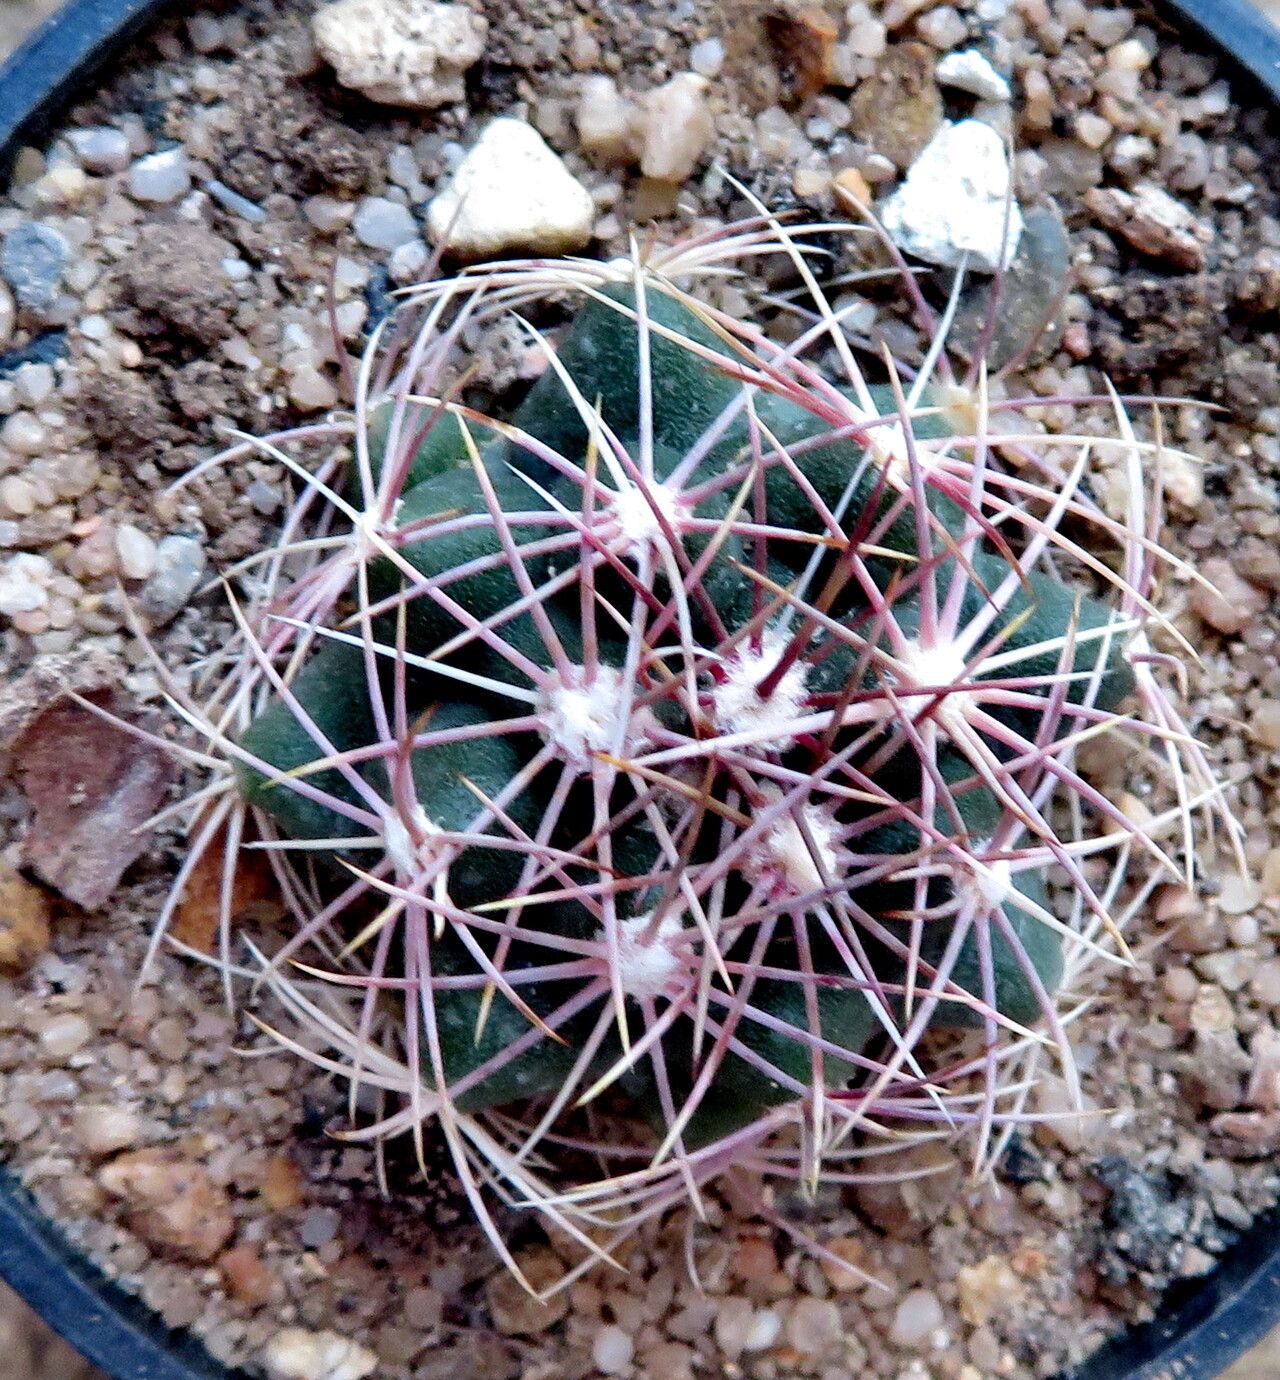
Alright, fellow plant lovers! Let’s talk about a cactus that really brightens up any collection: Thelocactus bicolor. This beauty, with its striking spines and lovely flowers, is truly a gem. While it might look a little intimidating with those sharp defenses, propagating it is actually a really rewarding experience. Don’t let it scare you off – with a little patience and the right approach, you can easily multiply your Thelocactus family! For beginners, I’d say it’s on the moderate side. It’s not the absolute easiest, but it’s far from impossible with these tips I’m about to share.
The Best Time to Start
My absolute favorite time to get stuck into propagating is during the active growing season, which for most cacti is late spring through summer. You’ll know it’s the right time because your Thelocactus will be plump and showing fresh growth. Starting when the plant is actively putting on energy means it’s in the best mood to heal and grow those new roots.
Supplies You’ll Need
Gathering your tools before you start makes the whole process much smoother. Here’s what I usually have on hand:
- Well-draining cactus/succulent soil mix: You can buy this or make your own with potting soil, perlite, and coarse sand. Good drainage is non-negotiable!
- Sharp, sterile knife or pruning shears: A clean cut is essential to prevent disease. I always give mine a quick wipe with rubbing alcohol.
- Rooting hormone (optional but helpful): This little booster can speed things up.
- Potting media: Small pots, seed trays, or even just a clean surface for air layering.
- Spray bottle: For gently misting.
- Labels and a marker: To keep track of what you’ve planted and when.
Propagation Methods
There are a couple of ways we can coax new life from your Thelocactus.
Stem Cuttings (or Offsets)
Thelocactus bicolor often produces offsets, which are like little baby plants growing from the base. These are by far the easiest way to propagate!
- Identify an offset: Look for a smaller plantlet growing from the side or base of your mature cactus.
- Gently detach it: Carefully twist or cut the offset from the parent plant. Try to get a small piece of the base attached if possible. If it’s a clean break, that’s fine too.
- Let it callus: This is crucial! Place the offset in a dry, well-ventilated spot out of direct sun for a few days to a week. You want the cut end to dry out and form a protective callus. This prevents rot.
- Plant it: Once callused, gently place the offset on top of a well-draining cactus soil mix. You can also lightly bury the callused end if you prefer.
- Wait for roots: Resist the urge to water immediately. Wait about a week or so, then give it a very light watering. If you tug gently and feel resistance, you’ve got roots!
Division (for Multi-headed Plants)
If your Thelocactus has started to grow multiple heads, you can carefully divide them.
- Gently remove the cactus from its pot.
- Carefully tease apart the root balls of the different heads. If they are very tangled, you might need to use your sterile knife to make clean cuts through the roots.
- Let any cut roots callus over just like you would with offsets (a few days to a week).
- Pot each division separately in their own containers with fresh cactus soil.
- Water sparingly at first, as with offsets.
The “Secret Sauce” (Pro Tips)
Here are a few tricks I’ve learned over the years that really make a difference:
- Bottom warmth is your friend. If you’re propagating during cooler weather, or just want to give things a nudge, placing your pots on a heat mat specifically designed for plants can significantly speed up root development. It mimics the warmth of summer soil.
- Don’t overwater, ever! This is probably the biggest mistake people make. Cacti are desert plants. They prefer to be on the drier side. When you do water, water thoroughly but infrequently. Let the soil dry out completely between waterings.
- Air circulation is key. Make sure the area where your cuttings are rooting has good airflow. This helps prevent fungal issues. A small, gentle fan can work wonders.
Aftercare & Troubleshooting
Once you see signs of new growth, like plumpness or even tiny new spines, your Thelocactus is happily rooting!
Continue to water sparingly and gradually increase watering frequency as the plant establishes. Keep it in bright, indirect light. Avoid direct, scorching sun while it’s still young and vulnerable.
The main thing to watch out for is rot. If your cutting turns soft, mushy, or develops black spots, it’s likely succumbing to rot. This usually happens from too much moisture. Unfortunately, if rot sets in deep, it can be hard to save. Act quickly by cutting away any affected parts, letting it callus again, and trying to root a healthy section.
A Encouraging Closing
Growing new plants is such a joy, and watching a little piece of your favorite cactus grow into a full specimen is incredibly satisfying. Be patient, trust the process, and don’t get discouraged if something doesn’t take right away. Every gardener has had cuttings that didn’t make it – it’s all part of the learning curve! Enjoy the journey, and happy propagating!
Resource: