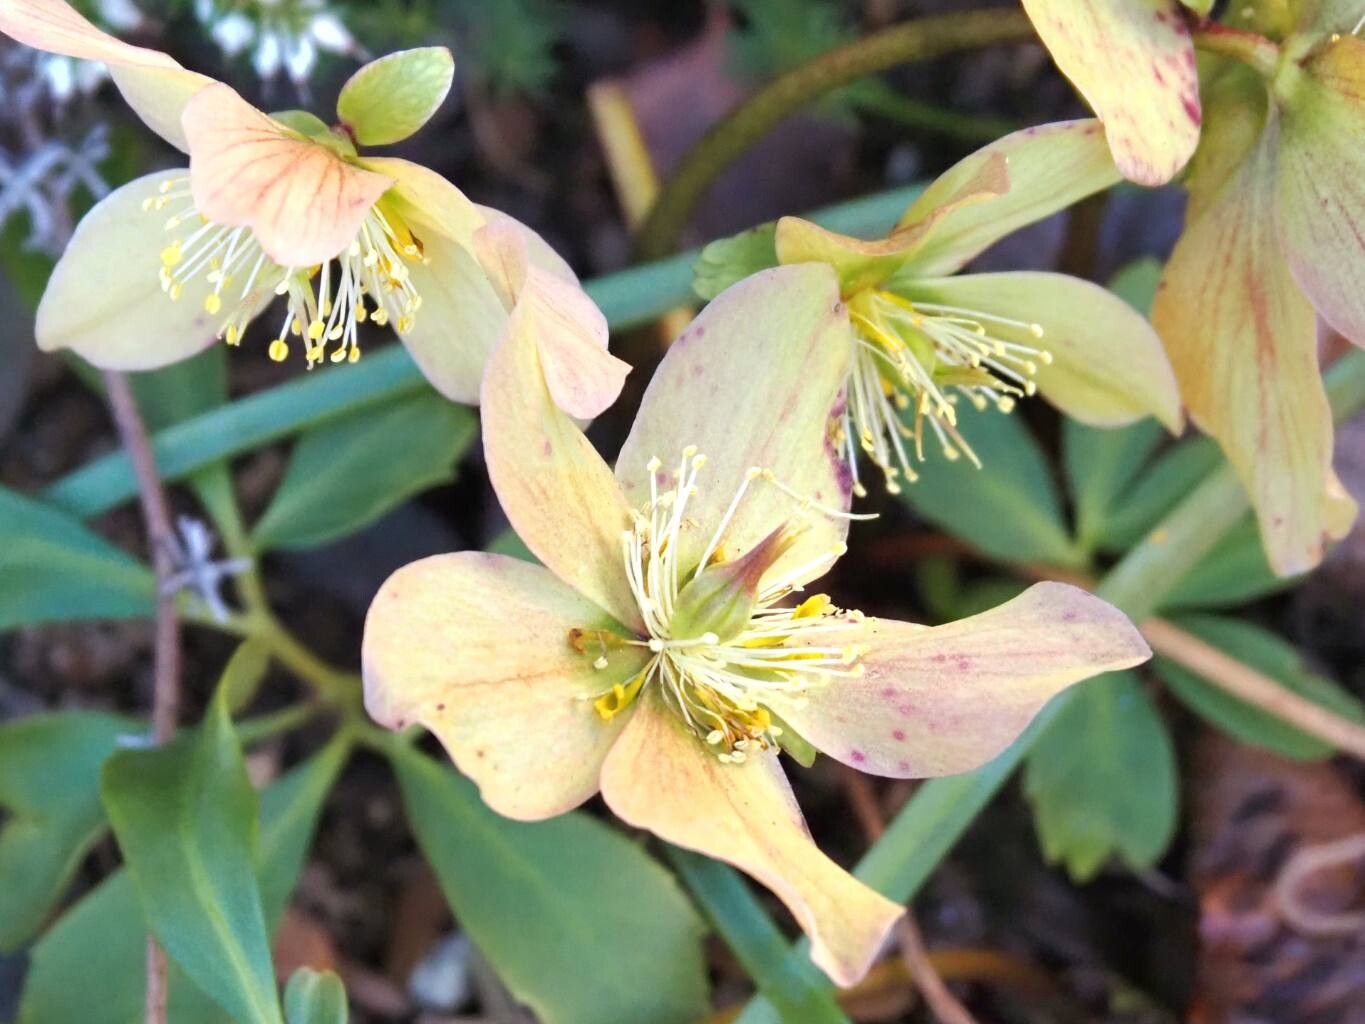
Oh, hello there! Come on in, grab a cup of coffee. I’m so glad you’re interested in Helleborus niger, also known as the Christmas Rose. Isn’t she a stunner, blooming when everything else in the garden is taking a nap? Their delicate, nodding flowers are such a welcome sight. Propagating them from your own existing plants is incredibly rewarding. Now, I’ll be honest, Helleborus niger isn’t the easiest plant to propagate, so don’t get discouraged if your first attempt isn’t a runaway success. But with a little patience and these tips, you’ll be well on your way.
The Best Time to Start
The absolute sweet spot for propagating Helleborus niger is division. We’ll talk more about that method in a bit, but when it comes to division, the ideal time is late summer or early autumn, typically August or September. This is after the plant has finished setting seed and before the real cold weather sets in. The plant is still somewhat active, but it’s preparing to go dormant, which means less stress when you disturb its roots. If you’re attempting stem cuttings, which is trickier, aim for late spring or early summer, just as the stems are starting to get firm.
Supplies You’ll Need
When you’re ready to get your hands dirty, having the right tools makes all the difference. Here’s what I usually have on hand:
- Sharp Pruning Shears or a Garden Knife: Cleanliness is key to preventing disease.
- Small Trowel or Dibber: For gently loosening soil and planting.
- Potting Mix: A well-draining mix is crucial. I often use a blend of good quality potting soil mixed with perlite or grit – about a 50/50 ratio works wonders for Hellebores.
- Rooting Hormone (Optional but Recommended for Cuttings): This can give your cuttings a boost, especially if you’re trying the trickier stem cutting method. I prefer a powder form.
- Small Pots or Trays: For your new divisions or cuttings. Make sure they have drainage holes!
- Labels and a Marker Pen: Don’t lose track of what you’ve planted and when!
- Watering Can or Spray Bottle: For gentle watering.
Propagation Methods
Let’s dive into how we can get more of these lovely plants.
Division (The Most Reliable Method for Helleborus Niger)
This is by far the best way to propagate Helleborus niger. It’s like giving your mature plant a little haircut and making baby plants in the process!
- Dig Up the Plant: In late summer or early autumn, carefully dig around the base of your established Helleborus niger plant. Work your way out to avoid damaging the main roots. Gently lift the entire root ball from the ground.
- Clean the Roots: Gently shake off excess soil. You can even rinse the roots under a gentle stream of water to get a better look.
- Identify Natural Breaks: Look for sections of the plant that are clearly separate, with their own crown (where the leaves emerge) and a good network of roots.
- Separate the Divisions: Using your hands, a sharp garden knife, or even two forks inserted back-to-back into the crown, gently pull or cut the plant into sections. Each division should have at least one healthy growth bud and a decent root system. If a division seems very small, it might be best to let it grow on for another year.
- Replant: Immediately replant your divisions into their new homes. I like to plant them in containers filled with that good, well-draining soil mix we discussed. Ensure the crown sits at soil level, not too deep. Water them in gently but thoroughly.
- Mulch Lightly: A light layer of mulch can help retain moisture.
Stem Cuttings (More Challenging)
This method is a bit more of a gamble with Hellebores, but if you have a particularly special plant, you might want to give it a try.
- Select and Take Cuttings: In late spring or early summer, look for a healthy, non-flowering stem that has just started to firm up. Using your clean pruning shears, make a clean cut just below a leaf node (that little bump where a leaf attaches to the stem). Aim for cuttings that are about 3-4 inches long. Remove the lower leaves, leaving just a couple at the top.
- Apply Rooting Hormone (Optional): If you’re using rooting hormone, dip the cut end of the stem into the hormone powder, tapping off any excess.
- Plant the Cuttings: Fill a small pot with your well-draining mix. Using a dibber or a pencil, make a hole in the soil. Insert the cutting into the hole, ensuring the leaf nodes are below the soil surface. Gently firm the soil around the stem.
- Create a Humid Environment: This is crucial! Water the soil gently. Then, cover the pot with a clear plastic bag or place it in a propagator with a lid. This traps humidity, which is what cuttings need to develop roots before the parent plant essentially dries them out.
The “Secret Sauce” (Pro Tips)
Through all my years of gardening, I’ve learned a few things that aren’t always in the books.
- Don’t Overcrowd: When dividing, resist the urge to cram too many divisions into one pot. Each new plant needs space to establish its roots without competing too much. Think of it as giving them their own little starter home.
- Bottom Heat for Cuttings: If you’re brave enough to try stem cuttings and have a heat mat (often used for starting seeds), placing the pot on a gentle bottom heat source can significantly improve your success rate. Hellebores like it a bit warmer to encourage root development, but not so hot that it cooks them! Just a gentle warmth.
- Patience is Your Best Tool: Especially with cuttings, it can take weeks, even months, to see signs of rooting. Don’t be tempted to pull them out to check too early. If the leaves stay green and firm, there’s a good chance roots are forming underneath.
Aftercare & Troubleshooting
Once your divisions or cuttings look like they’re settling in, it’s time to give them a little TLC.
- Watering: Keep the soil consistently moist but not soggy. This is where that excellent drainage really comes into play. Water when the top inch of soil feels dry to the touch. For cuttings, continue to monitor humidity. Once they start showing new growth, you can gradually acclimate them to normal conditions by opening the plastic bag a little each day.
- Light: New divisions and cuttings prefer bright, indirect light. Direct sun can be too harsh and scorch their delicate leaves. A shady spot on the patio or a bright windowsill is ideal.
- Troubleshooting – Rot: The most common problem you’ll face is rot. This is almost always due to overwatering or poor drainage. If you see stems or leaves turn mushy and brown, it’s a sign of trouble. There’s not much you can do once rot takes hold, so prevention is key. If you catch it very early with a cutting, you might be able to salvage it by taking a clean cut higher up and starting again, ensuring better ventilation and drainage.
A Encouraging Closing
Propagating any plant is a journey, and with a plant as special as the Christmas Rose, it feels like a real triumph. Remember to be patient with yourself and your new Hellebores. Not every attempt will be perfect, and that’s okay! Enjoy the process of learning, nurturing, and eventually, seeing your own Helleborus niger plants flourish. Happy gardening!
Resource:
https://identify.plantnet.org/k-world-flora/species/Helleborus%20niger%20L./data