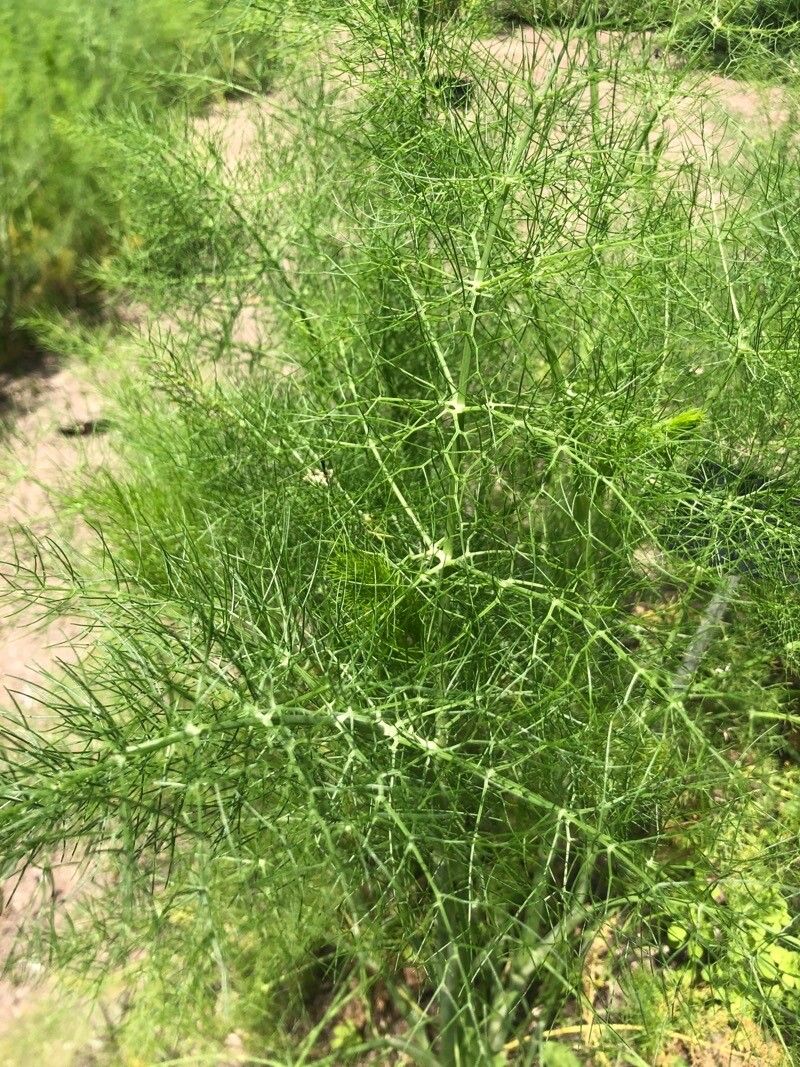
Oh, Seseli cantabricum! What a beauty. I just adore those delicate, white, frothy blooms and that fine, feathery foliage. It brings such an airy elegance to the garden, doesn’t it? If you’re anything like me, seeing a plant you love thriving makes you want to share the joy. Propagating this lovely member of the carrot family is a fantastic way to do just that – expand your own collection or share the magic with friends. And I’m happy to tell you, it’s quite doable! It’s not the absolute easiest plant for a brand-new beginner to propagate, but with a little care and these tips, you’ll be well on your way.
The Best Time to Start
For me, the sweet spot for propagating Seseli cantabricum is late spring to early summer. This is when the plant is actively growing after the chill of winter. You want to catch it when it has plenty of vibrant growth and energy. I usually look for stems that are a few inches long and have begun to harden off slightly – not brand new, floppy growth, but not woody old stems either.
Supplies You’ll Need
Gathering your supplies beforehand makes the whole process so much smoother. Here’s what I always have on hand:
- Sharp pruning shears or a clean, sharp knife: For making clean cuts.
- Small pots or seed trays: Clean ones are essential to prevent disease.
- A light, well-draining potting mix: I often use a mix of equal parts peat moss or coco coir, perlite, and horticultural sand. You can also find specific propagating mixes.
- Rooting hormone (optional but recommended): A powder or gel can give your cuttings a helpful boost.
- A watering can with a fine rose: To water gently without disturbing the cuttings.
- A clear plastic bag or a propagating dome: To create a humid environment.
- Labels and a waterproof pen: To keep track of what you’ve planted!
Propagation Methods
I usually find that stem cuttings are the most successful and straightforward method for Seseli cantabricum.
- Take Your Cuttings: On a bright morning, select a healthy, non-flowering stem that’s about 4-6 inches long. Using your clean pruners or knife, make a clean cut just below a leaf node (that little bump where a leaf emerges from the stem).
- Prepare the Cuttings: Gently remove the lower leaves from the cutting, leaving just a few at the top. This helps the plant focus its energy on rooting rather than leaf production. If the leaves are very large, I might even snip them in half to reduce water loss.
- Apply Rooting Hormone (Optional): Dip the cut end of the stem into your rooting hormone, tapping off any excess. This step isn’t strictly necessary, but I find it really speeds things up.
- Plant Your Cuttings: Fill your small pots with your prepared potting mix. Make a small hole in the center of the soil with your finger or a pencil. Carefully insert the cut end of the Seseli cutting into the hole, ensuring the nodes where the leaves were removed are buried. Gently firm the soil around the stem to hold it in place.
- Water Gently: Water the pot thoroughly using your fine-rose watering can. You want the soil to be moist but not waterlogged.
- Create a Humid Environment: Place the pot inside a clear plastic bag and seal it, or put it under a propagating dome. This traps moisture, creating a mini-greenhouse effect that encourages rooting. Place the pot in a bright spot, but out of direct, harsh sunlight.
The “Secret Sauce” (Pro Tips)
Here are a couple of things I’ve learned over the years that make a real difference:
- Bottom Heat is Your Friend: If you have it, placing your pots on a seed starting heat mat set to a low temperature (around 70°F or 21°C) can dramatically speed up root development. New roots love a little warmth from below!
- Don’t Disturb Too Soon: It’s tempting to peek and pull at your cuttings to see if they’ve rooted, but resist the urge! I wait at least 3-4 weeks before checking. You’ll know they’ve rooted when you feel a gentle resistance when you tug slightly on the cutting, or when you see new little leaves starting to sprout.
Aftercare & Troubleshooting
Once your Seseli cuttings have developed a good root system – evidenced by that gentle tug test or new growth – it’s time to give them a bit more space.
Carefully transplant your new little plants into individual pots, using a good quality potting mix. Continue to keep them moist but not soggy. As they grow, you can gradually introduce them to more light. Harden them off before planting them out in the garden, meaning you gradually expose them to outdoor conditions over a week or two.
The most common issue I see is rot. This is usually caused by too much moisture and poor air circulation. If you notice a cutting turning black and mushy, it’s likely gone too far. Make sure your soil drains well and that you’re not overwatering. Good airflow is key, so try to open up your plastic bag or dome for a short while each day once new growth appears.
A Encouraging Closing
Propagating plants is such a rewarding journey. It teaches you patience and connects you even more deeply with your garden. Don’t be discouraged if not every single cutting takes – that’s perfectly normal! Celebrate the successes, learn from any mishaps, and most importantly, enjoy the process of coaxing new life into being. Happy propagating!
Resource:
https://identify.plantnet.org/k-world-flora/species/Seseli%20cantabricum%20Lange/data