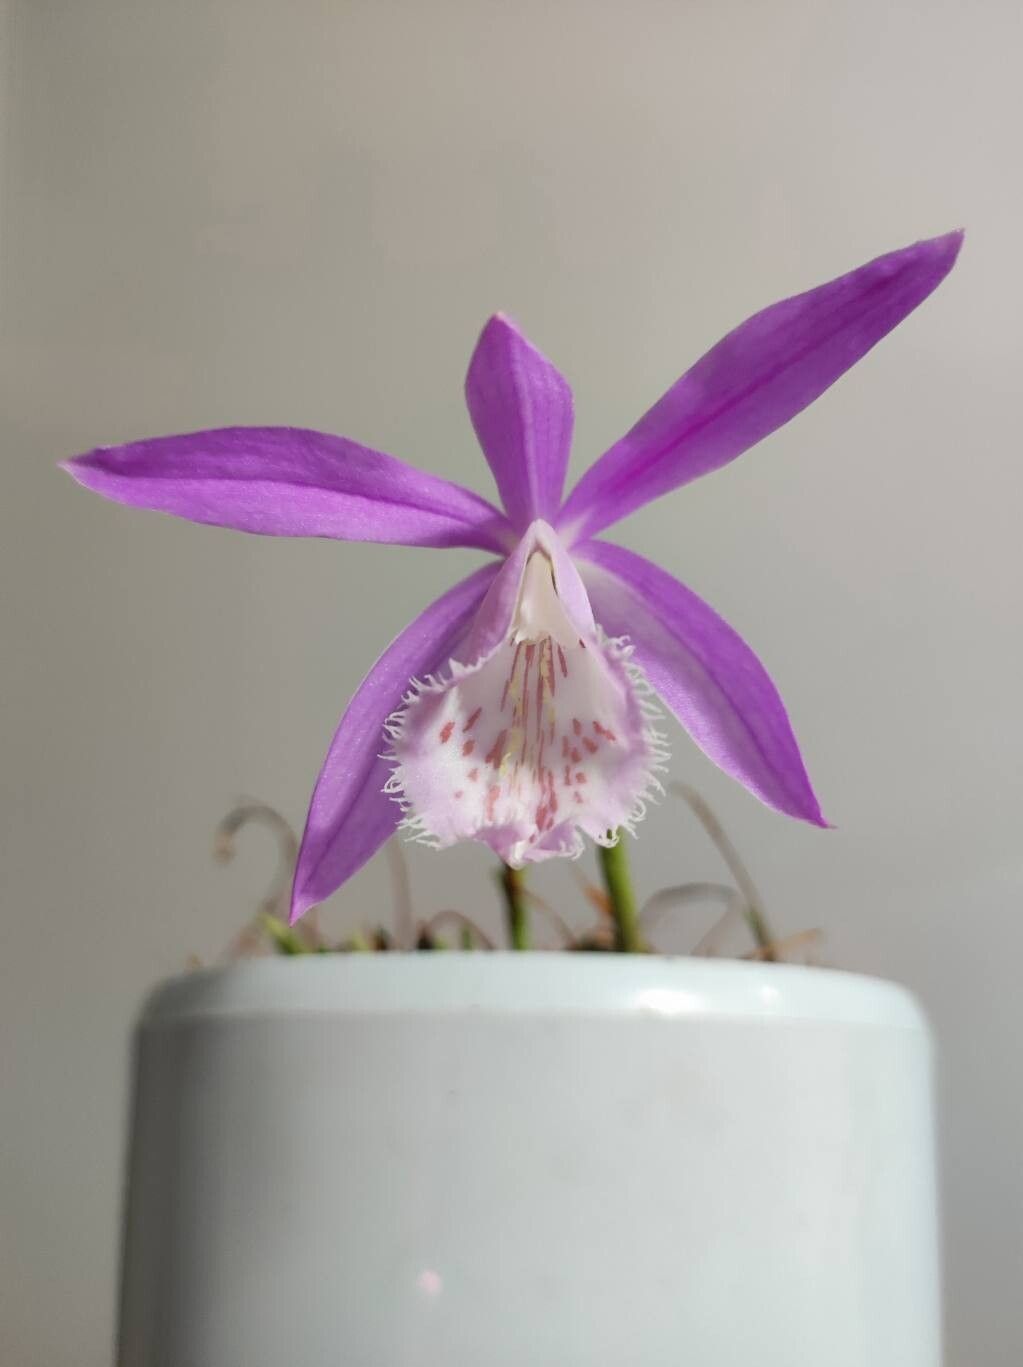
Oh, how I adore Pleione praecox! These little beauties, with their delicate blooms and graceful foliage, are such a joy to have gracing the garden. If you’ve been captivated by their charm, you’ll be thrilled to know that propagating them can be a deeply rewarding experience. It’s a way to share the magic, add more splashes of color to your own landscape, or even gift these treasures to fellow plant lovers. Now, I’ll be honest, Pleione praecox isn’t quite a beginner-level plant for propagation, but with a little care and attention, I truly believe anyone can have success.
The Best Time to Start
For Pleione praecox, the sweet spot for propagation is early spring, just as the new growth begins to emerge. You’ll see those little pseudobulbs starting to plump up and send out tiny shoots. This is when they have the most energy stored and are ready to get down to business. Trying to propagate when they’re dormant or in the heat of summer can be a bit more of a gamble.
Supplies You’ll Need
Gathering your supplies beforehand makes the whole process much smoother. Here’s what I usually have on hand:
- Sharp pruning shears or a clean knife: For making precise cuts. Sterilize them between each cut to prevent disease.
- Well-draining potting mix: A special orchid mix is often ideal, or you can create your own by combining coarse perlite, orchid bark, and a bit of peat moss. The key is excellent aeration!
- Small pots or trays: Anything that will hold your new propagations comfortably and allow for good airflow.
- Watering can with a fine rose: For gentle watering.
- Rooting hormone (optional, but recommended for a boost): A powdered or liquid form can help encourage root development.
- Labels and a marker: Because believe me, you will forget what you planted where!
Propagation Methods
For Pleione praecox, division is hands-down the most reliable and common method. These plants naturally produce new pseudobulbs that cluster together over time.
- Gently dig up the plant: Do this during that early spring window we talked about, when growth is just starting. Gently loosen the soil around the base.
- Separate the pseudobulbs: You’ll see individual pseudobulbs attached to the parent plant. With a clean knife or your fingers, carefully separate healthy-looking pseudobulbs. Try to keep at least a couple of leaf nodes intact if possible. If a pseudobulb looks shriveled or damaged, it’s best to discard it.
- Optional: apply rooting hormone: If you’re using it, dip the cut end of each pseudobulb into the rooting hormone powder or solution.
- Plant the divisions: Pot each division in its own small pot filled with your well-draining mix. Make sure the pseudobulb is planted at the same depth it was previously, or just slightly deeper.
- Initial watering: Water lightly after planting. You don’t want to waterlog the fresh cuts.
The “Secret Sauce”
Here are a couple of tricks I’ve learned over the years that really make a difference:
- Don’t overwater, ever! This is the cardinal rule for Pleione. They can rot incredibly easily if their roots sit in soggy soil. When you first pot your divisions, water sparingly. Only water again when the top inch of soil feels dry to the touch.
- Give them a little warmth: Pleione praecox seem to appreciate a bit of gentle bottom heat, especially in the initial stages of rooting. Placing the pots on a heated propagation mat (set to a low temperature) can really encourage roots to form.
Aftercare & Troubleshooting
Once your divisions are planted, keep them in a bright, indirect light location. Your goal now is to encourage root development before you see significant leaf growth.
- Patience is key! You might not see much happening above ground for a few weeks, and that’s perfectly normal. The energy is going into those roots.
- Watch for rot: The most common sign of trouble is mushy, dark pseudobulbs. If you see this, it’s usually a sign of overwatering or poor drainage. You might be able to save a healthy part of a pseudobulb if caught early, but often it’s a sign that the division hasn’t made it.
- Pests: Keep an eye out for common garden pests like aphids or spider mites, especially as new growth emerges. A gentle spray of insecticidal soap can usually handle them.
A Warm Encouragement
Propagating Pleione praecox might take a little patience, but seeing those new plants take hold is such a rewarding feeling. Don’t be discouraged if you have a few losses; it’s all part of the learning process. Just keep at it, keep your soil airy, and enjoy watching your collection grow! Happy planting!
Resource:
https://identify.plantnet.org/k-world-flora/species/Pleione%20praecox%20(Sm.)%20D.Don/data