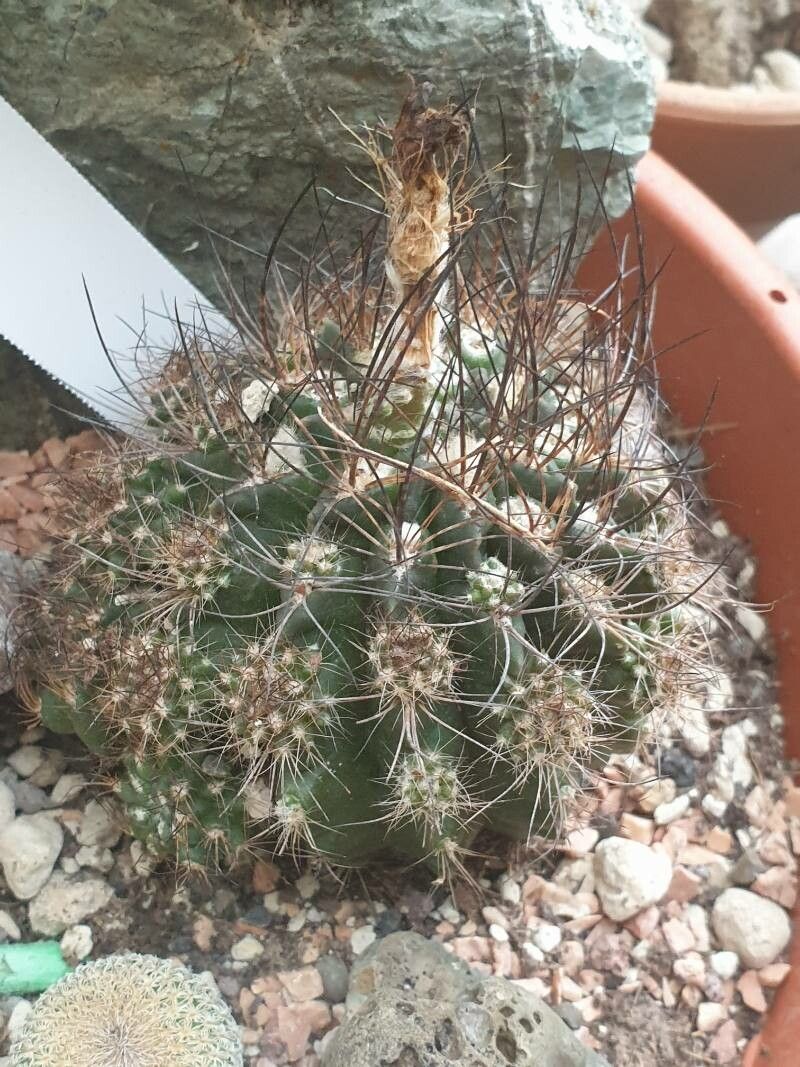
Hello fellow plant lovers! Today, I want to chat about a truly special cactus, Eriosyce crispa. If you haven’t met one, imagine a wonderfully textured orb, often with delightful ribbing and sometimes even a fuzzy crown, just begging to be part of your collection. Watching a new baby cactus sprout from your efforts is one of the most satisfying gardening experiences, and Eriosyce crispa is no exception. Now, is it a walk in the park for absolute beginners? Honestly, it can be a little more on the challenging side, but don’t let that deter you! With a little care and patience, you absolutely can succeed.
The Best Time to Start
For propagating Eriosyce crispa, timing is key. You’ll want to focus your efforts during its active growing season, which generally spans from late spring through summer. This is when the plant has plenty of energy to dedicate to producing new roots. Trying to propagate when it’s dormant, typically in the cooler, drier months, will likely lead to disappointment.
Supplies You’ll Need
Gathering your tools before you begin makes the whole process much smoother. Here’s what I always have on hand:
- Well-draining cactus and succulent mix: This is crucial! I usually mix my own with roughly equal parts of potting soil, perlite, and coarse sand.
- Sharp, clean pruning shears or a sharp knife: Sterilize these with rubbing alcohol to prevent disease.
- Rooting hormone (optional, but recommended): A powder or liquid can significantly speed up root development.
- Small pots or trays: Terracotta pots are excellent because they breathe.
- Gravel or small stones: For drainage in the bottom of pots if needed.
- A spray bottle: For gentle watering.
- Patience!
Propagation Methods
Eriosyce crispa is most commonly propagated from offsets, which are the little baby plants that naturally grow from the base of the parent.
Propagating Offsets:
- Examine your plant: Look for small baby plants, called offsets or pups, emerging from around the base of the mature Eriosyce crispa.
- Wait for a good size: Ideally, the offset should be at least an inch in diameter and have begun to form its own roots, though this isn’t always obvious.
- Carefully detach the offset: Using your sterilized pruning shears or knife, gently cut the offset away from the mother plant. Try to get a bit of root if possible. If the offset is large enough, you might be able to twist it off with your hands.
- Let it callous: This is a super important step! Place the detached offset in a dry, shaded spot for several days to a week. You want the cut surface to dry out and form a callous. This prevents rot, which is the biggest enemy of succulent cuttings.
- Planting: Once calloused, you can plant the offset. Fill a small pot with your well-draining cactus mix. Make a small indentation in the soil and place the calloused end of the offset into it. You don’t need to bury it deeply, just enough to keep it upright.
- Initial watering: Do not water immediately. Wait for about a week after planting before giving it its first, very light watering. Just a gentle mist or a small amount around the edges of the pot is enough. The goal is to encourage roots to seek moisture.
The “Secret Sauce” (Pro Tips)
Here are a few tricks of the trade that really make a difference:
- Don’t overwater the offsets: This is probably the biggest mistake people make. Think “less is more” when it comes to watering new cuttings. They’re more susceptible to rot when they don’t have established roots.
- Bottom warmth is your friend: If you can, place your potted offsets on a heat mat, the kind used for seedlings. This gentle warmth mimics spring soil temperatures and can significantly encourage root formation. Just ensure it’s not a hot mat, but a warm one.
- Avoid direct sun initially: New cuttings are fragile. Let your offsets settle in a bright spot with indirect sunlight for the first few weeks. Once they show signs of growth, you can gradually introduce them to more light.
Aftercare & Troubleshooting
As your offset begins to grow and you see signs of new spine development or a slight swelling, you know roots are forming! Continue to water sparingly, allowing the soil to dry out completely between waterings. Gradually increase watering frequency as the plant matures.
Now, what if things go wrong? The most common problem is rot. If you notice your offset becoming mushy, discolored (turning brown or black), or developing a foul odor, it’s likely suffering from rot. Unfortunately, this is often fatal. The best way to prevent it is through careful watering and by ensuring that all cuttings are properly calloused before planting. If you do see rot, try to cut away all affected tissue with a sterilized blade, let the remaining healthy part callous again, and replant in fresh, dry soil.
A Encouraging Closing
Propagating Eriosyce crispa is a journey. There will be times you feel like a sprouting pro, and other times when a cutting just doesn’t make it. That’s all part of the learning curve! Be patient with your new little cacti, learn from each experience, and most importantly, enjoy the process of growing your plant family. Happy gardening!
Resource:
https://identify.plantnet.org/k-world-flora/species/Eriosyce%20crispa%20(F.Ritter)%20Katt./data