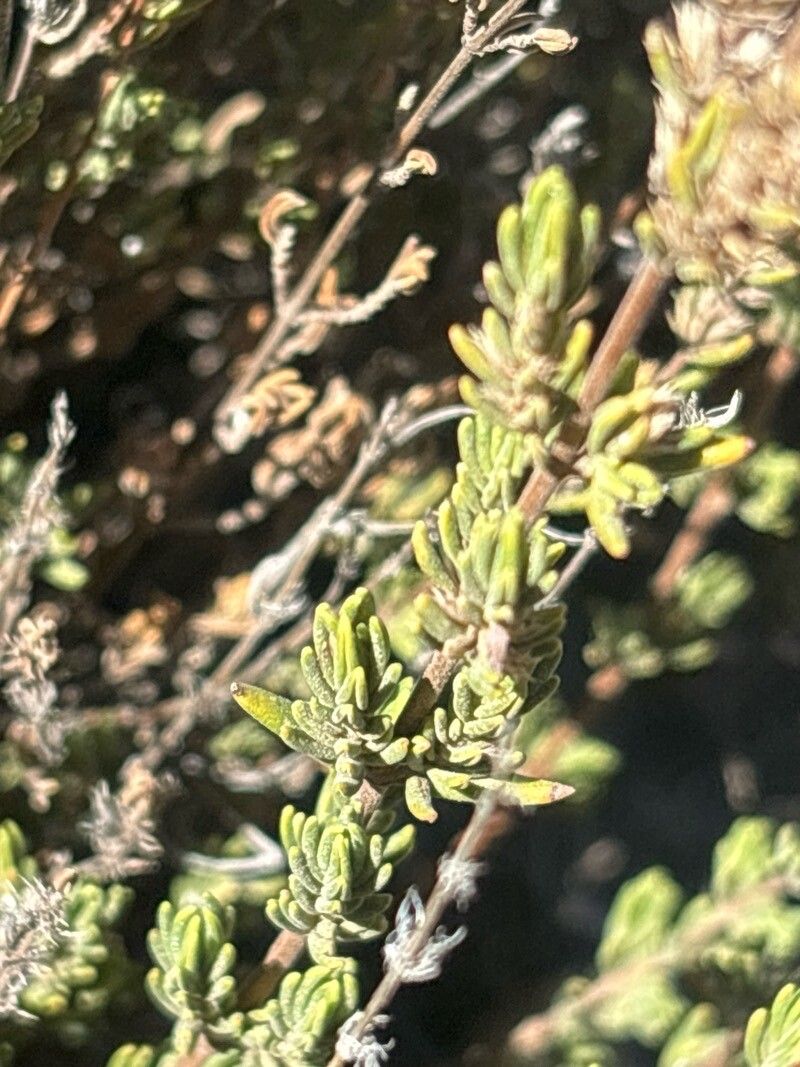
Hey there, fellow plant lovers! It’s so lovely to have you join me today. If you’ve ever admired the delicate beauty of Micromeria lasiophylla, with its tiny, fragrant leaves and charming little flowers, you’re in for a treat. This little Mediterranean native is an absolute gem for rock gardens, containers, and even as a groundcover. And guess what? Propagating it is a wonderfully rewarding endeavor.
Now, I won’t lie and say it’s as simple as popping a succulent leaf in water, but for those willing to give it a little attention, Micromeria lasiophylla is a very achievable project. It’s a fantastic plant for someone looking to dip their toes into propagating slightly more “boutique” herbs.
The Best Time to Start
For the highest chance of success with Micromeria lasiophylla, I always recommend starting in late spring or early summer. This is when the plant is actively growing, full of vigor, and ready to bounce back from a little vegetative surgery. You’re looking for healthy, non-flowering stems that are neither brand new and overly soft nor old and woody. Think of stems that have just finished their initial flush of growth.
Supplies You’ll Need
Gathering your supplies beforehand makes the process so much smoother. Here’s what I always have on hand:
- Sharp pruning shears or scissors: Clean, sharp tools are crucial to prevent damaging the stems and introducing disease.
- Rooting hormone (optional but recommended): A powder or gel will give your cuttings a helpful boost.
- A well-draining potting mix: I like a mix of equal parts perlite, peat moss (or coco coir), and a good quality potting soil. Some gardeners also swear by a gritty mix with a lot of sand.
- Small pots or seed trays: Clean containers are a must to avoid disease.
- A clear plastic bag or propagation dome: This will help maintain humidity.
- Water: For misting and watering.
Propagation Methods: Taking Stem Cuttings
This is my go-to method for Micromeria lasiophylla. It’s efficient and often yields great results.
- Select Your Cuttings: Choose healthy, mature stems from your mother plant. Look for stems that are about 3-4 inches long. Gently remove any leaves from the bottom half of the cutting. You want to create a clean section for rooting.
- Prepare the Cutting: If you’re using rooting hormone, dip the cut end of the stem into the powder or gel. Tap off any excess.
- Plant Your Cuttings: Fill your pots with your prepared potting mix. Make a small hole with a pencil or your finger in the center of the soil. Gently insert the base of the cutting into this hole, ensuring the part you applied hormone to is nestled in the soil. Firm the soil around the stem to hold it upright.
- Water Gently: Water the soil lightly to settle it around the cuttings.
- Create a Humid Environment: Cover the pots with a clear plastic bag or place them under a propagation dome. This traps moisture, which is vital for the cuttings to develop roots before they can absorb water through their own root system.
The “Secret Sauce” (Pro Tips)
Here are a few little tricks I’ve learned over the years that can really make a difference:
- Don’t let the leaves touch the water (if water propagating): If you choose to try water propagation (less common for Micromeria but possible), ensure only the cut stem is submerged. Any leaves submerged will rot quickly and can compromise the whole cutting. I personally find soil propagation more reliable for this particular plant.
- Bottom heat is your best friend: If you have one, place your pots on a gentle heating mat. This “bottom heat” encourages root development from below, significantly speeding up the process and increasing your success rate. It’s like a little spa treatment for your cuttings!
- Don’t overcrowd! Give your cuttings a bit of space in their pots. Overcrowding can lead to poor air circulation, which in turn can encourage fungal diseases, the bane of any propagator’s existence.
Aftercare & Troubleshooting
Once your cuttings are planted, place them in a location that receives bright, indirect light. Avoid direct, harsh sun, especially through the plastic cover, as this can cook your little darlings. Keep the soil consistently moist but not soggy. A light misting of the leaves every few days can also be beneficial.
You’ll know your cuttings are rooting when you see new growth appearing. This can take anywhere from 4 to 8 weeks, sometimes longer. Gently tugging on a cutting – if it offers resistance, you’ve got roots!
Common issues? The most frequent problem is rot. This usually happens if the soil is too wet, the air circulation is poor, or the cuttings were diseased to begin with. If you see stems turning black and mushy, sadly, it’s time to discard those particular cuttings. Ensure your watering is judicious and that you have good drainage.
A Little Patience Goes a Long Way
Propagating plants is a journey, and with Micromeria lasiophylla, a good dose of patience is key. Don’t be discouraged if your first attempt isn’t perfect. Each plant and each cutting is a learning experience. Enjoy the process of nurturing these tiny beginnings, and soon you’ll have a whole new garden of fragrant delights! Happy propagating!
Resource: