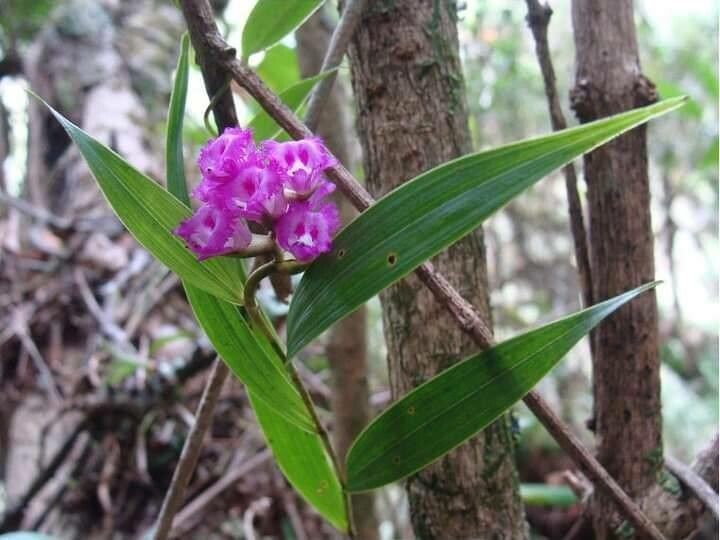
Hello, fellow plant lovers! Today, we’re diving into the delightful world of Elleanthus brasiliensis, a gem that truly brightens up any collection. If you’ve ever admired its graceful arching stems and vibrant, often pendulous blooms, you’re in for a treat. Propagating this orchid isn’t just about adding to your plant family; it’s about the sheer joy of watching something new come to life from a small piece of your existing plant. And happily, for those of you just starting your orchid journey, Elleanthus brasiliensis is quite forgiving, making it a wonderful choice for beginners looking to expand their green assets!
The Best Time to Start
For the most success, I find the sweet spot for propagating Elleanthus brasiliensis is late spring to early summer. This is when the plant is actively growing after its winter rest. You’ll generally be looking for stems that have finished flowering or are just starting to mature. Healthy, vigorous growth signals the best time to get a cutting.
Supplies You’ll Need
Here’s what I always have on hand when I’m ready to propagate:
- Sharp, sterile pruning shears or a clean knife: Essential for making clean cuts and preventing disease.
- Potting mix: A well-draining orchid mix is ideal, often containing bark, charcoal, and perlite. For beginners, a mix specifically for epiphytic orchids works beautifully.
- Small pots or propagation trays: Clean containers that allow for good drainage.
- Rooting hormone (optional but recommended): A powder or gel can give your cuttings a helpful boost.
- Clear plastic bags or a propagation dome: To create a humid microclimate.
- Water: For watering and, if you choose, for water propagation.
- Sphagnum moss (optional): Can be used to help maintain humidity around cuttings.
Propagation Methods
Let’s get our hands dirty! There are a couple of reliable ways to multiply your Elleanthus brasiliensis:
Stem Cuttings
This is my go-to method for Elleanthus brasiliensis.
- Identify a healthy stem: Look for a stem that’s at least six inches long and has a few pseudobulbs (those swollen stem bases).
- Make the cut: Using your sterile shears, carefully cut the stem just below a pseudobulb, leaving at least two or three pseudobulbs on the cutting. You can also take longer stem sections, but ensure each piece has at least one pseudobulb and some healthy leaf nodes.
- Prepare the cutting: If your cutting has any aerial roots, that’s a bonus! Remove any old or damaged leaves, but try to leave healthy ones intact.
- Apply rooting hormone (optional): Dip the cut end into your rooting hormone powder or gel. Tap off any excess.
- Planting: Gently insert the cut end into your prepared orchid mix or moist sphagnum moss. Make sure the pseudobulb is at or just above the surface. If you’re using a pot with multiple cuttings, give them a little space.
- Create humidity: Water the potting medium lightly. Then, place the pot in a clear plastic bag or cover it with a propagation dome. Seal it loosely to allow for some air circulation.
Water Propagation (for stem sections)
This can be a visually satisfying method.
- Take stem sections: Similar to above, cut healthy stem sections that have at least one pseudobulb and some leaf nodes.
- Prepare the cutting: Remove any leaves that would be submerged in water.
- Place in water: Put the cuttings in a clean jar or vase filled with fresh, room-temperature water.
- Location: Place the jar in bright, indirect light.
The “Secret Sauce” (Pro Tips)
Here are a few things I’ve learned over the years that can really make a difference:
- Don’t let the leaves touch the water: If you’re water propagating, any leaves that dip into the water are prone to rot, which can quickly take over your cutting. Trim them off!
- Bottom heat is your friend: For stem cuttings planted in media, placing the pot on a gentle heating mat designed for plants can significantly speed up root development. Think “warm feet” for your new plant.
- Patience with pseudobulbs: Even if a cutting looks a bit sad initially, don’t give up on it right away. Often, the pseudobulb holds enough energy to push out new roots and shoots, especially if you’ve provided good humidity.
Aftercare & Troubleshooting
Once you spot new roots emerging (this can take anywhere from a few weeks to a couple of months), or if you see new growth pushing from the pseudobulb, you’re doing great!
- Gradually acclimate: If your cutting is in a bagged environment, start by opening the bag for a few hours each day, then leave it open for longer periods. You want to slowly reduce the humidity to match your home environment.
- Watering: Water whenever the potting medium is starting to feel dry. Avoid letting it sit in soggy soil.
- Light: Continue to provide bright, indirect light.
- Troubleshooting: The most common issue is rot. If you see mushy, dark stems or leaves, it’s usually a sign of too much moisture and not enough air circulation. Remove the affected part immediately and try to let the remaining healthy portion dry out a bit. If your cutting simply shrivels and shows no signs of life after a few months, it may not have had enough stored energy or the conditions weren’t quite right. Don’t be discouraged; just try again!
A Little Encouragement
Propagating plants is a journey, and Elleanthus brasiliensis is a wonderful companion on that path. Be patient with your newlings, celebrate every tiny root and new leaf, and most importantly, enjoy the rewarding process of coaxing life from your existing treasures. Happy propagating!
Resource: