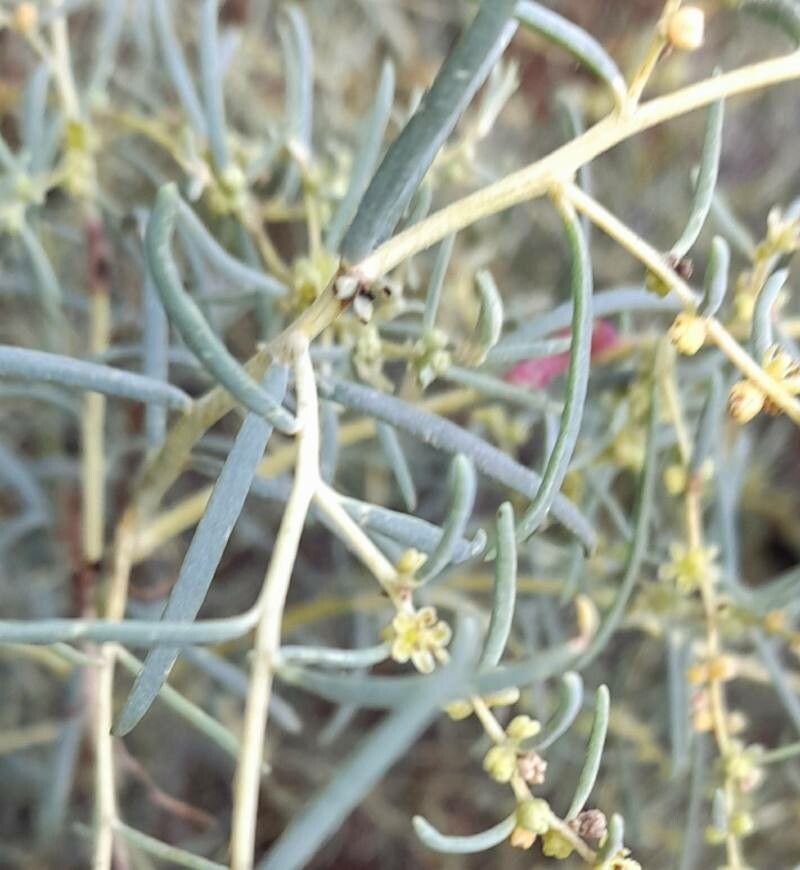
Hey there, fellow plant lovers! I’m so excited to chat with you today about a real gem in the garden: Suaeda divaricata, or as some of us affectionately call it, the desert goosefoot. This tough little native is just beautiful with its striking silvery-blue foliage that adds a unique touch to any landscape. It’s a champion for dry conditions and brings a wonderful textural element. Plus, the sheer satisfaction of coaxing a new plant into existence from a tiny snippet? That’s a feeling like no other!
Now, let’s talk about propagating Suaeda divaricata. Is it a walk in the park for absolute beginners? Honestly, I’d say it leans towards the moderately easy side. It’s not going to throw a fit on you if you miss a watering, but a little bit of attention to detail goes a long way. Think of it as a rewarding challenge, not a daunting obstacle.
The Best Time to Start
When it comes to getting the highest success rate, I always find that spring and early summer are your golden ticket. This is when the plant is really in its vigorous growth phase. You’ll be taking cuttings from healthy, new growth that has a good amount of energy behind it. Avoid trying to propagate from plants that are stressed, flowering heavily, or showing signs of dormancy.
Supplies You’ll Need
Here’s what you’ll want to have on hand before you get started:
- A sharp, clean pair of pruning shears or a sharp knife: This is crucial for making clean cuts.
- Rooting hormone (optional but recommended): This can give your cuttings a great boost. I like to use a powder form.
- A well-draining potting mix: A cactus or succulent mix works wonderfully. You can also mix in some perlite or coarse sand for extra aeration.
- Small pots or propagation trays: Make sure they have drainage holes!
- A spray bottle: For gentle misting.
- A clear plastic bag or a propagation dome: To create a humid environment.
- Water: For misting and (if you choose) water propagation.
Propagation Methods: Stem Cuttings
This is generally the most successful and straightforward method for Suaeda divaricata.
- Take Your Cuttings: With your clean shears, select healthy stems that are about 4-6 inches long. Look for stems that are firm but not woody. Make a clean cut just below a leaf node. These nodes are where roots will most likely emerge.
- Prepare the Cuttings: Gently remove the lower leaves from the cutting, leaving just a few at the very top. This prevents them from rotting when placed in the soil or water. If your cuttings feel a bit fragile, you can let them air dry for a few hours to form a callus. This can help prevent rot.
- Apply Rooting Hormone (Optional): Dip the cut end of the stem into your rooting hormone powder, tapping off any excess.
- Planting Time: Fill your small pots or trays with your well-draining potting mix. Moisten the soil lightly.
- Insert the Cuttings: Make a small hole in the soil with your finger or a pencil and gently insert the cutting, ensuring the nodes where you removed leaves are below the soil surface. Firm the soil gently around the base.
- Create Humidity: Water the soil lightly, then cover the pot or tray with a clear plastic bag or a propagation dome. This traps moisture and keeps the cuttings from drying out. Make sure the leaves don’t touch the plastic if possible; you can use stakes to prop it up.
- Placement: Place your propagation station in a bright location that receives indirect sunlight. Avoid direct sun, which can scorch the delicate cuttings.
The “Secret Sauce” (Pro Tips)
Here are a couple of things I’ve learned over the years that really make a difference:
- The Gentle Water Method: If you prefer water propagation, I’ve found that it works best if the leaf nodes are submerged, but absolutely no leaves touch the water. Any leaves sitting in the water will just invite rot. Change the water every few days to keep it fresh.
- Bottom Heat is Your Friend: For stem cuttings, a little bit of warmth from below can really speed up root development. A heat mat designed for propagation placed under your pots will create an environment similar to what the plant loves in its natural habitat. It’s like giving your cuttings a warm hug!
Aftercare & Troubleshooting
Once your cuttings have developed a good root system (you’ll see them peeking out of the drainage holes or feel resistance when you gently tug), it’s time for them to graduate!
- Transplanting: Carefully transplant your new Suaeda babies into individual pots with their regular well-draining soil. They’ll still be a bit tender, so keep them in a location with bright, indirect light for a week or two before introducing them to their final spot. Water them as you would an established plant, but err on the side of slightly drier.
- Common Signs of Trouble: The biggest culprit you’ll likely encounter is rot. If your cuttings turn mushy and dark, or if the remaining leaves wilt dramatically and don’t perk up, rot has probably set in. This often happens due to:
- Overwatering (soil is too wet and stays wet)
- Poor drainage
- Lack of air circulation (too tightly covered for too long)
- Rotten stems in the first place
If you see signs of rot, you might be able to salvage the cutting by taking another, healthy piece and starting over, ensuring better airflow and soil drainage this time. Don’t get discouraged; it happens to all of us!
Watching a new plant grow is one of life’s simple, profound pleasures. Be patient with your Suaeda divaricata cuttings. Some might take off quickly, others might take their sweet time. Enjoy the process, learn from each attempt, and before you know it, you’ll have a whole collection of these beautiful, resilient plants cheering up your garden. Happy propagating!
Resource:
https://identify.plantnet.org/k-world-flora/species/Suaeda%20divaricata%20Moq./data