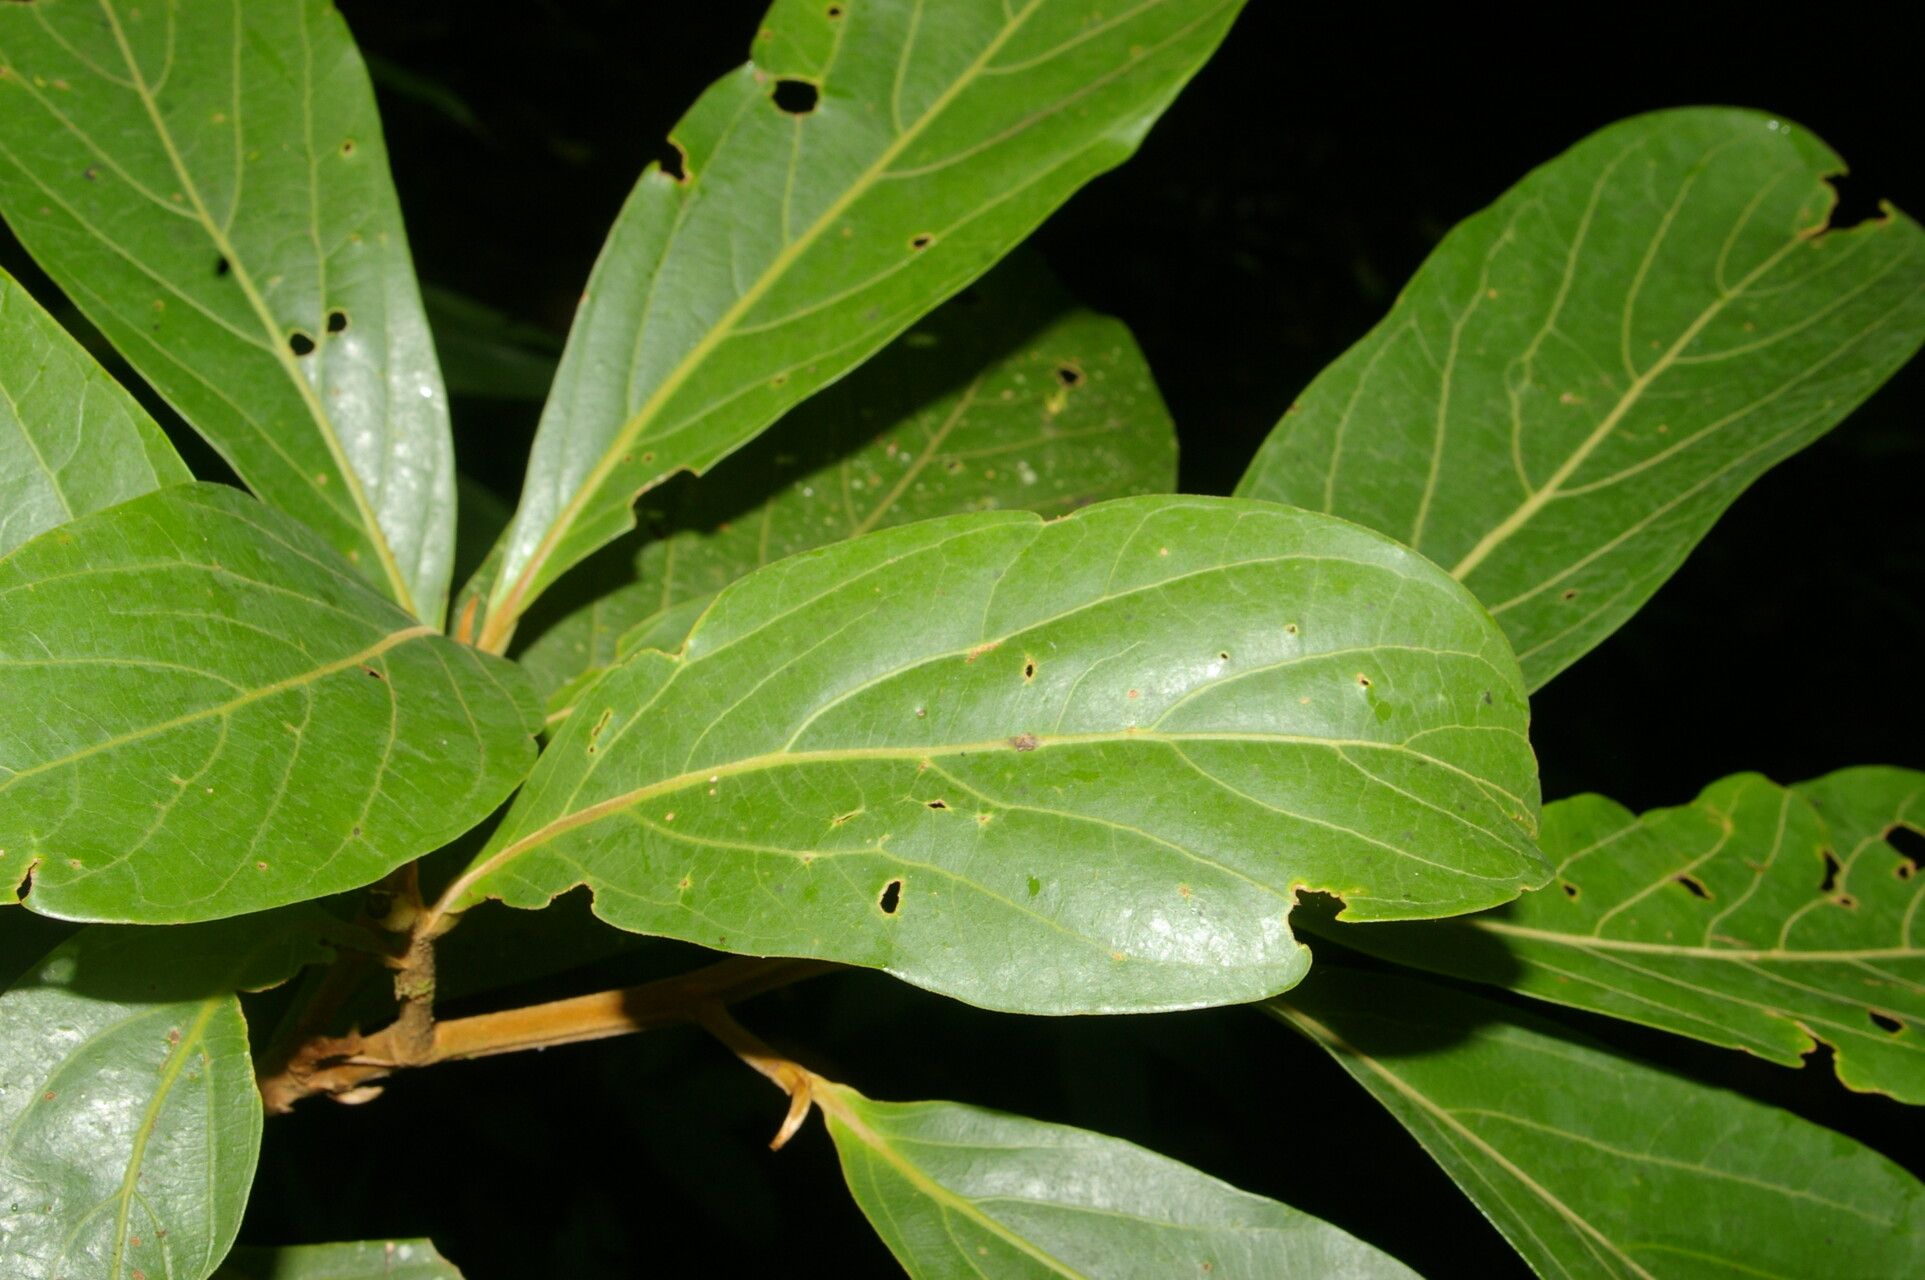
Hello fellow plant lovers! It’s so lovely to have you here for a chat about one of my absolute favorite trees, Ocotea austinii. You know, the one with those gorgeous, fragrant leaves that scent the air after a rain? And the graceful, often upright growth habit? It’s truly a treasure. Growing new Ocotea austinii from cuttings is such a fulfilling endeavor. It connects you more deeply with the plant and, honestly, it’s a fantastic way to get more of these beauties for your garden or to share with friends. Now, for beginners, I’d say this one leans a little toward the “moderately challenging” side. It’s not a “stick it in water and it’ll grow tomorrow” kind of plant, but with a bit of attention and the right approach, you can absolutely be successful.
The Best Time to Start
My advice? Aim for late spring to early summer. This is when Ocotea austinii is actively growing, usually after its main flush of new growth. You’re looking for semi-hardwood cuttings. This means stems that are a bit more mature than the brand new, floppy tips, but not yet woody and stiff. They should be somewhat flexible, like a young branch that can bend without snapping.
Supplies You’ll Need
Gathering your tools before you begin makes the whole process smoother. Here’s what I always have on hand:
- Sharp Pruning Shears or a Knife: Cleanliness is key! Fungus and bacteria are the enemies here.
- Rooting Hormone: A powder or gel specially formulated for semi-hardwood cuttings will give your cuttings a significant boost.
- Well-Draining Potting Mix: I like a blend of equal parts perlite and peat moss, or a good quality seed starting mix that’s been amended with extra perlite for aeration. Avoid heavy garden soil.
- Small Pots or Trays: Clean containers big enough to hold your cuttings. Old yogurt cups with drainage holes poked in the bottom work wonders too!
- Plastic Bag or Clear Dome: This is for creating a mini-greenhouse effect to keep humidity high.
- Water: For misting and initial hydration.
- Labels: You’ll thank yourself later!
Propagation Methods: Taking Cuttings
Stem cuttings are, in my experience, the most reliable way to go with Ocotea austinii.
- Select Your Cuttings: Head out to your plant with your clean shears. Look for those semi-hardwood stems. You want to take cuttings that are about 4-6 inches long. Try to get at least a couple of leaf nodes (where the leaves attach to the stem) on each cutting.
- Prepare the Cuttings: Once you have your cuttings, remove the lower leaves. You want to clear at least an inch or two from the bottom of the stem. This prevents the leaves from rotting when they’re buried in the soil. If the remaining leaves are very large, you can cut them in half horizontally. This reduces water loss through transpiration while still allowing the cutting to photosynthesize.
- Apply Rooting Hormone: Dip the cut end of each stem into your rooting hormone, tapping off any excess. This gets the hormone right where it needs to be as it encourages root development.
- Plant Your Cuttings: Fill your clean pots or trays with your well-draining mix. Use a pencil or your finger to make a pilot hole in the soil. Gently insert the hormone-coated end of the cutting into the hole, and firm the soil gently around it. Make sure every cutting is properly anchored.
- Water and Cover: Give your cuttings a gentle watering to settle the soil. Then, cover the pots with a plastic bag or a clear dome. This is crucial for maintaining high humidity, which is vital for cuttings that can’t yet draw enough water from the soil.
The “Secret Sauce” (Pro Tips)
Here are a few tricks I’ve learned over the years that can really boost your success rates:
- Bottom Heat is Your Friend: If you have the space, placing your pots on a gentle heat mat specifically designed for seedlings or cuttings can make a world of difference. It encourages root growth from below. Just a few degrees above room temperature is all you need.
- Don’t Let Them Drown: While high humidity is essential, make sure there’s good air circulation. If condensation becomes excessive inside your plastic cover, open it up for an hour or two each day to let things breathe. We want roots, not rot!
- Label Everything, Always: Besides the date, I like to add the origin of the cutting, especially if I’m taking from multiple plants or different varieties. It sounds simple, but in a few months, you might forget which cutting came from your prize specimen!
Aftercare & Troubleshooting
Once your cuttings are planted, find a bright spot with indirect light. Think of it as a cozy, warm, humid retreat – but not direct sun, which can scorch those delicate leaves. Mist the leaves occasionally if you notice them looking a bit thirsty, but avoid overwatering.
The first sign of success? You’ll hopefully see new leaf growth emerging from the tips of your cuttings. This is a great indicator that roots are forming. It can take anywhere from 4 to 12 weeks, sometimes even longer, so patience is key!
Now, about troubleshooting. The most common issue you’ll face is rot. This usually happens when the soil is too wet, there’s not enough air circulation, or the cuttings are in too much direct sun. If you see stems turning black and mushy, that cutting is a goner. Remove it immediately to prevent it from spreading to others. Another sign things aren’t going well is if the leaves turn yellow and drop off without any new growth appearing. This might indicate poor rooting or inconsistent watering.
A Word of Encouragement
Growing new plants is a journey, and each cutting is a little experiment. Don’t be discouraged if not every single one takes. Celebrate the successes, learn from any setbacks, and most importantly, enjoy the process. There’s a special kind of satisfaction in watching a tiny cutting develop into a robust new plant. Happy propagating!
Resource:
https://identify.plantnet.org/k-world-flora/species/Ocotea%20austinii%20C.K.Allen/data