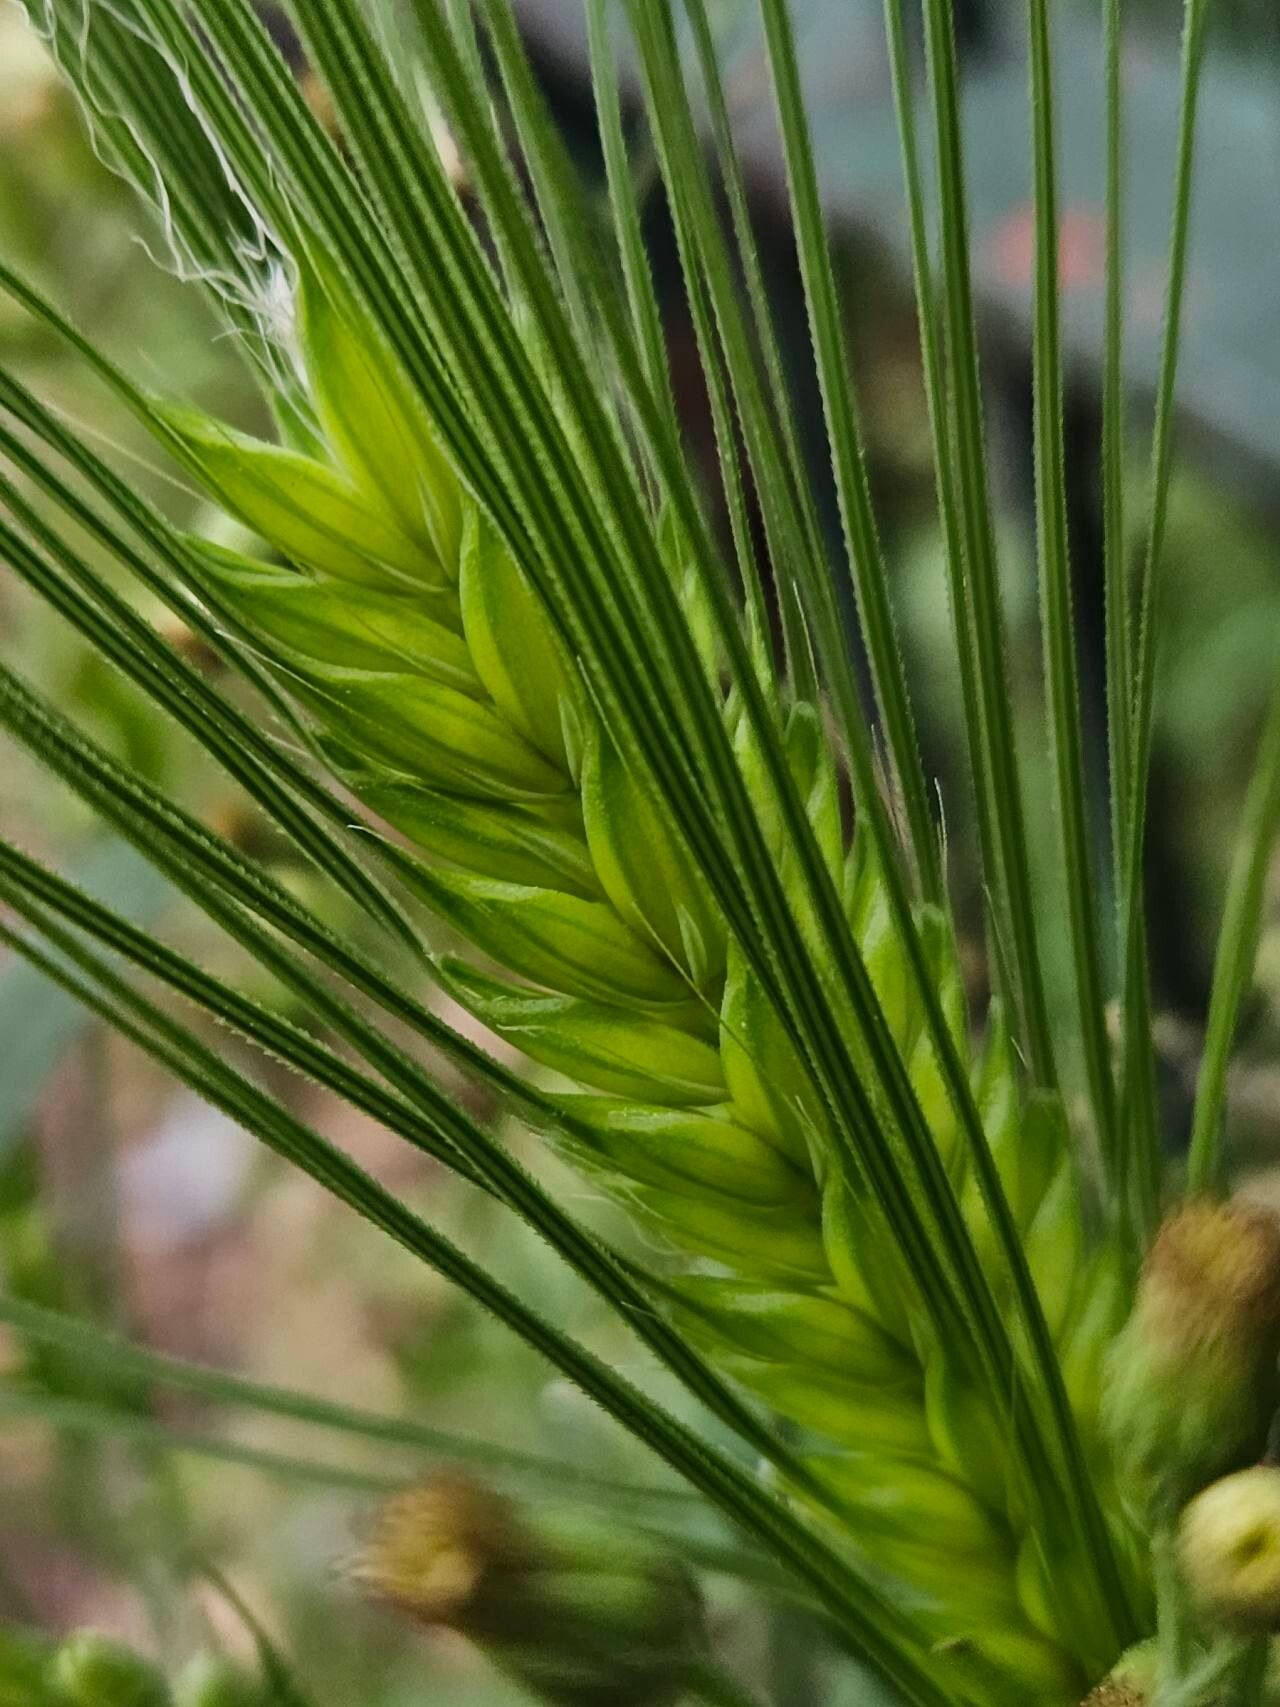
Hey there, fellow plant enthusiasts! Today, we’re diving into the wonderful world of propagating Hordeum vulgare, also known as barley. Now, I know what you might be thinking – barley? Yes! This isn’t just a grain for your morning porridge. Hordeum vulgare is a surprisingly beautiful ornamental grass that brings lovely, upright green stalks and attractive seed heads to any garden space. Watching a tiny seedling unfurl into a robust plant is pure magic, and propagating it yourself is a wonderfully rewarding experience. Don’t be intimidated; for this particular plant, it’s a fairly straightforward process, even for beginners.
The Best Time to Start
For the highest success rates when propagating barley, your sweet spot is early spring. Think of it as giving your new plants the longest possible growing season to establish themselves. You want to be working with fresh seed that has good viability. If you’re looking to divide existing clumps, the same principle applies – spring is ideal before active growth really kicks into high gear.
Supplies You’ll Need
Here’s a quick rundown of what you’ll want to have on hand:
- Fresh barley seeds: Look for high-quality seeds from a reliable source.
- Seed starting mix: A light, well-draining mix is crucial. You can buy a commercial one or make your own with peat moss, perlite, and vermiculite.
- Small pots or seed trays: With drainage holes, of course!
- Watering can with a fine rose spray: To avoid disturbing delicate seeds.
- Plastic sheeting or a propagator lid: To create a humid environment.
- Labels and a permanent marker: For keeping track of what’s what.
- Gloves (optional): If you prefer to keep your hands clean.
Propagation Methods
Barley is primarily propagated by seed, but you can also achieve success through division if you have an established plant.
Propagation by Seed (The Most Common Method)
- Prepare your pots: Fill your chosen pots or seed trays with your seed starting mix, leaving about a half-inch of space at the top. Water the mix gently until it’s evenly moist but not waterlogged.
- Sow the seeds: Scatter a few barley seeds on the surface of the soil in each pot. You don’t want to overcrowd them at this stage. A general rule of thumb is about 2-3 seeds per small pot.
- Cover the seeds: Lightly cover the seeds with about a quarter-inch of your seed starting mix. Gently press down to ensure good seed-to-soil contact.
- Water gently: Use your watering can with the fine spray to water the surface again. You want to keep the soil consistently moist but avoid washing the seeds away.
- Provide a humid environment: Cover the pots or trays with plastic sheeting or a propagator lid. This traps moisture and creates the ideal microclimate for germination.
- Find a warm spot: Place the covered pots in a warm location. Around 70-75°F (21-24°C) is perfect. A sunny windowsill can work, but avoid direct, intense sunlight initially.
- Be patient and watch: Germination usually occurs within 7-14 days. Keep an eye on the moisture levels and mist lightly if the surface looks dry.
Propagation by Division (For Established Plants)
If you happen to have a mature barley plant that’s clumped up, you can divide it.
- Gently unpot: Carefully remove the established plant from its pot or dig it up from the garden.
- Separate the roots: Gently tease apart the root ball with your fingers, trying to separate it into smaller sections, each with its own healthy roots and some shoots. If the roots are very tangled, you might need to use a clean, sharp knife to help.
- Pot up the divisions: Pot each division into its own smaller pot filled with fresh, well-draining potting mix.
- Water and care: Water thoroughly after potting and treat them as you would newly sown seedlings.
The “Secret Sauce” (Pro Tips)
You know, after two decades of getting my hands dirty, I’ve learned a few little tricks that seem to make a big difference.
- Don’t let your new seedlings dry out for a second! This is non-negotiable. Barley seeds are tiny energy packets, and if that initial sprout dries out, it’s game over. Keep that soil consistently moist, but not soggy. A spray bottle is your best friend for this.
- Bottom heat can be a germination booster. While not strictly necessary for barley, if you’re struggling with germination or want to speed things up, placing your seed trays on a heated propagation mat can really encourage those seeds to wake up. Just make sure the temperature doesn’t get too hot.
Aftercare & Troubleshooting
Once you see those first little green shoots poking through, it’s time for a slight adjustment.
- Remove the cover: As soon as you see germination, remove the plastic sheeting or propagator lid. This is important to prevent fungal issues and to allow the seedlings to start hardening off.
- Provide light: Move your seedlings to a bright location, but still avoid scorching direct sun. A bright windowsill is perfect.
- Watering: Continue to keep the soil moist. As the plants grow, you can water a bit more thoroughly, allowing the top inch of soil to dry slightly between waterings.
- Thinning: If you sowed multiple seeds per pot and they’ve all germinated, it’s a good idea to thin them out to the strongest one or two seedlings in each pot. This gives them room to grow without competition.
The most common issue you might encounter is damping off, which is a fungal disease that causes seedlings to rot at the soil line and collapse. This is usually caused by overwatering and poor air circulation. If you see this happening, sadly, there’s little to be done for the affected seedling. The best approach is to prevent it by ensuring good drainage, not overwatering, and removing covers once germination occurs.
A Encouraging Closing
So there you have it! Propagating barley is an accessible and deeply satisfying gardening endeavor. Don’t be afraid to experiment, and most importantly, be patient. Gardening is a journey, and every new plant you nurture from a seed or division is a little victory. Enjoy the process, and happy planting!
Resource:
https://identify.plantnet.org/k-world-flora/species/Hordeum%20vulgare%20L./data