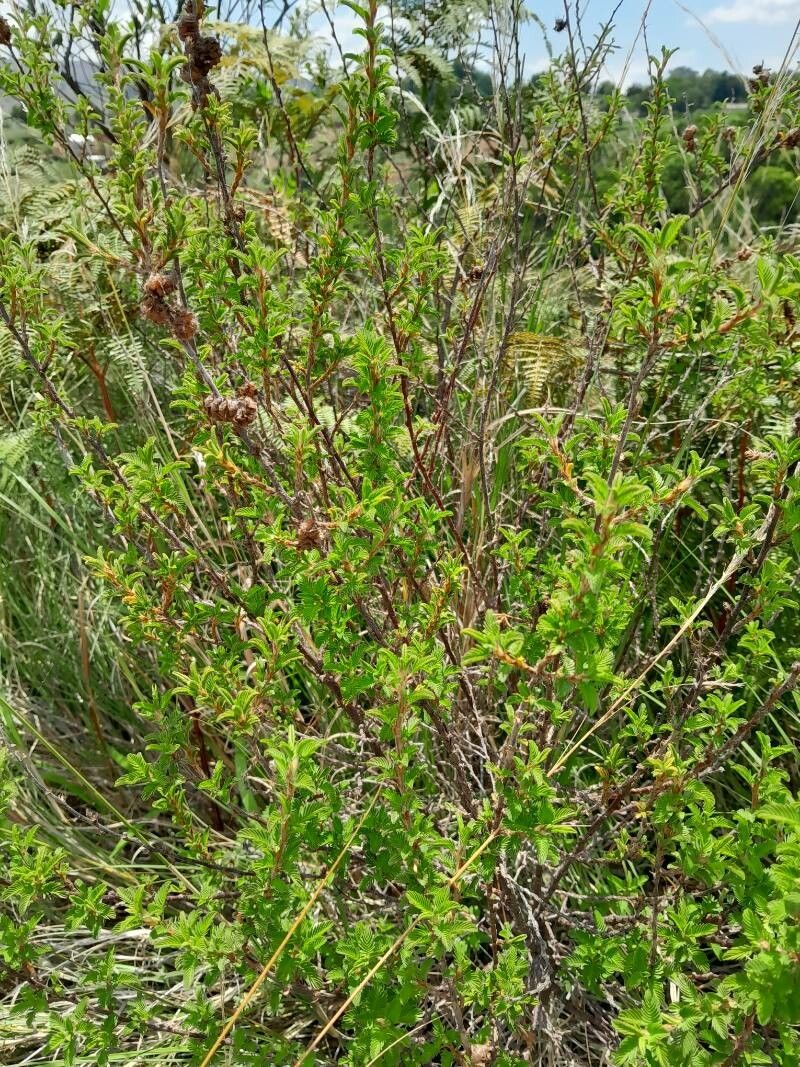
Oh, hello there! Settle in with your cuppa, because today we’re going to talk about a plant that has charmed me for years: Kotschya strigosa. If you’re looking for a bit of floral flair with delicate, butterfly-like blossoms and a lovely, often shrubby habit, you’re in for a treat. Propagating these beauties yourself is incredibly rewarding. Now, I’ll be honest, Kotschya strigosa isn’t an absolute beginner plant like, say, a pothos, but it’s certainly not beyond reach for the enthusiastic gardener willing to pay a little attention. I think you’ll find the process quite satisfying.
The Best Time to Start
For the highest success rate with Kotschya strigosa, I always recommend starting in late spring or early summer. This is when the plant is in a vigorous growth phase, meaning it’s producing lots of healthy, new shoots that are perfect for taking cuttings. You want to use stems that are not too soft and floppy (green growth) and not too woody and stiff (mature growth). Think of it as semi-hardwood – that sweet spot where they have a bit of flexibility but are firm enough to stand up on their own.
Supplies You’ll Need
Before we get our hands dirty, let’s gather our tools. Having everything ready makes the whole process smoother.
- Sharp, clean pruning shears or a sharp knife: Essential for making clean cuts that heal well.
- Rooting hormone: I find a powdered hormone containing IBA (indole-3-butyric acid) works wonders.
- Potting mix: A light, well-draining mix is crucial. I like to use a blend of equal parts peat moss or coco coir, perlite, and a little bit of fine bark. This provides good aeration and moisture retention without getting waterlogged.
- Small pots or a propagation tray: Clean pots with drainage holes are best.
- Clear plastic bag or a propagation dome: To create a humid environment.
- Watering can with a fine rose: For gentle watering.
- Labels and a marker: Don’t forget to label your cuttings!
Propagation Methods
Two methods work particularly well for Kotschya strigosa. I’ll walk you through them.
Stem Cuttings
This is my go-to for this lovely plant.
- Select your parent plant: Choose a healthy, vigorous Kotschya strigosa that’s showing good growth, as I mentioned.
- Take your cuttings: Using your clean shears or knife, take cuttings about 4-6 inches long from the tip of a stem. Make your cut just below a leaf node (where a leaf attaches to the stem). These nodes are where roots typically form.
- Prepare the cuttings: Gently remove the lower leaves from the cutting, leaving only the top two or three leaves. This reduces water loss through transpiration and prevents the leaves from rotting in the soil or water. If the remaining leaves are very large, you can even cut them in half horizontally to further reduce water loss.
- Apply rooting hormone: Dip the cut end of each stem into your rooting hormone, tapping off any excess. This gives our little cuttings a boost to start forming roots.
- Plant your cuttings: Fill your pots with your prepared potting mix. Make a small hole with your finger or a pencil, and then insert the treated end of the cutting into the hole. Gently firm the soil around the base of the cutting to ensure good contact with the rooting hormone and soil.
- Water and cover: Water the soil gently until it’s evenly moist but not soggy. Then, cover the pot with a clear plastic bag or a propagation dome to maintain high humidity. You can prop up the bag with sticks if needed so it doesn’t touch the leaves. Place the pot in a bright spot, but out of direct sunlight.
Water Propagation (with a caveat)
While some plants root like magic in water, Kotschya strigosa can be a bit trickier this way, often leading to rot. However, if you’re feeling adventurous, here’s how I’d approach it:
- Prepare your cuttings: Follow steps 1-3 from the stem cutting method.
- Place in water: Put the prepared cuttings in a clean jar or glass of room-temperature water. Make sure no leaves are submerged below the waterline. This is absolutely crucial for preventing rot.
- Change water regularly: Change the water every 2-3 days to keep it fresh and oxygenated.
- Be patient and observant: You might see roots forming in a few weeks. Once the roots are about an inch long, it’s time to move them to soil as quickly as possible. Leaving them in water too long can make the transition more difficult.
The “Secret Sauce” (Pro Tips)
Here are a few little tricks I’ve picked up over the years that can make a real difference.
- Bottom heat is your friend: If you have a seedling mat or can place your pots on a slightly warm surface (like the top of a refrigerator, if it’s not too hot!), this can significantly speed up root development. Warm soil encourages roots to form faster.
- Don’t rush to transplant: When you think your cuttings have roots, give them a gentle tug. If you feel resistance, that’s a good sign. It’s better to wait an extra week than to pull them out too soon and damage nascent roots.
- Mist, but don’t drown: While humidity is key, over-misting can encourage fungal issues. Lightly misting the leaves every day or two, especially if the air is dry, is usually sufficient. You’re aiming for moist, not soaking.
Aftercare & Troubleshooting
Once your cuttings have developed a good root system – you’ll see roots emerging from the drainage holes, or they’ll resist when given that gentle tug – it’s time to move them into their own small pots.
Continue to keep them in a bright, indirect light location. Water them when the top inch of the soil feels dry. As they grow, you can gradually introduce them to slightly more sunlight and less humidity.
What if things go wrong? The most common issue is rot. If your cuttings turn black and mushy, or if the leaves start wilting drastically and turn yellow, it’s often a sign of too much moisture. Ensure your potting mix is always well-draining, and adjust your watering accordingly. Avoid letting potted cuttings sit in saucers of water. If you see mold on the soil surface, it’s also a signal that things are too wet.
A Little Encouragement
Propagating plants is a journey of patience and observation. Not every cutting will make it, and that’s perfectly okay. Each attempt is a learning experience. Keep trying, keep watching your little plants, and celebrate every tiny success. You’ve got this, and before you know it, you’ll have a whole collection of beautiful Kotschya strigosa to enjoy and share!
Resource: