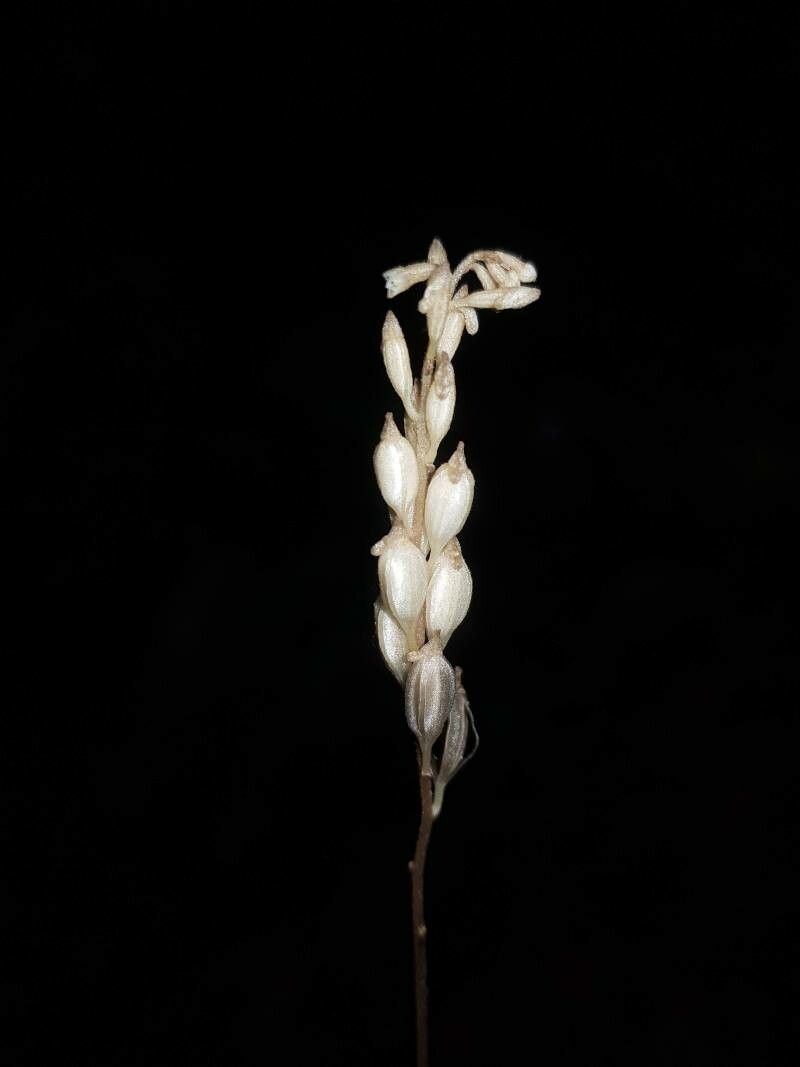
Hello there, fellow plant lovers! I’m so excited to chat with you today about a little gem that deserves a spot in every garden: Wullschlaegelia calcarata. If you’ve ever seen this orchid in bloom, you know its delicate, spur-like flowers are just captivating. They have this ethereal beauty that truly brightens any space.
Propagating Wullschlaegelia calcarata can feel a bit like unlocking a horticultural secret, and honestly, that’s part of what makes it so rewarding. While it might seem a little intimidating at first, especially if you’re new to the orchid world, I promise it’s absolutely achievable with a little patience and the right approach. Think of me as your garden buddy, here to guide you every step of the way.
The Best Time to Start
For the highest chance of success with Wullschlaegelia calcarata, aim to propagate during its active growing season. This is typically after its flowering period has concluded, usually in the late spring or early summer. This is when the plant has stored up plenty of energy and is eager to put out new growth, making it the prime time for taking cuttings or dividing.
Supplies You’ll Need
Here’s what I always have on hand when I’m starting new plants:
- Sharp, sterile pruning shears or a clean knife: For making clean cuts to prevent disease.
- A good quality orchid potting mix: I prefer a mix that’s airy and well-draining, often a blend of bark chips, perlite, and charcoal.
- Small pots or propagation trays: Choose containers with drainage holes.
- Rooting hormone (optional but recommended): This helps speed up root development. Look for one formulated for orchids or delicate cuttings.
- Spray bottle: For misting.
- Clear plastic bag or humidity dome: To create a greenhouse effect.
- Labels and a marker: Don’t forget to label your propagations!
Propagation Methods
Now, let’s get our hands dirty! For Wullschlaegelia calcarata, division is often the most straightforward and successful method.
Division Method:
- Gently remove the plant from its pot. Inspect the root ball. You’re looking for healthy pseudobulbs (the swollen stem bases) that have at least two or three growths attached.
- Carefully disentangle the roots. You can use your fingers or a sterile tool to gently tease apart sections of the plant. The goal is to create divisions that each have healthy roots and at least a couple of pseudobulbs.
- Inspect your divisions. Make sure each section has good, firm roots. If any roots look mushy or unhealthy, trim them away with your sterile shears.
- Pot up your new divisions. Place each division in a small pot filled with your orchid mix. Position the plant so the base of the pseudobulbs is at or just slightly above the surface of the mix.
- Water lightly. Give them a gentle watering, just enough to settle the mix around the roots.
While stem cuttings are possible for some orchids, Wullschlaegelia calcarata typically thrives best when propagated by division. It allows you to work with more established sections of the plant from the get-go.
The “Secret Sauce” (Pro Tips)
Here are a couple of things I’ve learned over the years that can really give your propagations a boost:
- Think about airflow AND humidity. While we want to create a humid environment for cuttings, don’t suffocate them. If you’re using a plastic bag, poke a few small holes in it to allow for some air circulation. This prevents stale air from encouraging fungal growth.
- Bottom heat is your friend. Orchids, in general, love a little warmth from below. Placing your pots on a heat mat set to a mild temperature (around 70-75°F or 21-24°C) during the rooting phase can significantly speed up root development and improve success rates.
Aftercare & Troubleshooting
Once your new divisions are potted, it’s time for some tender loving care. Keep them in very bright, indirect light. Avoid direct sunlight, which can scorch delicate new growth.
Water sparingly at first. You want the potting mix to remain slightly moist but never soggy. Overwatering is the fastest way to invite trouble. For the first few weeks, I find misting the surfaces of the potting mix occasionally is sufficient, especially if you have a humidity dome in place.
Keep an eye out for common issues. The most frequent problem you might encounter is rot. If you see a pseudobulb or leaf turning black and mushy, it’s usually a sign of too much moisture and poor air circulation. In this case, you may need to carefully trim away the infected parts with sterile tools and let the remaining healthy section air dry for a day or two before repotting.
A Little Patience Goes a Long Way
Propagating any plant is a journey, and with Wullschlaegelia calcarata, patience is key. Don’t get discouraged if you don’t see dramatic results overnight. Celebrate the small wins – a new leaf emerging, a firmer feel to the potting mix. Enjoy the process of nurturing these new lives, and soon you’ll have beautiful new plants to admire and share. Happy gardening!
Resource:
https://identify.plantnet.org/k-world-flora/species/Wullschlaegelia%20calcarata%20Benth./data