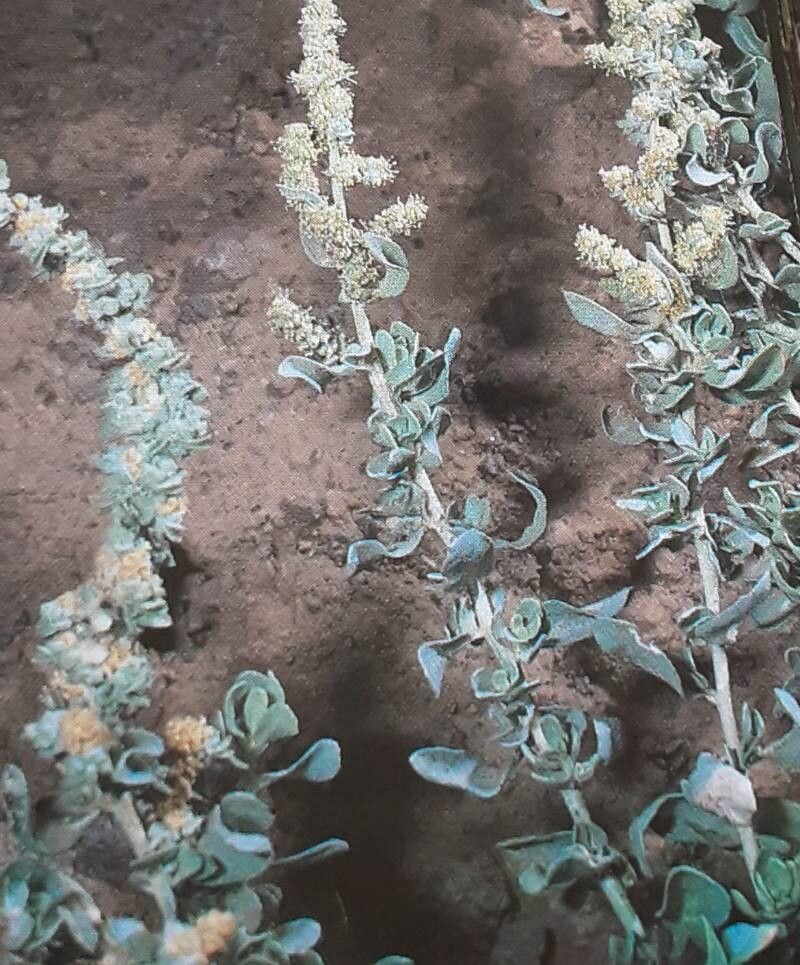
Oh, hello there! It’s so wonderful to connect with fellow garden enthusiasts. Today, we’re diving into the delightful world of Atriplex glauca, often called Glaucous Orach. This plant is a real charmer with its silvery-blue foliage that looks like it’s dusted with moonbeams. It’s a tough cookie too, handling salty conditions beautifully, which makes it a fantastic choice for coastal gardens or anywhere the soil likes to play a little salty. Propagating it is a really satisfying way to expand your collection or share these beauties with friends. For beginners, I’d say Atriplex glauca is moderately easy to propagate. It requires a little bit of attention, but with these straightforward steps, you’ll be well on your way!
The Best Time to Start
For propagating Atriplex glauca from stem cuttings, the sweet spot is usually late spring to early summer. This is when the plant is actively growing and has plenty of youthful energy. You want to take cuttings from new, but not entirely soft, growth. Think of it as taking a piece of the plant that’s just starting to mature – it has enough reserves to root but isn’t so woody that it will struggle.
Supplies You’ll Need
Gathering your tools beforehand makes the whole process so much smoother. Here’s what I generally have on hand:
- Sharp, clean pruning shears or a craft knife: A clean cut prevents disease.
- Rooting hormone (optional but recommended): This can give your cuttings a helpful boost.
- A well-draining potting mix: I like a blend of equal parts perlite, coarse sand, and a good quality potting soil. Sometimes I’ll throw in a little coco coir for moisture retention.
- Small pots or seed trays: Clean ones are crucial!
- A spray bottle: For misting.
- Plastic bags or a propagator: To create a humid environment.
- A dibber or pencil: To make planting holes.
Propagation Methods: Stem Cuttings
This is my go-to method for Atriplex glauca, and it generally yields the best results for me.
- Take Your Cuttings: Using your sharp shears or knife, select healthy stems that are about 4 to 6 inches long. Make the cut just below a leaf node (where a leaf attaches to the stem). Remove any lower leaves, leaving just a couple at the very top.
- Prepare the Cuttings: If you’re using rooting hormone, dip the cut end of each cutting into the powder, tapping off any excess.
- Plant Your Cuttings: Make a hole in your prepared potting mix with your dibber or pencil. Gently insert the base of the cutting into the hole, ensuring it’s firm. You want enough cuttings to fill your pot or tray, spaced about 2 inches apart.
- Water and Cover: Water the mix gently until it’s moist but not soggy. Then, cover the pot with a plastic bag or place it in a propagator. This creates a mini greenhouse, keeping humidity high, which is essential for cuttings to root before they can take up water through their own roots.
The “Secret Sauce” (Pro Tips)
Here are a couple of little tricks I’ve picked up over the years that can really make a difference:
- Don’t let the leaves touch the water (if water propagating, though I prefer soil): If you decide to try water propagation (which I find less reliable for this particular plant), make sure the leaves are well above the water line. Any submerged leaves will quickly rot and can take your cutting with them.
- Bottom Heat is Your Friend: Placing your pots on a heated propagator mat can significantly speed up the rooting process. It provides gentle warmth to the soil, encouraging root development. Many cuttings just love a little foot warmth!
Aftercare & Troubleshooting
Once your cuttings are planted, it’s all about patience and giving them the right conditions.
- Light and Temperature: Place your propagated cuttings in a bright spot, but out of direct, harsh sunlight. They don’t need intense light at this stage; indirect light is perfect. Keep them in a consistently warm location.
- Humidity: Mist the leaves occasionally if you notice them looking a bit dry, but try not to overdo it. The humidity within the cover should do most of the work.
- Checking for Roots: After about 4 to 6 weeks, gently tug on a cutting. If you feel resistance, you’ve got roots! You can also carefully peek at the drainage holes at the bottom of the pot to see if roots are emerging.
- Troubleshooting Rot: The most common sign of failure is rot. If the stem turns mushy and black, or if the leaves start to yellow and drop rapidly, it’s likely too much moisture or poor air circulation. Sometimes, you can salvage a cutting if caught early by trimming away the rotted part and replanting in fresh, drier mix, but often, it’s a sign that condition were too damp. It’s a learning curve, and each gardener has their own successes and failures!
See? Not too daunting, right? The most important thing is to be patient. Gardening is a journey, and propagation is a wonderful part of that journey. Enjoy the process of nurturing these new life forms, and soon you’ll have a whole silver-blue army of Atriplex glauca to admire! Happy propagating!
Resource:
https://identify.plantnet.org/k-world-flora/species/Atriplex%20glauca%20L./data