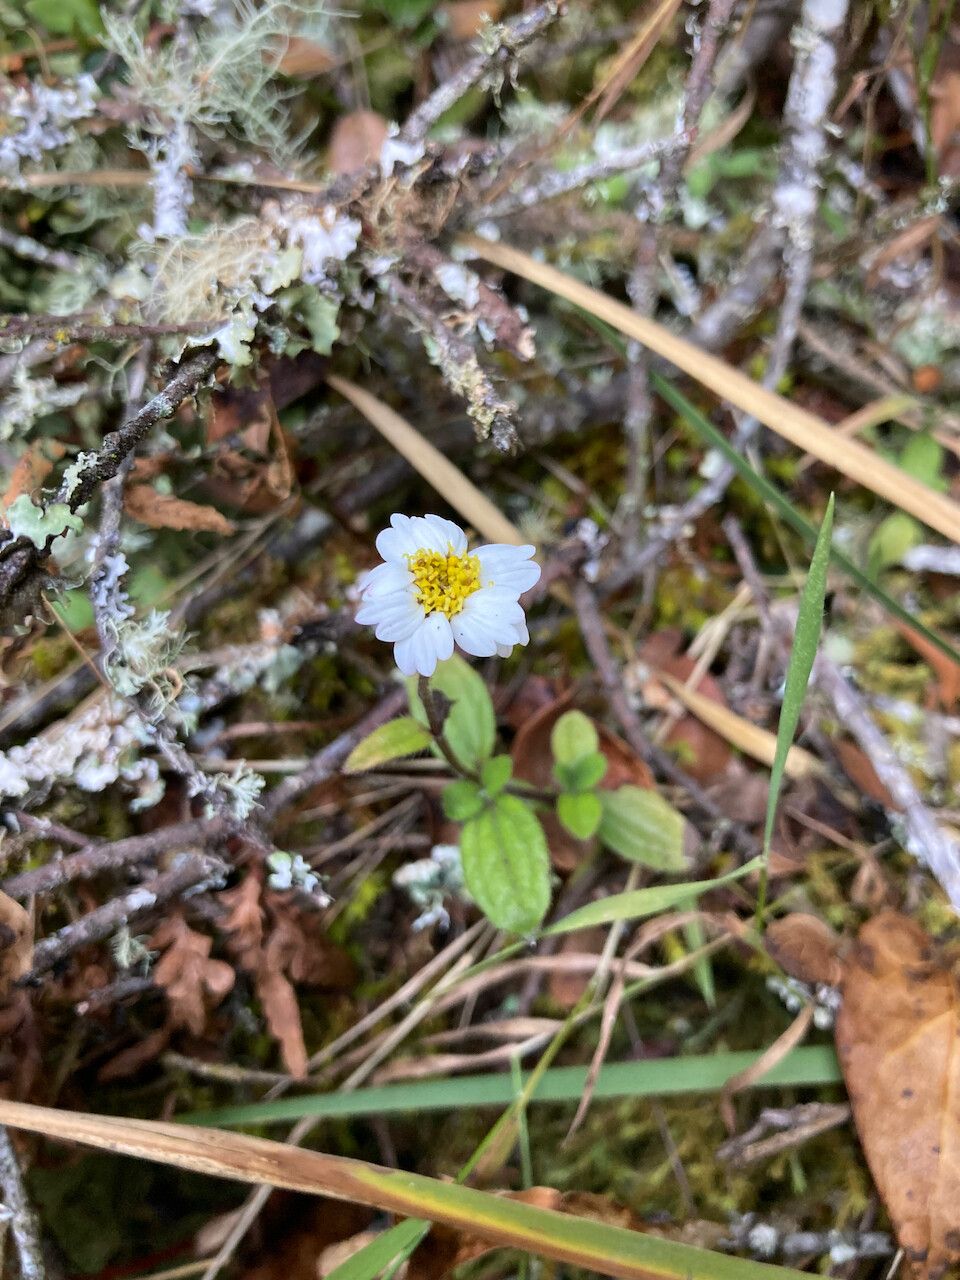
Who doesn’t love a touch of cheerful yellow in the garden? That’s where Aphanactis piloselloides shines. Its bright, daisy-like flowers are a wonderful late-season uplift, and I’ve found them to be surprisingly generous with their blooms. If you’re looking to expand your collection of these sunny darlings or share them with fellow garden enthusiasts, propagating them is a really fulfilling endeavor. For beginners, I’d say they fall into the “moderately easy” category. It’s not quite as foolproof as a spider plant, but with a little attention, you’ll be rewarded with lots of new plants.
The Best Time to Start
For the highest success rate with Aphanactis piloselloides, I always aim for late spring to early summer. This is when the plant is actively growing and has plenty of energy to put into forming new roots. You’ll want to start with healthy, vigorous stems that haven’t yet flowered. Young, actively growing shoots are your best bet.
Supplies You’ll Need
Here’s what I always have on hand when I’m propagating:
- Sharp, clean pruning shears or a craft knife: Essential for making clean cuts.
- Rooting hormone (optional but recommended): A little dip can significantly speed up root formation. I prefer a powder or gel.
- Well-draining potting mix: A mix of 50% potting soil and 50% perlite or coarse sand works beautifully. You can also buy specialized succulent or cactus mix, which is perfect.
- Small pots or seed trays: Whatever you have that can hold your cuttings and soil.
- Watering can with a fine rose or spray bottle: For gentle moisture.
- Plastic bags or a propagation dome: To create a humid environment.
Propagation Methods
I primarily use two methods for Aphanactis piloselloides, and both are quite effective: stem cuttings and division.
Stem Cuttings
This is my go-to for increasing plant numbers quickly.
- Take Cuttings: Using your clean shears, snip off healthy, non-flowering stems just below a leaf node (where a leaf attaches to the stem). Aim for cuttings that are about 4-6 inches long.
- Prepare the Cuttings: Gently remove the lower leaves from the bottom half of the stem. This prevents them from rotting when buried.
- Apply Rooting Hormone (Optional): If you’re using rooting hormone, lightly dip the cut end of the stem into the powder or gel. Tap off any excess.
- Plant the Cuttings: Fill your pots with your well-draining mix. Make a small hole with your finger or a pencil and insert the prepared cutting, ensuring at least one leaf node is buried. Gently firm the soil around the stem.
- Water Gently: Water the soil lightly. You want it to be moist, not soggy.
- Create Humidity: Cover the pot with a clear plastic bag (make sure the leaves don’t touch the sides) or place it under a propagation dome. This traps moisture and encourages rooting.
Division
This is a great way to manage larger, spreading clumps and get mature plants right away.
- Dig Up the Plant: In late spring or early summer, carefully dig up your Aphanactis piloselloides clump.
- Gentle Separation: Gently shake off excess soil. You’ll see that the clump typically consists of multiple rooted stems. Carefully tease the roots apart with your fingers or a small trowel. Try to get at least one or two stems with a good portion of roots on each division.
- Replant: Pot up each division in its own pot with fresh, well-draining soil.
- Water In: Water each newly planted division thoroughly.
The “Secret Sauce” (Pro Tips)
After years of getting my hands dirty, I’ve picked up a few tricks that seem to make all the difference:
- Don’t Rush the Water: When you’re water propagating (which I don’t usually do for Aphanactis piloselloides as the soil method is more reliable), make sure none of the leaves are submerged. Rot sets in so fast in those submerged leaves! But for soil propagation, just ensure the soil stays consistently moist, not waterlogged. Think “damp sponge.”
- Bottom Heat is Your Friend: If you have a heat mat designed for propagation, placing your pots on it can really speed things up. It encourages root development from below without drying out the top. It’s like giving them a warm little boost.
- Give Them Air: While humidity is key, you don’t want stagnant air. Once you see signs of roots forming (usually a few weeks), start ventilating by opening the plastic bag or dome for a few hours each day. This prevents fungal issues and helps the new plants acclimatize.
Aftercare & Troubleshooting
Once your cuttings have developed a good root system (you can check by gently tugging – if there’s resistance, they’ve rooted!), it’s time for a little more independence.
- Transition Gradually: If they were under a dome, gradually increase the time they are exposed to open air over a week or so.
- Regular Watering: Continue to water when the top inch of soil feels dry. They’re still youngsters, so they appreciate consistent moisture.
- Light: Place them in a bright spot, but avoid harsh, direct sunlight for the first few weeks. A little dappled light is perfect.
The main thing to watch out for is rot. If your cuttings turn mushy and black, it’s usually a sign of too much moisture or poor drainage. If you see this, you might need to discard those cuttings and start again, ensuring your soil is even more free-draining and you’re not overwatering. Yellowing leaves can sometimes mean they need more light, or conversely, if the cuttings are wilting dramatically, they might be too dry.
Keep Growing!
Propagating plants like Aphanactis piloselloides is such a rewarding part of gardening. It’s about patience, observation, and a little bit of trial and error. Don’t be discouraged if not every cutting takes. That’s perfectly normal! Just keep at it, enjoy the process of nurturing these little green shoots into new life, and soon you’ll have a garden bursting with sunny joy. Happy planting!
Resource:
https://identify.plantnet.org/k-world-flora/species/Aphanactis%20piloselloides%20Cuatrec./data