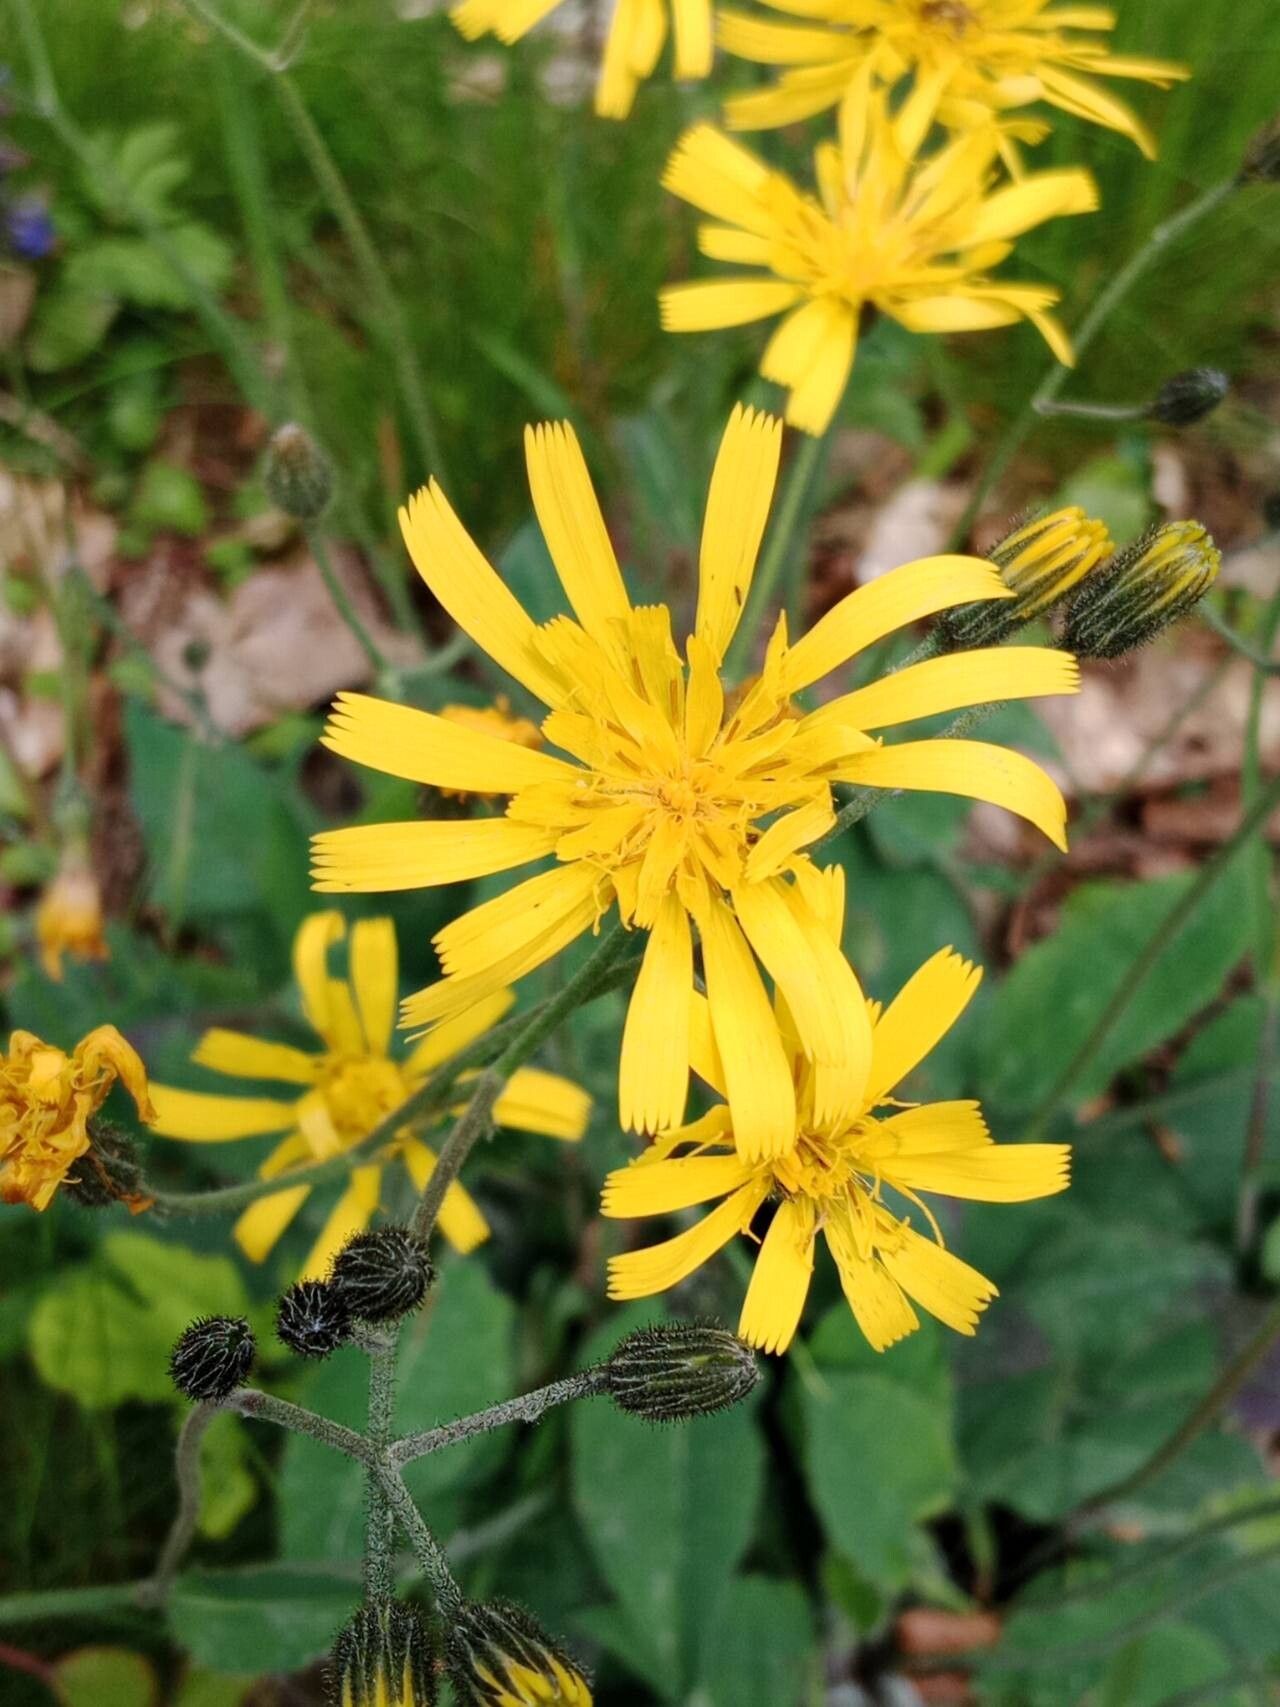
Hello, fellow garden enthusiasts! I’m so thrilled you’re curious about propagating Hieracium lachenalii, also known as Hawkweed. If you’ve ever admired its cheerful yellow blooms and fuzzy, dandelion-like leaves, you’re not alone. This plant brings such a vibrant burst of sunshine to any garden, and the joy of watching a tiny cutting transform into a thriving specimen is truly special. I find propagating Hieracium to be a wonderfully rewarding experience, and I think you will too. It’s generally a fairly forgiving plant, which makes it a good candidate even if you’re just dipping your toes into the world of propagation.
The Best Time to Start
For the highest success rate with Hieracium lachenalii, I always aim for late spring to early summer. This is when the plant is in its most vigorous growth phase. You’ll find plenty of healthy, new stems that are perfect for taking cuttings. Trying to propagate too late in the season, when things start to wind down, can be a bit more of a challenge.
Supplies You’ll Need
Grab your gardening apron, and let’s get our tools ready!
- Sharp, clean pruning shears or a sharp knife: For making precise cuts.
- Rooting hormone (optional, but recommended for faster results): Look for a powder or gel specifically for stem cuttings.
- Small pots or seedling trays: With good drainage holes.
- A well-draining potting mix: I like a blend of equal parts seed-starting mix and perlite to ensure excellent aeration and prevent waterlogged roots.
- Watering can with a fine rose: For gentle watering.
- Plastic bags or a propagator: To create a humid environment.
- Labels: To keep track of your cuttings and dates!
Propagation Methods
There are a couple of fantastic ways to get more Hieracium going. I usually lean towards stem cuttings, as they’re quite reliable.
Stem Cuttings
This is my go-to method!
- Take the Cuttings: In late spring or early summer, look for healthy, non-flowering stems. Using your sharp pruning shears, cut a section about 4-6 inches long. Make the cut just below a leaf node (where leaves emerge from the stem).
- Prepare the Cuttings: Gently remove the lower leaves from the cutting, leaving just a couple of leaves at the top. This prevents them from rotting in the soil. If your cuttings are quite large, you can even pinch off the top few leaves to reduce water loss.
- Apply Rooting Hormone (Optional): Dip the cut end of the stem into your rooting hormone powder or gel. Tap off any excess.
- Pot Up: Fill your small pots or trays with your prepared potting mix. Make a small hole in the center of the soil with your finger or a pencil.
- Plant the Cuttings: Insert the prepared end of each cutting into the hole, ensuring the node where the lower leaves were removed is below the soil surface. Gently firm the soil around the base of the cutting.
- Water and Cover: Water the soil gently to ensure good contact with the cutting. Then, cover the pots with a plastic bag or place them in a propagator. This creates a mini-greenhouse effect, keeping the humidity high, which is crucial for cuttings to root.
- Provide Light and Warmth: Place your pots in a bright location with indirect sunlight. Avoid direct sun, as it can scorch the young cuttings. A little warmth from a heat mat can really speed things up, but it’s not essential.
Division
If you have a mature plant, division is a breeze!
- Dig Up the Plant: In the spring, carefully dig up the entire clump of Hieracium.
- Separate the Divisions: Gently shake off excess soil from the roots. You should be able to see natural divisions within the root ball. Use your hands or a clean trowel to carefully pull or cut the clump apart into smaller sections, ensuring each section has roots and at least a few stems.
- Replant: Immediately replant the divisions into their new homes. Water them well.
The “Secret Sauce”
Here are a couple of things I’ve learned over the years that really make a difference:
- Don’t let those lower leaves touch the soil! Seriously, this is a game-changer for preventing rot. If you have to use longer stems, just strip more leaves. Better to have fewer leaves than a rotten cutting.
- A touch of bottom heat is your friend. While not strictly necessary, placing your pots on a seed germination mat (they’re not that expensive!) provides consistent warmth to the base of the cuttings. This encourages root development much faster than just relying on ambient air temperature.
Aftercare & Troubleshooting
Once you see tiny new roots emerging from the drainage holes, or new leaf growth, it’s a good sign!
- Acclimatize: Gradually remove the plastic bag or propagator over a few days to allow the new plant to adjust to normal humidity levels.
- Watering: Keep the soil consistently moist but not soggy. Water when the top inch of soil feels dry to the touch.
- Transplanting: Once your new plants are well-rooted and have several true leaves, you can transplant them into larger pots or their permanent garden spot.
If you find your cuttings are wilting and not rooting, it could be a few things:
- Too much direct sun: Move them to a shadier spot.
- Too dry: Ensure they’re in a humid environment and the soil is consistently moist.
- Rot: Sadly, this happens. If the stem turns mushy and black, it’s likely rot. Discard the affected cutting and try again, ensuring your soil drains well and you’re not overwatering.
A Gentle Encouragement
Growing plants from cuttings is a little bit of science and a whole lot of patience. Don’t get discouraged if your first few attempts aren’t perfect. Every gardener has had losses! Just keep observing, learning, and enjoying the process. You’ll soon be rewarded with beautiful new Hieracium plants to share with friends or to fill your garden with that cheerful yellow glow. Happy propagating!
Resource:
https://identify.plantnet.org/k-world-flora/species/Hieracium%20lachenalii%20Suter/data