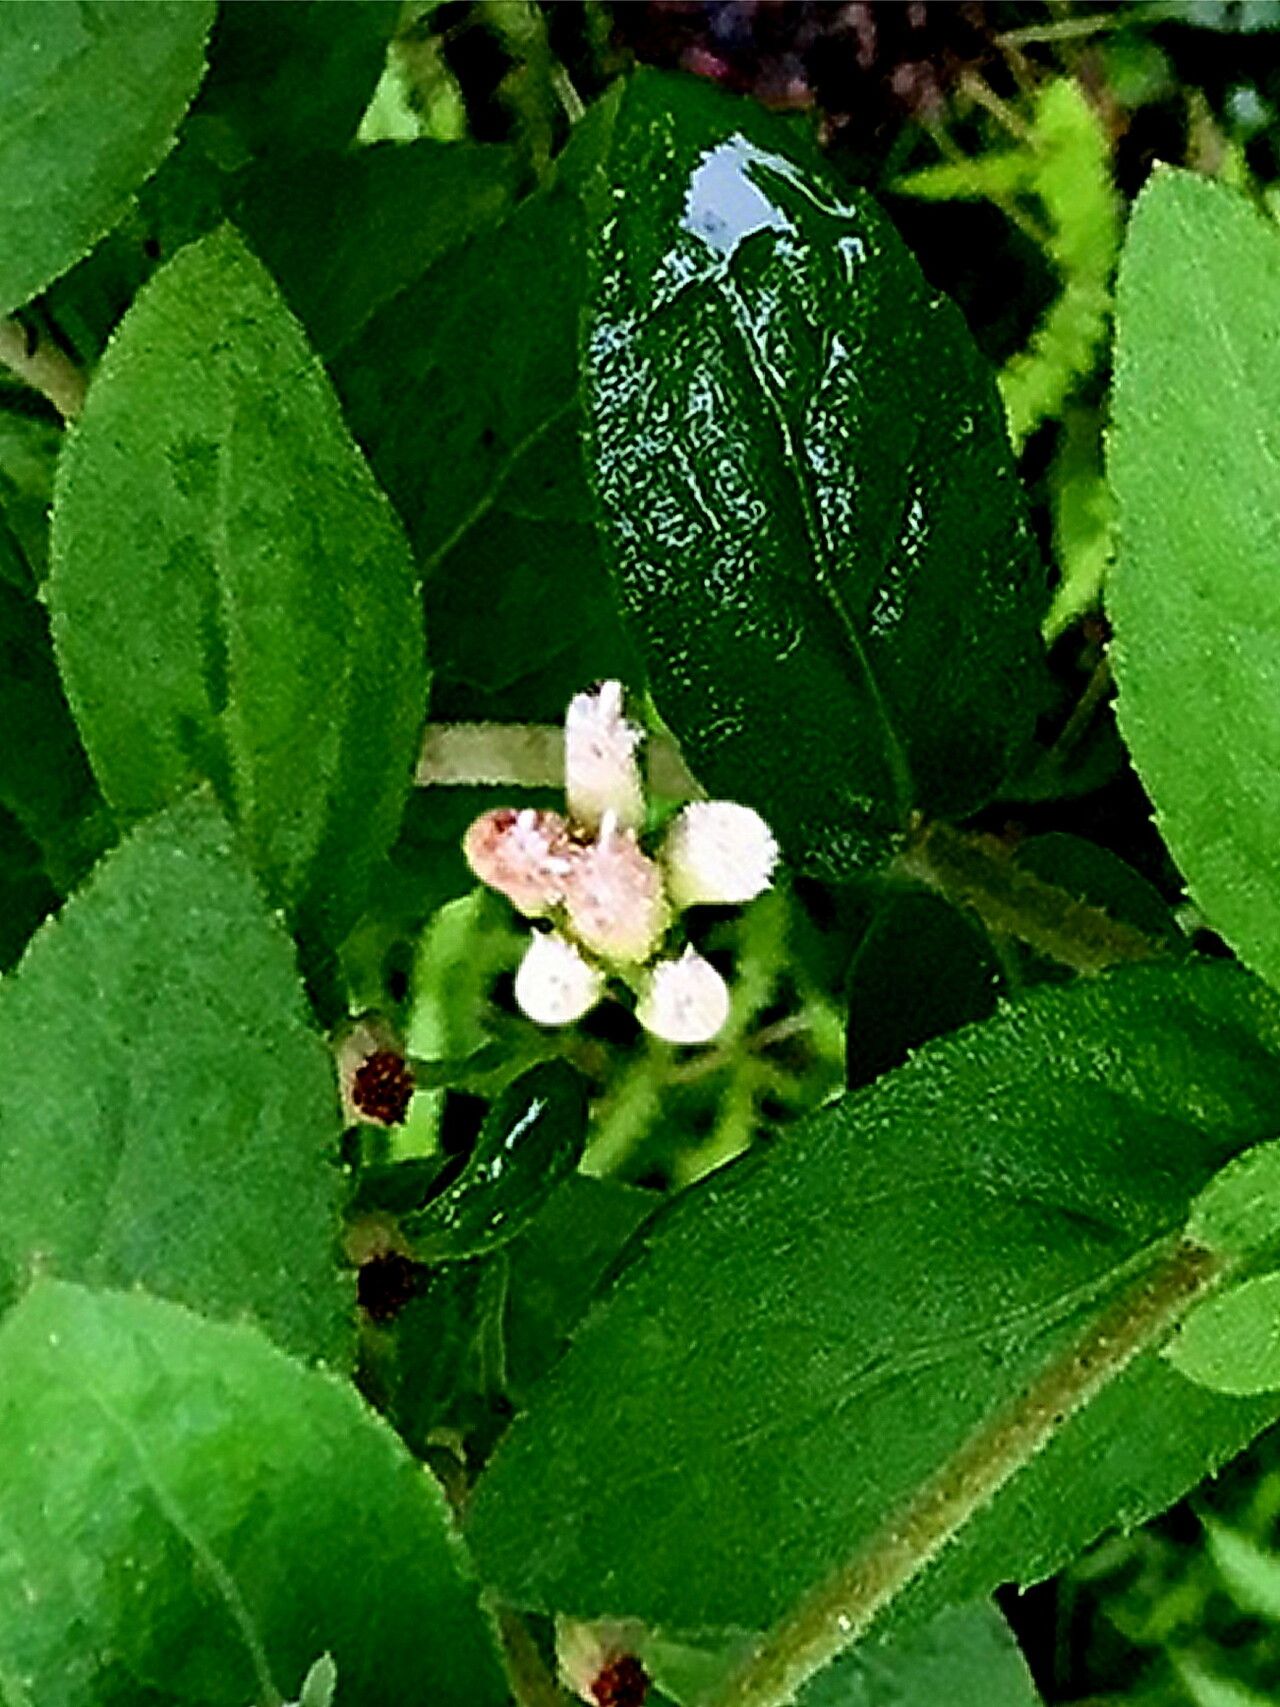
Hello there, fellow plant lovers! It’s so lovely to connect with you today. We’re diving into the wonderful world of propagating Pluchea foetida, often called Stinkweed or Couch Grass. Now, I know that name might turn some folks off, but trust me, this plant has a charm all its own! Its delicate, sometimes fragrant foliage and charming little flowers can add a lovely touch to a wildflower garden or even a pot on your patio. And the satisfaction of coaxing a new life from a tiny cutting? It’s just pure magic. For those of you just starting your propagation journey, I’m happy to say Pluchea foetida is quite forgiving. You’ll likely find it a very rewarding plant to work with.
The Best Time to Start
My favorite time to get started with Pluchea foetida is when the plant is in its active growing season. For most of us, this means late spring or early summer. The warmer temperatures and longer daylight hours give those new cuttings a real boost in getting established. You’ll notice the plant is producing plenty of healthy new shoots – those are the ones you want to look for.
Supplies You’ll Need
Here’s what I usually have on hand when I’m ready to propagate:
- Sharp pruning shears or a clean knife: A clean cut is crucial.
- Small pots or seed trays: Something for your cuttings to call home.
- Well-draining potting mix: I often mix equal parts peat moss, perlite, and a little seed-starting mix.
- Rooting hormone (optional but helpful): A powder or gel can encourage faster root development.
- Watering can with a fine rose: For gentle watering.
- Plastic bags or a clear dome: To create a humid environment.
Propagation Methods
Let’s get our hands dirty with the most popular way to multiply Pluchea foetida: stem cuttings.
- Select Your Cuttings: Find healthy, non-flowering stems. Look for shoots that are about 4-6 inches long.
- Make the Cut: Using your sharp shears, make a clean cut just below a leaf node. A leaf node is that little bump where a leaf grows from the stem. This is where roots will form.
- Prepare the Cutting: Gently remove the lower leaves from the stem, leaving just a couple of sets at the top. If you’re using rooting hormone, dip the cut end into it now.
- Plant Your Cuttings: Fill your small pots with the well-draining potting mix. Make a small hole in the center with your finger or a pencil.
- Insert the Cutting: Carefully place the prepared cutting into the hole, ensuring the leaf nodes are buried in the soil. Gently firm the soil around the base of the cutting.
- Water Gently: Give your cuttings a light watering to settle the soil.
The “Secret Sauce” (Pro Tips)
Here are a few tricks I’ve learned over the years that make a big difference:
- Humidity is Key: Once potted, cover your cuttings with a clear plastic bag or a clear dome. This traps moisture, creating a mini-greenhouse effect that prevents the leaves from drying out before roots can form. Just make sure the leaves aren’t directly touching the plastic, as this can lead to rot.
- Warmth Encourages Roots: Pluchea foetida loves a little warmth. If your home is a bit on the cool side, placing the pots on a heat mat (designed for plants) can significantly speed up root development. You don’t need it to be scorching hot, just a gentle warmth from below.
- Don’t Fuss Too Much: Resist the urge to dig around and check for roots constantly. This disturbs them! Patience is truly a virtue here.
Aftercare & Troubleshooting
Once your cuttings are happily rooted, it’s time for a little TLC.
- Acclimate Gradually: When you see new growth, you know roots are forming! Slowly remove the plastic covering over a few days to help the new plant adjust to normal humidity.
- Watering: Water when the top inch of soil feels dry. Avoid letting them sit in soggy conditions.
- Signs of Trouble: The most common issue you might encounter is rot. If your cutting turns mushy or brown, it’s usually a sign of too much moisture. If this happens, discard the affected cutting and ensure good drainage for your remaining ones. Yellowing leaves can sometimes mean it needs a bit more light, but watch out for wilting, which is often water-related.
Keep on nurturing those little green shoots, and before you know it, you’ll have a whole collection of Pluchea foetida plants to share or enjoy. The process itself is a wonderful way to connect with nature. Don’t be discouraged if a cutting or two doesn’t make it – that’s all part of the learning curve. Embrace the journey, and happy propagating!
Resource:
https://identify.plantnet.org/k-world-flora/species/Pluchea%20foetida%20(L.)%20DC./data