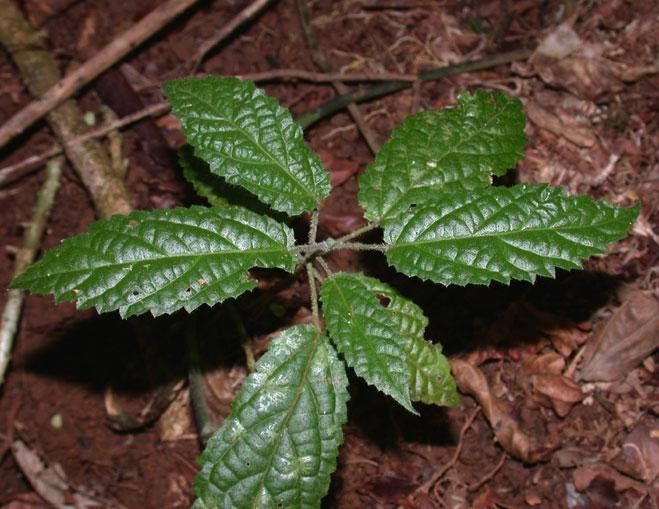
Hey there, fellow plant enthusiasts! It’s your garden buddy here, fresh off another morning spent with my green charges. Today, we’re diving into the wonderful world of propagating Stizophyllum inaequilaterum. This particular beauty, with its gorgeous, uniquely shaped leaves, is a real showstopper. And trust me, watching a tiny cutting transform into a thriving new plant? It’s pure magic. Plus, it’s a surprisingly rewarding plant to multiply, even if you’re just dipping your toes into the propagation pond.
The Best Time to Start
For Stizophyllum inaequilaterum, the absolute sweet spot for taking cuttings is when the plant is actively growing, which usually means late spring through to mid-summer. Think of it as springtime for your cuttings – they’ve got all that good energy to push out roots. Avoid propagating when the plant is dormant or stressed from extreme heat; that’s just asking for trouble.
Supplies You’ll Need
Gathering your supplies is half the battle, and it makes the whole process so much smoother. Here’s what I always have on hand:
- Sharp Pruning Shears or a Clean Knife: For making clean cuts. A dull tool can bruise the stem, which is a no-go.
- Well-Draining Potting Mix: I like a mix of equal parts peat moss, perlite, and coco coir. This keeps things airy and prevents sogginess.
- Small Pots or Seedling Trays: Clean, with drainage holes, of course!
- Rooting Hormone (Optional but Recommended): This can give your cuttings a helpful boost. I tend to use a powdered one.
- Plastic Bag or Humidity Dome: To create a mini greenhouse effect.
- Spray Bottle: For fine misting.
- Labels: Don’t forget to label what you’ve planted and when!
Propagation Methods
Let’s get our hands dirty! Stizophyllum inaequilaterum is quite amenable to stem cuttings, which is my go-to method.
Stem Cuttings:
- Select a Healthy Stem: Look for a mature, healthy stem that has at least two or three sets of leaves. Avoid very young, floppy growth or old, woody stems.
- Make the Cut: Using your sharp shears, make a clean cut just below a leaf node. This is the point where a leaf attaches to the stem, and it’s usually where roots will emerge. Aim for cuttings about 4-6 inches long.
- Remove Lower Leaves: Gently strip off the leaves from the bottom half of the cutting. This prevents them from rotting in the soil or water. Leave at least one or two leaves at the top.
- Apply Rooting Hormone (If Using): Dip the cut end of the stem into your rooting hormone, tapping off any excess.
- Plant the Cutting: Fill your small pot with your prepared potting mix. Make a hole in the center with your finger or a pencil. Gently insert the cutting into the hole, ensuring the leaf nodes you removed are below the soil surface. Firm the soil around the stem.
- Water Gently: Water the soil lightly until it’s evenly moist. Don’t drench it!
The “Secret Sauce” (Pro Tips)
Here are a couple of little tricks I’ve learned over the years that really make a difference:
- Don’t Let Leaves Touch the Water (if you go that route): While I prefer soil for Stizophyllum, if you’re tempted to try water propagation, be absolutely sure no leaves are submerged. They will rot just like they would in soil, and that’s a fast track to a failed cutting. Only the stem should be in water.
- Bottom Heat is Your Friend: If you have the space, a heat mat designed for propagation can work wonders. It provides consistent, gentle warmth to the soil, encouraging root development. It’s like giving your cuttings a cozy, warm bed to grow in.
Aftercare & Troubleshooting
Once your cuttings are planted, it’s time for some tender loving care.
- Create a Humid Environment: Place a clear plastic bag loosely over the pot or cover it with a humidity dome. This traps moisture. You can also place the pot inside a larger, clear plastic bag. Open it daily for a few minutes to allow for air circulation and prevent fungal issues.
- Keep it Bright, but Indirect: Place your cuttings in a spot with bright, indirect light. Direct sun can scorch those delicate leaves.
- Check Moisture Regularly: The soil should stay consistently moist, but not soggy. Feel the soil with your finger. If it feels dry an inch down, give it a light watering.
- Look for Roots: This is the exciting part! It can take anywhere from 3-6 weeks, sometimes longer, for roots to develop. You might see new leaf growth, which is a good sign. The best way to check is to give the cutting a very gentle tug. If there’s resistance, you’ve got roots!
Now, what if things go wrong? The most common culprit is rot. If your cutting turns mushy, blackens, or smells off, it’s likely succumbed to rot. This usually happens from overwatering or poor air circulation. If you see this, remove the affected cutting immediately to prevent it from spreading. Don’t be discouraged; it happens to the best of us!
A Encouraging Closing
Propagating plants is an exercise in patience and observation, my friend. Each cutting is a little experiment, and while not every single one will make it, the successes are incredibly fulfilling. So, go ahead, grab those shears, and give it a try! Enjoy the journey, learn from each step, and soon you’ll be surrounded by even more of these magnificent Stizophyllum beauties. Happy propagating!
Resource: