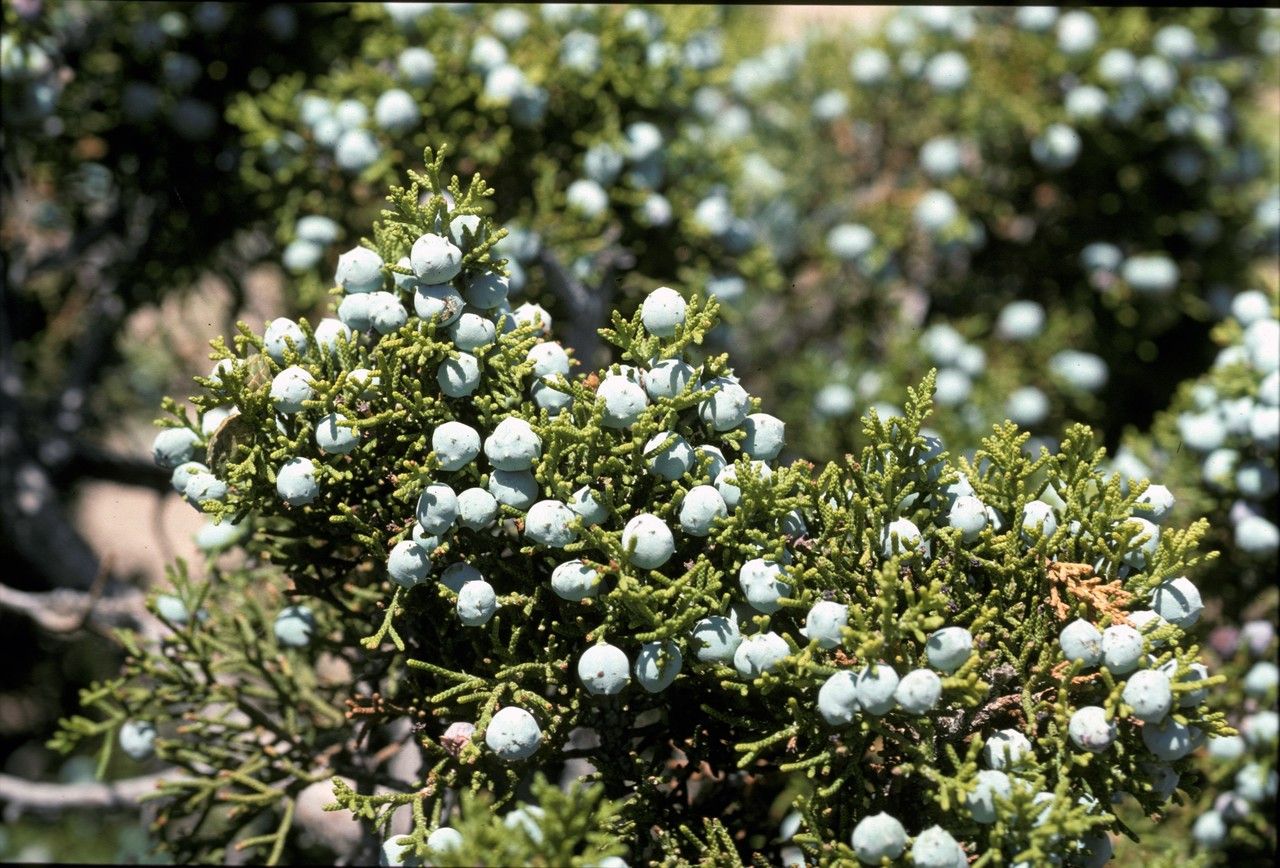
Hello fellow garden lovers! Today, we’re diving into the wonderful world of propagating Juniperus californica, our very own California Juniper. If you’ve ever admired the rugged beauty and resilience of these native beauties, you know how truly special they are. There’s a unique kind of joy that comes from coaxing new life from an existing plant, and propagating your own California Juniper is a wonderfully rewarding endeavor. For beginners, it might feel a little daunting at first, but with a bit of patience and these tips, you’ll be well on your way.
The Best Time to Start
My favorite time to take cuttings from California Juniper is in late spring to early summer, right after the plant has flushed with new growth. This is when the stems are actively growing but haven’t yet hardened off completely, giving them a good chance to root. You can also try in early fall, but the spring window usually gives you the best results.
Supplies You’ll Need
Here’s what I always have on hand when I’m ready to get propagating:
- Clean, sharp pruning shears or a sharp knife: For making clean cuts.
- Rooting hormone (optional but recommended): A powder or gel that helps stimulate root growth. Look for one formulated for woody plants.
- Small pots or trays: Clean ones are key to preventing disease.
- A well-draining potting mix: I like a blend of perlite, coarse sand, and peat moss (about a 1:1:1 ratio). Some folks use coco coir too, which is great. The most important thing is drainage!
- A spray bottle: For keeping cuttings moist.
- A plastic bag or propagation dome: To create a humid environment.
- Labels: To keep track of what you’ve potted up.
Propagation Methods
The most reliable way I’ve found to propagate California Juniper is through stem cuttings. It’s straightforward and generally has a good success rate.
Stem Cuttings:
- Select your parent plant: Choose a healthy, vigorous California Juniper. Look for stems that have made new growth this season.
- Take the cuttings: Using your clean shears, cut stems that are about 4-6 inches long. Make your cut just below a leaf node (where a leaf attaches to the stem). I like to take several, as not every cutting will take.
- Prepare the cuttings: Gently strip off any lower leaves from the bottom inch or two of the cutting. This prevents them from rotting in the soil.
- Apply rooting hormone (optional): Dip the bottom inch of the cutting into water, then into the rooting hormone powder or gel. Tap off any excess.
- Pot them up: Fill your small pots or trays with your well-draining potting mix. Make a small hole in the center with a pencil or your finger. Carefully insert the prepared cutting, ensuring the bottom leaves aren’t buried. Gently firm the soil around the stem.
- Water gently: Water the soil thoroughly but gently. You don’t want to dislodge the cuttings.
- Create humidity: Cover the pots or tray with a plastic bag or a propagation dome. This will trap moisture around the cuttings. If you’re using a bag, you might want to prop it up with small stakes so it doesn’t touch the foliage.
- Find a good spot: Place the potted cuttings in a bright location that doesn’t get direct sun. A greenhouse, a bright windowsill, or even a shady spot outdoors can work.
The “Secret Sauce” (Pro Tips)
Here are a couple of things I’ve learned over the years that really seem to boost success.
- Bottom Heat is Your Friend: If you have it, using a seedling heat mat under your pots can make a huge difference. It encourages root development much faster. Just make sure the temperature isn’t too hot – lukewarm is perfect.
- Don’t Let the Foliage Sag: Even with the humidity dome, if you see the foliage looking a bit droopy, give the cuttings a light misting with water from your spray bottle. Keeping them plump and happy is important.
- Patience with Hardwood Cuttings: While I prefer semi-hardwood cuttings in spring, you can also take hardwood cuttings in late fall or winter from fully ripe wood. These take longer to root, often needing the whole winter, but they are very robust once they do. Just be extra patient!
Aftercare & Troubleshooting
Once your cuttings have been in the pot for a few weeks, you can gently tug on them. If you feel resistance, that’s a good sign roots are forming! You’ll know for sure when you see new growth emerging from the top.
When roots have developed, it’s time to gradually acclimate them to less humid conditions. Start by removing the plastic bag or dome for a few hours each day.
The biggest issue you’ll encounter is rot. If you see mushy, dark stems or leaves that turn yellow and fall off quickly, it’s usually a sign of too much moisture and not enough air circulation. Ensure your potting mix is always well-draining and don’t overwater. If rot sets in, it’s often best to discard the affected cuttings to prevent it from spreading.
A Little Encouragement to Get You Growing
Propagating plants is a journey, not a race. Some cuttings will take off like wildfire, while others might need a little more time, or sadly, might not make it. Don’t get discouraged! Each try is a learning experience. Celebrate every tiny new leaf or hint of root. Enjoy the process, the connection to nature, and the satisfaction of growing your own beautiful California Junipers. Happy gardening!
Resource:
https://identify.plantnet.org/k-world-flora/species/Juniperus%20californica%20Carrière/data