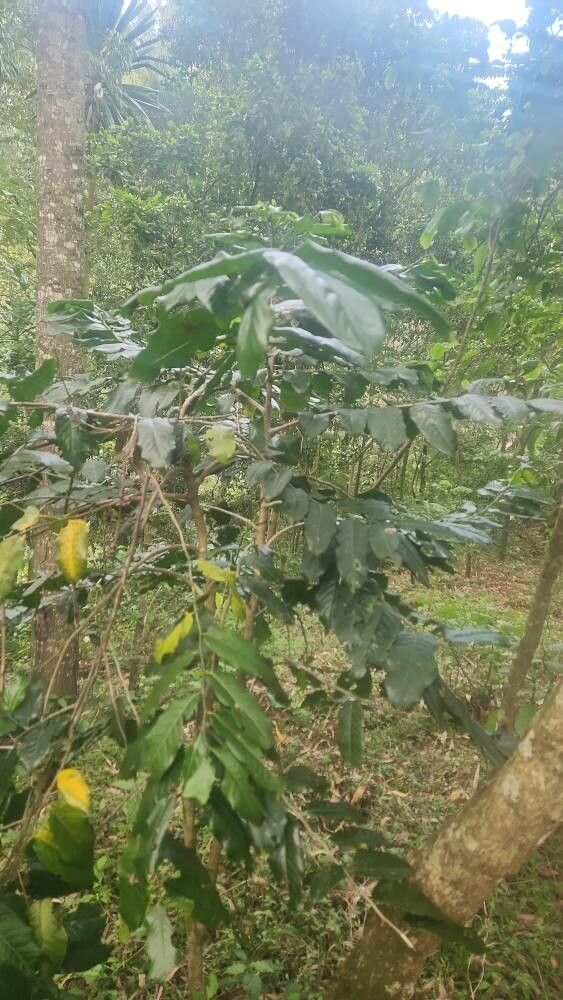
Oh, hello there! Come on in, grab a mug. Let’s chat about Casearia battiscombei. If you’re looking for a plant that brings a touch of the tropics with its lush, glossy leaves and a bit of whimsical charm, you’ve found a winner. And the best part? Propagating it is incredibly rewarding. It’s one of those plants that, with a little know-how, can fill your home or garden with its beauty, and sharing cuttings with friends is just the icing on the cake. For most beginners, I’d say it’s moderately easy – a little patience goes a long way.
The Best Time to Start
From my experience, the sweet spot for propagating Casearia battiscombei is in the late spring through early summer. This is when the plant is actively growing, which means it has the energy needed to focus on putting out new roots. You’re looking for stems that are firm and healthy, not spindly or showing signs of stress. Think of it as starting the propagation process when the plant is feeling its most vibrant.
Supplies You’ll Need
Here’s what I like to have on hand:
- Sharp Pruning Shears or a Clean Knife: For clean cuts, which heal better and reduce disease risk.
- A Well-Draining Potting Mix: I often use a 50/50 blend of regular potting soil and perlite or coarse sand. This helps prevent waterlogged roots.
- Rooting Hormone (Optional, but recommended): This really gives your cuttings a boost. Look for a powder or gel form.
- Small Pots or Propagation Trays: Clean pots are a must!
- Plastic Bags or a Clear Dome: To create a humid environment around the cuttings.
- Watering Can with a Fine Rose: For gentle watering.
Propagation Methods
We’ll focus on the method that usually gives me the best results with Casearia battiscombei: stem cuttings. It’s straightforward and effective.
- Take Your Cuttings: Choose a healthy stem, ideally one that’s not flowering. Using your clean shears, make a cut just below a leaf node (where a leaf meets the stem). Aim for cuttings that are about 4-6 inches long.
- Prepare the Cuttings: Gently remove the leaves from the bottom half of your cutting. You want to expose the nodes, as this is where roots will emerge. Leave just a couple of leaves at the top to help the cutting photosynthesize.
- Apply Rooting Hormone (If Using): Dip the cut end of the stem into your rooting hormone, tapping off any excess.
- Plant Your Cuttings: Fill your clean pots or trays with your prepared potting mix. Make a small hole with your finger or a pencil and carefully insert the cut end of the stem. Gently firm the soil around it.
- Water Thoroughly: Water the soil until it’s evenly moist, but not soggy.
The “Secret Sauce” (Pro Tips)
Now, for a few little tricks I’ve picked up over the years:
- Keep the Foliage Dry: When you water, try to avoid getting water directly on the leaves of the cuttings. In a humid environment, wet leaves can invite fungal issues.
- Bottom Heat is Your Friend: If you can, place your pots on a seedling heat mat set to a low temperature. This warmth encourages root development from below, creating a mini-tropical paradise for your cuttings.
- Patience with the Plastic: While the plastic bag or dome creates humidity, I like to open it for 10-15 minutes every few days. This allows for some air circulation and helps prevent mold.
Aftercare & Troubleshooting
Once your cuttings are planted, place them in a bright spot with indirect sunlight. Avoid harsh, direct sun, which can scorch them. Keep the soil consistently moist but not waterlogged.
You’ll know you’re successful when you see new leaf growth appearing. This is a sign that roots have formed! Gently tugging on a cutting will also reveal resistance if it has rooted. Once established, you can gradually introduce it to more light and treat it like a mature plant.
The most common issue you might encounter is rot. If a cutting is mushy, black, or just doesn’t seem to be doing anything for weeks on end, it’s likely succumbed to rot. This usually happens from too much moisture and poor air circulation. Don’t get discouraged! Just try again with fresh cuttings and adjust your watering and ventilation.
A Encouraging Closing
Propagating Casearia battiscombei is a wonderfully satisfying gardening endeavor. It requires a bit of gentle nurturing and a whole lot of hope. Be patient with your little cuttings; they’re working hard to grow. And remember, even if not every one makes it, each attempt is a learning experience. Happy propagating, and enjoy watching your new plants flourish!
Resource:
https://identify.plantnet.org/k-world-flora/species/Casearia%20battiscombei%20R.E.Fr./data