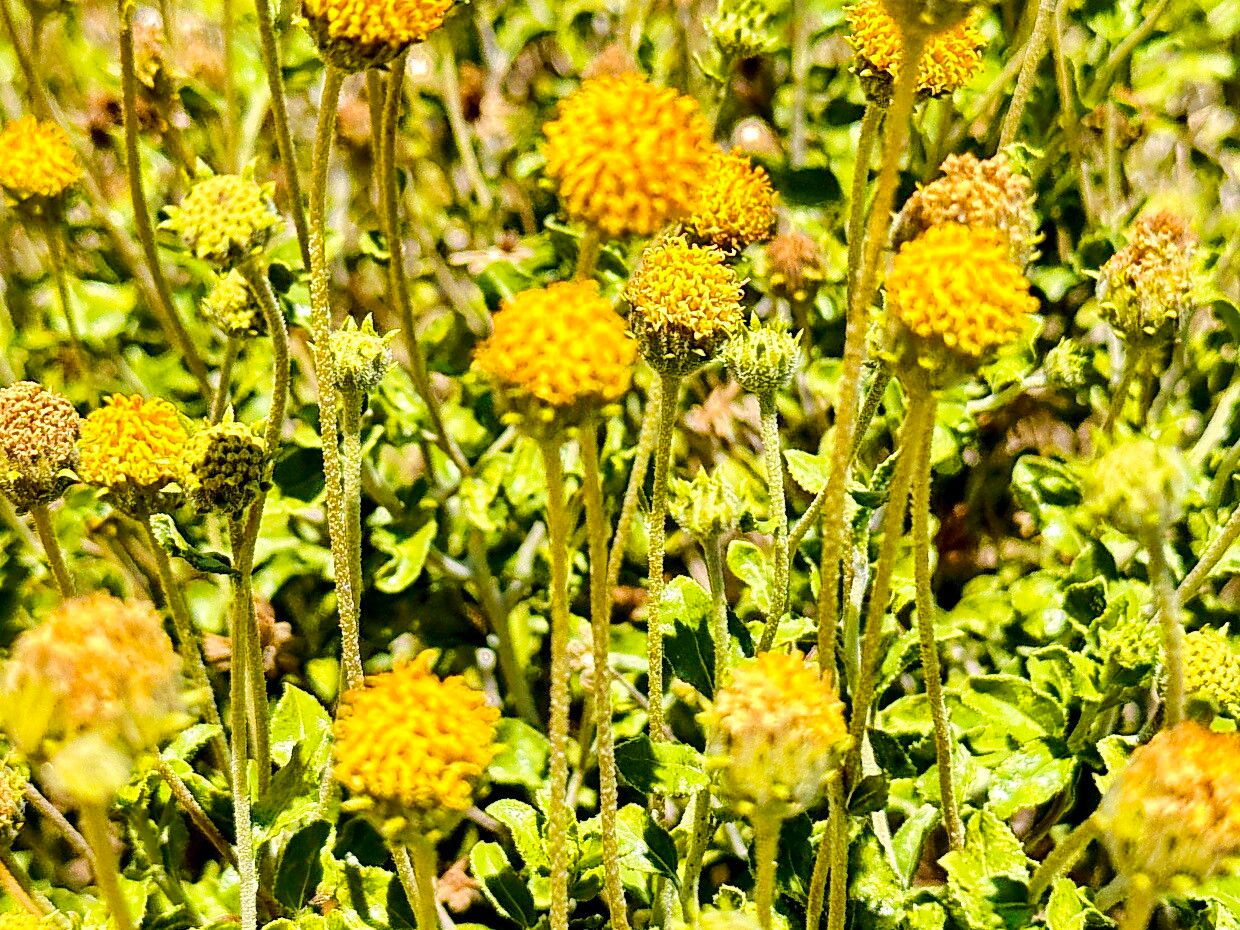
Hello, fellow garden enthusiasts! If you’ve ever admired the cheerful, daisy-like blooms of Encelia frutescens, also known as brittlebush, then you’re in for a treat. This native California sunshine-maker is a real beaut, especially in drier landscapes. Its silvery foliage adds a lovely textural contrast, and those bright yellow flowers just sing of summer. And the best part? Propagating it yourself is incredibly rewarding. While it’s not overly complicated, new propagators might find it a tad more engaging than, say, a succulent. But don’t let that deter you! With a little patience and these tips, you’ll be well on your way to multiplying this gorgeous shrub.
The Best Time to Start
For Encelia frutescens, I find the sweet spot for propagation is generally in late spring to early summer. This is when the plant is actively growing and has plenty of youthful energy. You’ll want to select stems that are firm but not woody – think of them as “semi-hardwood” cuttings. Avoid very young, flimsy growth or old, tough branches.
Supplies You’ll Need
Gathering your tools beforehand makes the whole process smoother. Here’s what I usually have on hand:
- Sharp Pruning Shears or a Craft Knife: For clean cuts.
- Rooting Hormone (Optional but Recommended): A powder or gel can give your cuttings a real boost.
- Well-Draining Potting Mix: A blend of equal parts perlite, pumice, and a good quality potting soil works wonders. You can also find specialized cactus and succulent mixes.
- Small Pots or Seed Trays: Clean containers with drainage holes are essential.
- Watering Can with a Fine Rose or a Spray Bottle: For gentle watering.
- Labels and a Marker: To keep track of what you’ve potted.
Propagation Methods
I typically have the most success with stem cuttings for Encelia frutescens. It’s straightforward and usually yields good results.
Stem Cuttings:
- Select Your Cuttings: Look for healthy, upright stems about 4-6 inches long. Make your cuts at a 45-degree angle just below a leaf node. This node is where roots are most likely to emerge.
- Prepare the Cuttings: Gently remove the lower leaves from the cutting. You want to expose at least two leaf nodes, as this is where you’ll be dipping in rooting hormone and where roots will form. Pinch off any flowers or buds, as these simply drain energy from the plant’s focus on rooting.
- Apply Rooting Hormone: If you’re using rooting hormone, dip the cut end of the stem into the powder or gel, tapping off any excess.
- Potting Up: Fill your clean pots with your well-draining mix. Make a small hole in the center of the soil with a pencil or your finger.
- Plant the Cuttings: Insert the prepared end of the cutting into the hole, ensuring that at least one or two leaf nodes are buried in the soil. Gently firm the soil around the cutting to ensure good contact.
- Water Gently: Water the soil thoroughly but gently. You want the soil to be moist but not soggy. A spray bottle can be great for this initial watering.
- Provide the Right Environment: Place the pots in a bright location that receives indirect sunlight. Avoid direct sun, which can scorch the delicate cuttings. A greenhouse or even a loosely formed plastic bag over the pot can help maintain humidity, but make sure to open it daily for air circulation to prevent mold.
The “Secret Sauce” (Pro Tips)
Here are a couple of things I’ve learned over the years that can really make a difference:
- “Air Grafting” the Soil: When you pot your cuttings, don’t compact the soil too much. Think of it as giving the roots room to breathe and expand. A light touch is key.
- Bottom Heat is Your Friend: If you happen to have a seedling heat mat, placing your pots on it can significantly speed up root development. Encelia frutescens loves a little warmth from below, especially when it’s trying to get its roots established.
Aftercare & Troubleshooting
Once you see new leaf growth, that’s a good sign that roots are forming! At this point, you can gradually acclimate your new plants to slightly drier conditions and eventually to more direct sunlight. I’ll often wait until a cutting has a healthy root system, which you can sometimes see peeking out of the drainage holes, before attempting to transplant it into a slightly larger pot.
Keep an eye out for signs of trouble. The most common issue is rot, which happens when the cuttings are kept too wet. If a cutting turns mushy or black, it’s usually a sign of overwatering or poor drainage. Don’t be discouraged by losses; it’s a natural part of the propagation process. Just try to identify what went wrong and adjust your technique for the next batch.
A Encouraging Closing
Propagating plants is such a beautiful way to connect with nature and expand your garden at little to no cost. Be patient with your Encelia frutescens cuttings. Some will take off quickly, while others might be a bit slower to respond. Enjoy the process of nurturing these little beginnings, and soon you’ll be rewarded with your very own cheerful bursts of sunshine! Happy growing!
Resource:
https://identify.plantnet.org/k-world-flora/species/Encelia%20frutescens%20A.Gray/data