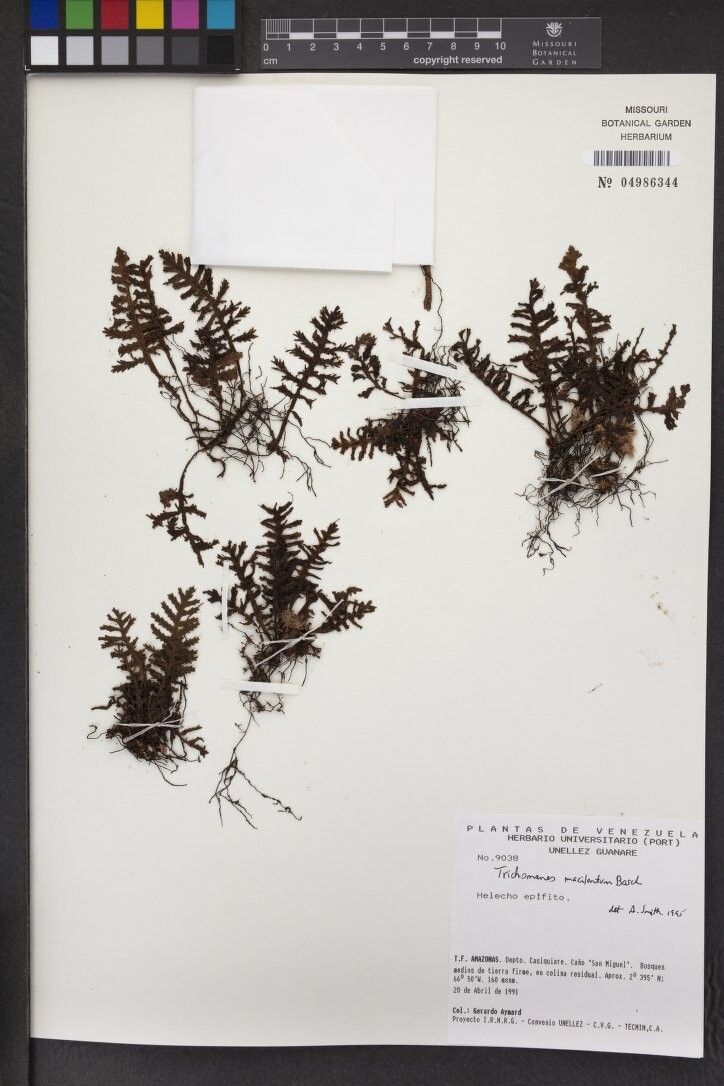
Oh, hello there! Come on in, grab a mug. Today, we’re diving into the magical world of propagating Trichomanes macilentum. You know, those delicate, filmy ferns? They have this ethereal beauty, like something out of a fairytale. Seeing a new little frond unfurl, knowing you helped bring it into being, is just about one of the most satisfying things a plant parent can do.
Now, Trichomanes macilentum can be a tad finicky. It’s not quite a “stick it in the ground and forget it” kind of plant, but with a little patience and understanding, you absolutely can coax new life from your existing specimens. Let’s get our hands a little dirty, shall we?
The Best Time to Start
For most ferns, like our friend Trichomanes macilentum, the springtime is your golden ticket. As the weather warms and daylight hours lengthen, plants are bursting with energy. This renewed vigor translates to faster rooting and happier babies. Aim for late spring or early summer, when the plant is actively growing, and you’ll have the best chance of success.
Supplies You’ll Need
Gathering your tools before you start makes the whole process smoother. Here’s what you’ll want on hand:
- Sharp, clean pruning shears or a sharp knife: For precise cuts that minimize damage.
- A well-draining potting mix: I often use a blend of equal parts peat moss, perlite, and orchid bark. This provides the moisture retention ferns love but prevents sogginess.
- Clear plastic bags or a propagator lid: To create a mini-greenhouse.
- Watering can with a fine rose or a misting bottle: Gentle watering is key.
- (Optional) Rooting hormone: While not always necessary for ferns, it can give a little boost.
- Small pots or trays: For your new propagations.
- Your healthy Trichomanes macilentum plant: The star of our show!
Propagation Methods
Trichomanes macilentum is best propagated through division or spore propagation. While stem cuttings can work, they are often more challenging and time-consuming for this particular species.
1. Division: Sharing the Love
This is often the most straightforward method for enthusiasts. When your fern is looking robust and maybe a bit crowded in its pot, it’s a good candidate for division.
- Gently remove the plant from its pot. You might need to coax it out. If it’s really stuck, a light tap on the sides of the pot usually does the trick.
- Carefully tease apart the root ball. Look for distinct sections where growth appears to be originating. You want to separate these clumps, ensuring each has a healthy root system and some leafy growth. Don’t be afraid to get your hands in there, but be gentle.
- If the roots are tightly interwoven, you can use your clean shears or knife to separate them. Again, aim for sections that look like they can stand on their own.
- Pot up each division. Use your well-draining mix in new, smaller pots. Plant them so the top of the root ball is just at the soil surface.
- Water thoroughly. Give them a good soak to settle the soil around the roots.
- Place them in a humid environment. Pop them into a propagator or cover them with a clear plastic bag, ensuring there’s some air circulation. Keep them out of direct sunlight.
2. Spore Propagation: The Patient Gardener’s Path
This is for those who truly enjoy the journey! Trichomanes macilentum produces spores on the undersides of its fronds. It’s a slow but incredibly rewarding process.
- Harvesting Spores: Look for mature fronds with distinct spore-bearing structures, usually on the underside. You can carefully scrape these off onto a piece of clean paper.
- Sowing the Spores: Fill shallow trays with a sterile, finely sifted mix of peat moss and perlite. Moisten the surface thoroughly but gently.
- Sow the spores by lightly dusting them over the surface. Don’t bury them!
- Cover the tray. Use a propagator lid or clear plastic wrap to maintain high humidity.
- Keep them moist and warm. Place in indirect light.
This method takes time – weeks, often months, for the spores to germinate and develop into tiny prothalli, which then develop into new ferns. Be patient!
The “Secret Sauce” (Pro Tips)
Here are a couple of things I’ve learned over the years that make a difference:
- Humidity is King: Ferns, especially filmy ferns like Trichomanes, absolutely crave humidity. Don’t skimp on creating that humid microclimate. A simple plastic bag over the pot, opened for an hour or so daily for fresh air, works wonders.
- Avoid Soggy Bottoms (Even with Water Propagation): If you try to root bits in water (which I find less successful for this specific fern but some swear by), make sure the cut stem isn’t fully submerged in a way that encourages rot. Just the very tip should be in the water, and it’s crucial to change the water regularly. For division, a well-draining mix is your best defense against rot.
Aftercare & Troubleshooting
Once your divisions show signs of new growth – tiny fronds emerging – you’re well on your way!
- Gradually acclimate them to slightly lower humidity as they get established in their new pots.
- Continue to provide bright, indirect light.
- Water when the top of the soil feels slightly dry to the touch.
The most common issue you’ll encounter is rot. If you see mushy stems, blackening leaves, or a foul smell, it’s usually a sign of conditions being too wet. Don’t be discouraged! It happens. Remove the affected parts immediately and adjust your watering habits. Sometimes, a new division might just not take, and that’s okay too. It’s all part of the learning curve.
A Encouraging Closing
So there you have it! Propagating Trichomanes macilentum is a journey that rewards patience and attentive care. Don’t be disheartened if your first attempt isn’t perfect. Every gardener has had plants that didn’t make it. The joy is in the trying, in learning, and in the eventual triumph of seeing a new life bloom. Happy propagating, and enjoy every step of the process!
Resource:
https://identify.plantnet.org/k-world-flora/species/Trichomanes%20macilentum%20Bosch/data