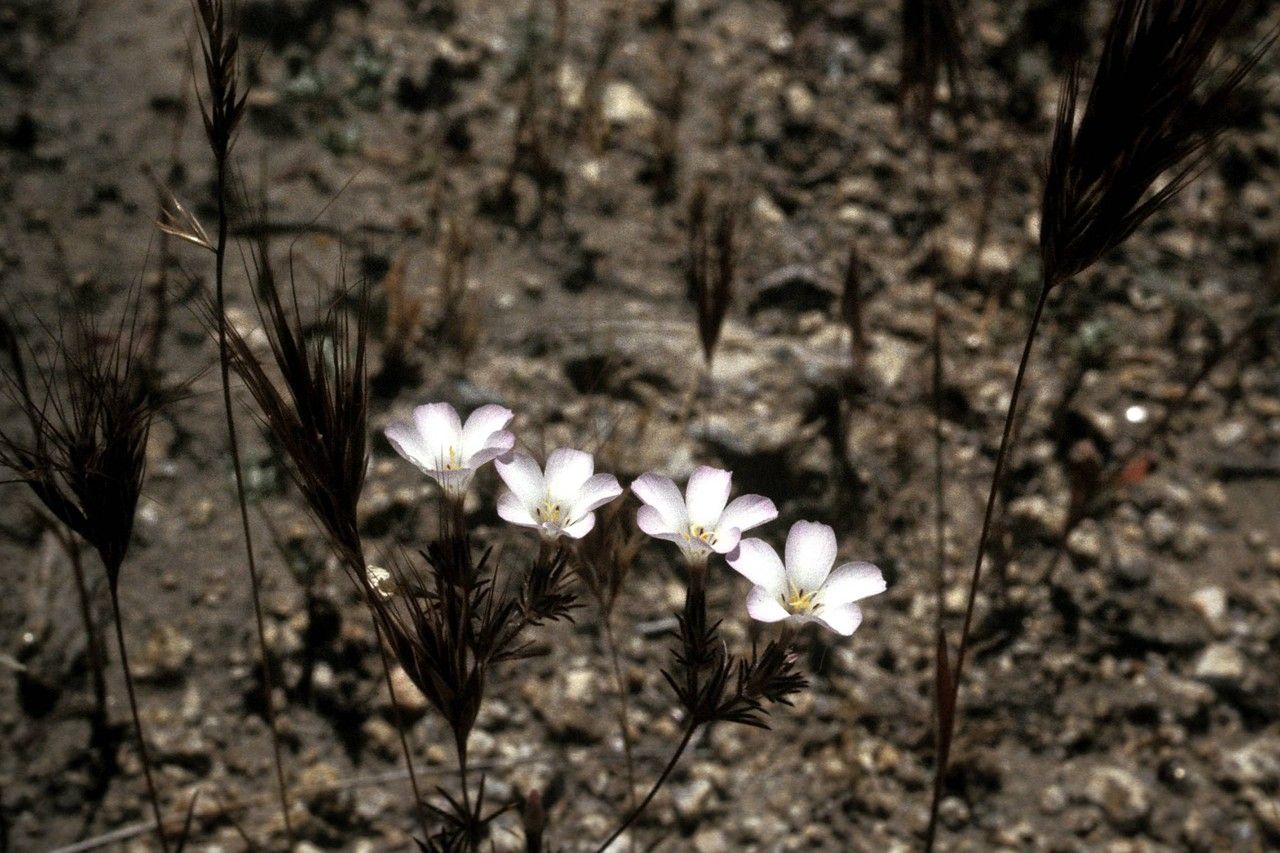
Hello fellow garden lovers! Have you ever spotted a patch of Linanthus killipii and been utterly charmed by its delicate, star-shaped blooms? I know I have! This lovely little native California wildflower, with its cheery colors and dainty presence, just begs to be shared. Propagating Linanthus killipii might sound a bit tricky at first, but trust me, with a little know-how and patience, you’ll be rewarded with a whole new collection of these beauty queens. It’s not the most beginner-friendly plant to start with, but it’s certainly achievable with some dedication.
The Best Time to Start
For the best chance of success, I always recommend starting your Linanthus killipii propagation in the late spring to early summer. This is when the plant is in its active growth phase, meaning it has plenty of energy to put into developing new roots. You’ll typically want to take cuttings from healthy, non-flowering stems that are firm but still a bit flexible.
Supplies You’ll Need
Before we get our hands dirty, let’s gather our tools:
- Sharp, clean pruning shears or a sterile knife: Cleanliness is key to preventing disease!
- Rooting hormone (optional but recommended): I find it significantly boosts success rates. Look for one specifically for stem cuttings.
- Well-draining potting mix: A mix of equal parts perlite and peat moss or coco coir works beautifully. You can also buy a commercial seed-starting mix.
- Small pots or seed trays: Clean those thoroughly! Small nursery pots are perfect.
- Watering can or spray bottle: For gentle watering.
- Clear plastic bag or propagation dome: To create a humid environment.
- Labels and a waterproof pen: To keep track of your efforts!
Propagation Methods
I’ve found that stem cuttings are your best bet for propagating Linanthus killipii. They offer a good balance of ease and success.
Stem Cuttings:
- Take your cuttings: Using your clean shears, take cuttings from healthy, softwood stems that are about 4-6 inches long. Make your cut just below a leaf node (where a leaf attaches to the stem).
- Prepare the cuttings: Gently remove the lower leaves from the cutting, leaving only a few at the very top. If your cuttings are long, you can even pinch off the top few leaves to encourage branching later.
- Apply rooting hormone: Dip the cut end of each cutting into your rooting hormone, tapping off any excess.
- Pot them up: Fill your pots or trays with your well-draining potting mix. Make a small pilot hole with your finger or a pencil. Insert the bottom inch or so of each cutting into the hole, and gently firm the soil around it.
- Water gently: Water the soil thoroughly but don’t make it soggy. A gentle spray from a watering can or a mister works well.
- Create humidity: Cover the pots with a clear plastic bag or a propagation dome. This keeps the humidity high around the cuttings, which is vital for rooting. You can use skewers or small stakes to keep the plastic from touching the leaves.
- Provide light and warmth: Place the pots in a bright location, but avoid direct sunlight, which can scorch the delicate cuttings and heat up the plastic, cooking your plant babies. A gentle warmth from below, like a heating mat, can speed things up.
The “Secret Sauce” (Pro Tips)
Here are a couple of tricks I’ve picked up over the years that really make a difference:
- Don’t let those leaves touch the water (if you decide to try water propagation, which I usually avoid for Linanthus but it’s good to know!). If you were to root these in water (though cuttings in soil are usually more successful here), make sure only the stem is submerged, not the leaves. Any submerged foliage will just rot and can take the whole cutting with it.
- Bottom heat is your friend. Seriously, if you can swing it, a propagation mat will dramatically improve your success rate and speed up the rooting process. It mimics the warmth you’d find in the soil on a sunny spring day.
- Be patient with the watering. It’s a fine line. You want the soil to be consistently moist, but never waterlogged. Overwatering is the quickest way to lose your cuttings to rot.
Aftercare & Troubleshooting
Once you start to see signs of new growth – tiny leaves unfurling or gentle tug resistance when you nudge a cutting – you know roots are forming! Congratulations! At this point, you can gradually acclimate your new plants to normal humidity by slowly opening the plastic bag or dome over a few days. Water them regularly, allowing the top layer of soil to dry out slightly between waterings.
The most common sign of failure is rot. If you see your cuttings turning mushy, black, or wilting dramatically despite the soil being moist, it’s likely rot. This is usually caused by overwatering and poor air circulation. Sadly, once rot sets in, it’s hard to save a cutting. If you see it happening, remove the affected cutting immediately to prevent it from spreading.
A Encouraging Closing
Propagating any plant is a little journey, and Linanthus killipii is no exception. There might be a few bumps along the way, and that’s perfectly okay! Just remember to be patient, observe your little charges, and enjoy the process. There’s a special kind of magic in nurturing a new life from a tiny piece of an existing plant. Happy gardening!
Resource:
https://identify.plantnet.org/k-world-flora/species/Linanthus%20killipii%20H.Mason/data