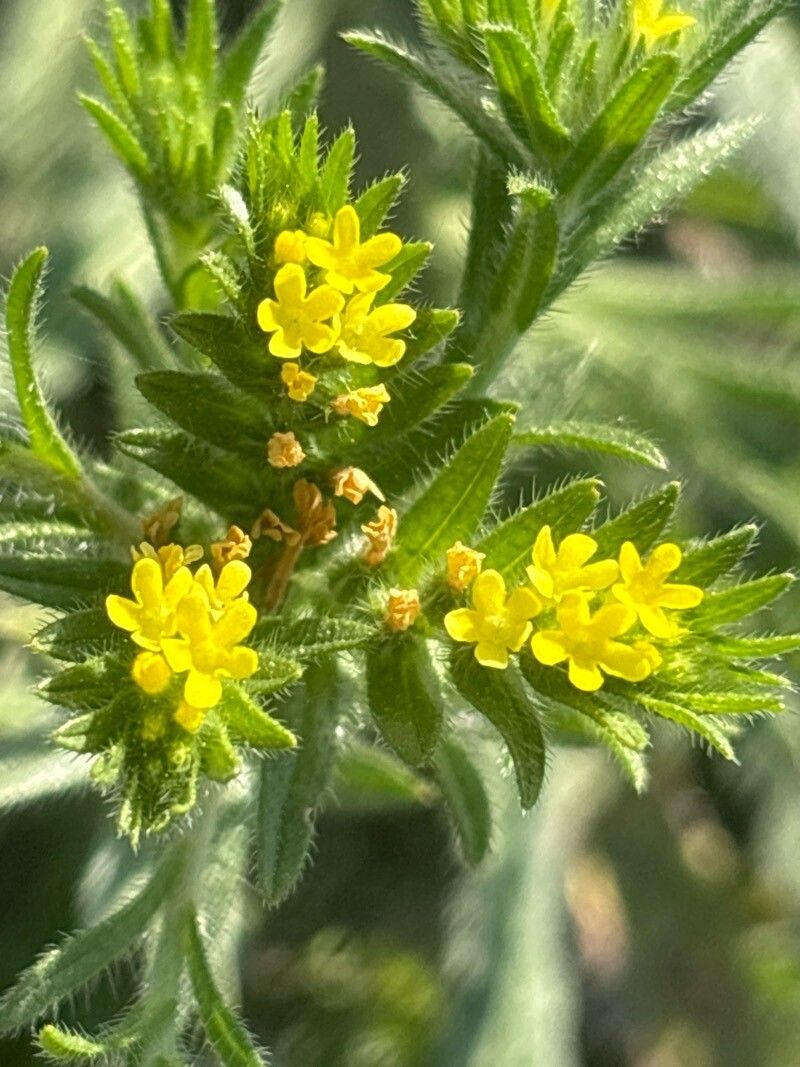
Oh, hello there! Come on in and grab a mug. I’m so glad you’re interested in Neatostema apulum. It’s one of those plants that just brings a smile to my face with its delicate charm. I’ve been nurturing these beauties for years, and I tell you, sharing that joy by propagating them is incredibly rewarding. If you’re new to this, don’t fret! Neatostema apulum is surprisingly welcoming for beginners, making it a wonderful plant to start your propagation journey with.
The Best Time to Start
For Neatostema apulum, my favorite time to start is in late spring or early summer. This is when the plant is actively growing, meaning it’s full of energy and eager to put out new roots. You’ll have the best chance of success if you take cuttings from healthy, vigorous stems that haven’t just finished flowering. Think of it as borrowing a bit of that summer growth spurt!
Supplies You’ll Need
Gathering your supplies beforehand makes the whole process so much smoother. Here’s what I usually have on hand:
- Sharp pruners or a clean knife: For making clean cuts.
- Rooting hormone (optional but recommended): Especially for thicker stems. A powder or gel works well.
- Well-draining potting mix: I like a blend of peat moss and perlite, or a good quality seedling mix.
- Small pots or seed trays: Clean, with drainage holes, of course!
- Clear plastic bags or a propagation dome: To keep humidity high.
- A watering can with a fine rose: For gentle watering.
- Labels and a marker: So you don’t forget what you planted!
Propagation Methods
Neatostema apulum can be a tad fussy about its roots, so stem cuttings are usually my go-to method. It’s reliable and gives you a good starting point.
- Take Your Cuttings: In your chosen window, look for healthy, non-flowering stems. Using your sharp pruners or knife, take cuttings about 4-6 inches long. Make the cut just below a leaf node (where a leaf emerges from the stem).
- Prepare the Cuttings: Gently remove the lower leaves from the cutting, leaving just a couple of leaves at the top. This prevents them from rotting once they’re in the soil. If your cutting is quite long, you can pinch off the very tip to encourage bushier growth later.
- Apply Rooting Hormone (Optional): If you’re using rooting hormone, lightly dip the cut end into the powder or gel. Tap off any excess.
- Plant Your Cuttings: Fill your small pots or trays with the well-draining potting mix. Make a small hole in the center with your finger or a pencil. Gently insert the cut end of your stem cutting into the hole, ensuring the leaf nodes are below the soil surface. Firm the soil gently around the cutting.
- Water Gently: Water thoroughly but carefully. You don’t want to disturb the cuttings.
- Create a Humid Environment: Cover the pots with a clear plastic bag (making sure the leaves don’t touch the plastic, if possible) or place them under a propagation dome. This traps humidity, which is crucial for the cuttings to root.
- Patience is Key: Place the pots in a bright, indirect light location. Avoid direct sun, which can scorch the tender cuttings. Keep the soil consistently moist but not waterlogged.
The “Secret Sauce”
After years of fiddling, I’ve picked up a few tricks that really seem to make a difference.
- Bottom Heat: This is a game-changer, especially for fussier plants. Placing your pots on a heated propagation mat can significantly speed up root development. It mimics the warmth of the soil in summer and really encourages those roots to get going.
- Air Circulation: While we want high humidity, some airflow is vital to prevent fungal diseases. If you’re using a plastic bag, try to open it for an hour or two each day to let the air circulate. If you have a propagation dome, you can often adjust the vents.
- The “Tap Test”: Once you think your cuttings might be rooted, give them a gentle tug. If there’s resistance, you’ve likely got roots! You can also carefully try to peel back a bit of the soil to peek.
Aftercare & Troubleshooting
Once those little roots have formed – hooray! – it’s time to transition them.
- Acclimatize: Gradually reduce the humidity over a week or so by opening the bag or dome more each day. This helps your new plant adjust to the normal home environment.
- Potting Up: When your new plants have a good root system and are showing new growth, it’s time to pot them into slightly larger containers. Use a good quality potting mix.
- Watering: Continue to water regularly, allowing the top inch of soil to dry out between waterings.
- Trouble Signs: The most common culprits are rot and wilting.
- Rot: This usually happens when the soil is too wet and there’s not enough airflow. The stem will turn mushy and black. If you see this, unfortunately, that cutting is likely lost. Learn from it and adjust your watering and airflow next time.
- Wilting: This can be a sign of too little water, or sometimes the cutting hasn’t established roots yet and is struggling to take up moisture. Make sure your environment is humid enough, and check that the soil is consistently moist.
A Closing Thought
There you have it! Propagating Neatostema apulum is a wonderfully satisfying process. Don’t be discouraged if your first few attempts aren’t perfect. Every gardener has lost a cutting or two! The key is to be patient, observe your little plants, and most importantly, enjoy the journey of coaxing new life from a parent plant. Happy gardening!
Resource:
https://identify.plantnet.org/k-world-flora/species/Neatostema%20apulum%20(L.)%20I.M.Johnst./data