Oh, hello there! It’s so lovely to have you join me in the garden today. Today, we’re diving into the wonderful world of propagating Prunus hirtipes, or as I affectionately call it, the hairy-leaved cherry. If you’ve ever admired its delicate spring blossoms or the subtle charm of its foliage, you’re in for a treat, because this little gem is surprisingly rewarding to multiply.
The Appeal of Prunus hirtipes and Why Propagate?
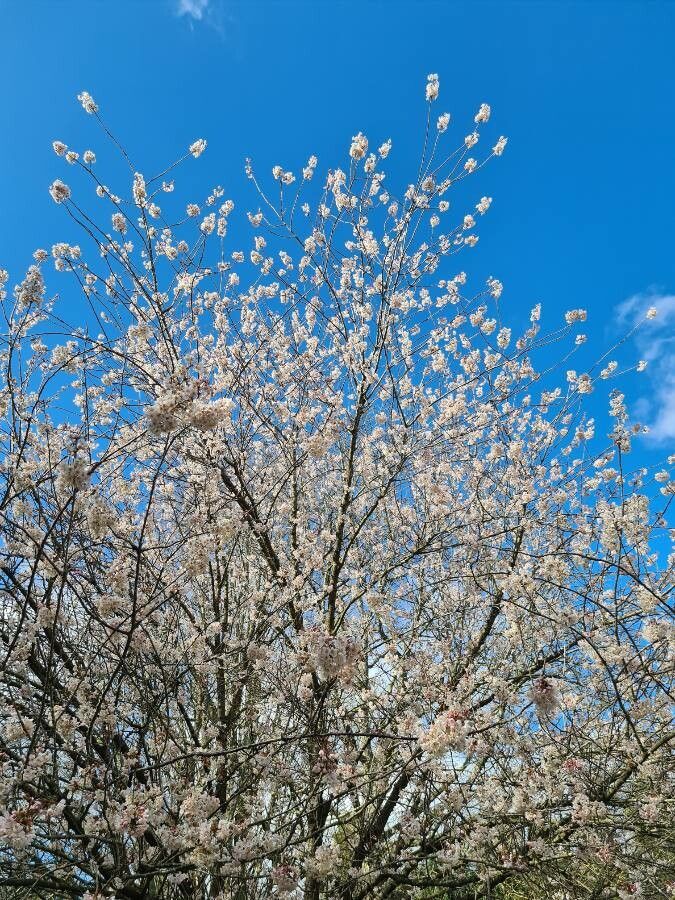
There’s something truly special about seeing a new plant emerge from something you’ve nurtured yourself. Prunus hirtipes offers a graceful bloom and lovely textured leaves, adding a touch of refined beauty to any garden corner. Propagating it means you can share this beauty with friends, fill a new space in your own landscape, or simply satisfy that wonderful gardener’s urge to create. Now, for the good news: while it requires a little care, Prunus hirtipes is moderately easy to propagate, making it a fantastic project for those who’ve dabbled a bit in plant magic already. Beginners, don’t be shy – with these steps, you’ll do wonderfully!
The Best Time to Start
Timing, as always, is key in the garden. For the highest success rate with Prunus hirtipes, I’ve found that late spring to early summer is your sweet spot. This is when the plant is actively growing, and the new shoots are pliable and full of life. Aim for stems that are semi-hardwood – they’ve started to firm up a bit but aren’t completely woody yet. This offers the best balance of flexibility and rooting potential.
Supplies You’ll Need
Gathering your tools beforehand makes the whole process much smoother. Here’s what I recommend having on hand:
- Sharp, clean pruning shears or a sharp knife: For making clean cuts.
- Rooting hormone: A powder or liquid to encourage root development.
- Small pots or seed trays: With drainage holes, of course!
- Well-draining potting mix: A good blend is equal parts peat moss (or coco coir), perlite, and coarse sand. This is crucial to prevent waterlogging.
- Watering can or spray bottle: For gentle watering.
- Plastic bags or a propagation dome: To maintain humidity.
- Labels: To keep track of your cuttings and date.
Propagation Methods: Stem Cuttings
This is my go-to method for Prunus hirtipes, and it’s remarkably effective.
- Take Your Cuttings: In late spring or early summer, select healthy, one-year-old stems. Using your sharp pruning shears, cut sections that are about 4-6 inches long. Make your cut just below a leaf node (where a leaf attaches to the stem).
- Prepare the Cuttings: Gently remove the lower leaves from the cutting. You want to leave just a couple of leaves at the very top to help with photosynthesis. If the remaining leaves are large, you can even cut them in half horizontally to reduce water loss.
- Apply Rooting Hormone: Dip the cut end of the stem into your rooting hormone, tap off any excess, and then insert it into the prepared potting mix.
- Planting: Fill your pots or trays with your well-draining mix. Make a small hole in the center with a pencil or your finger and gently insert the cutting. Firm the soil lightly around the base.
- Watering: Water thoroughly after planting but avoid soggy soil. You want it to be moist but not waterlogged.
The “Secret Sauce” (Pro Tips)
Here are a few little tricks I’ve learned over the years that really make a difference:
- Bottom Heat is Your Friend: While not strictly necessary, placing your pots on a heat mat designed for propagation significantly speeds up root formation. It mimics the warmth of the soil in summer and gives those roots a much-needed boost.
- Humidity is Queen: Prunus hirtipes cuttings absolutely love a humid environment. Once planted, I cover the pots with a clear plastic bag or a propagation dome. Make sure the leaves aren’t touching the plastic, as this can encourage rot. I often use little stakes to prop up the bag.
- Don’t Rush the Chop: When you think roots might have formed (usually after 4-6 weeks), don’t pull the cutting out to check! Instead, give a gentle tug. If there’s resistance, you know roots have taken hold. This prevents damaging any delicate new root hairs.
Aftercare & Troubleshooting
Once your cuttings have rooted and you can feel that resistance when giving a gentle tug, it’s time for them to get used to less humid conditions. Gradually remove the plastic bag or dome over a week or two, allowing them to acclimatize. Continue to keep the soil consistently moist but not wet.
The most common issue you’ll encounter is rot. If you see leaves yellowing and wilting, or the stem turning mushy and black at the soil line, it’s a sign of overwatering and poor drainage. Sadly, this is often the end for that particular cutting. The key is to ensure excellent drainage from the start and to water mindfully. If your cuttings just sit there, looking sad and not growing, it might be that they haven’t received enough warmth or humidity, or perhaps the rooting hormone wasn’t applied effectively. Don’t despair; sometimes it just takes a few tries!
A Little Patience Goes a Long Way
Propagating plants is a journey, not a race. There will be successes, and there will be little lessons learned along the way. Be patient with your Prunus hirtipes cuttings, keep them comfortable with light and moisture, and celebrate every tiny root that forms. Before you know it, you’ll have a whole new collection of these lovely plants to enjoy. Happy gardening!
Resource:
https://identify.plantnet.org/k-world-flora/species/Prunus%20hirtipes%20Hemsl./data