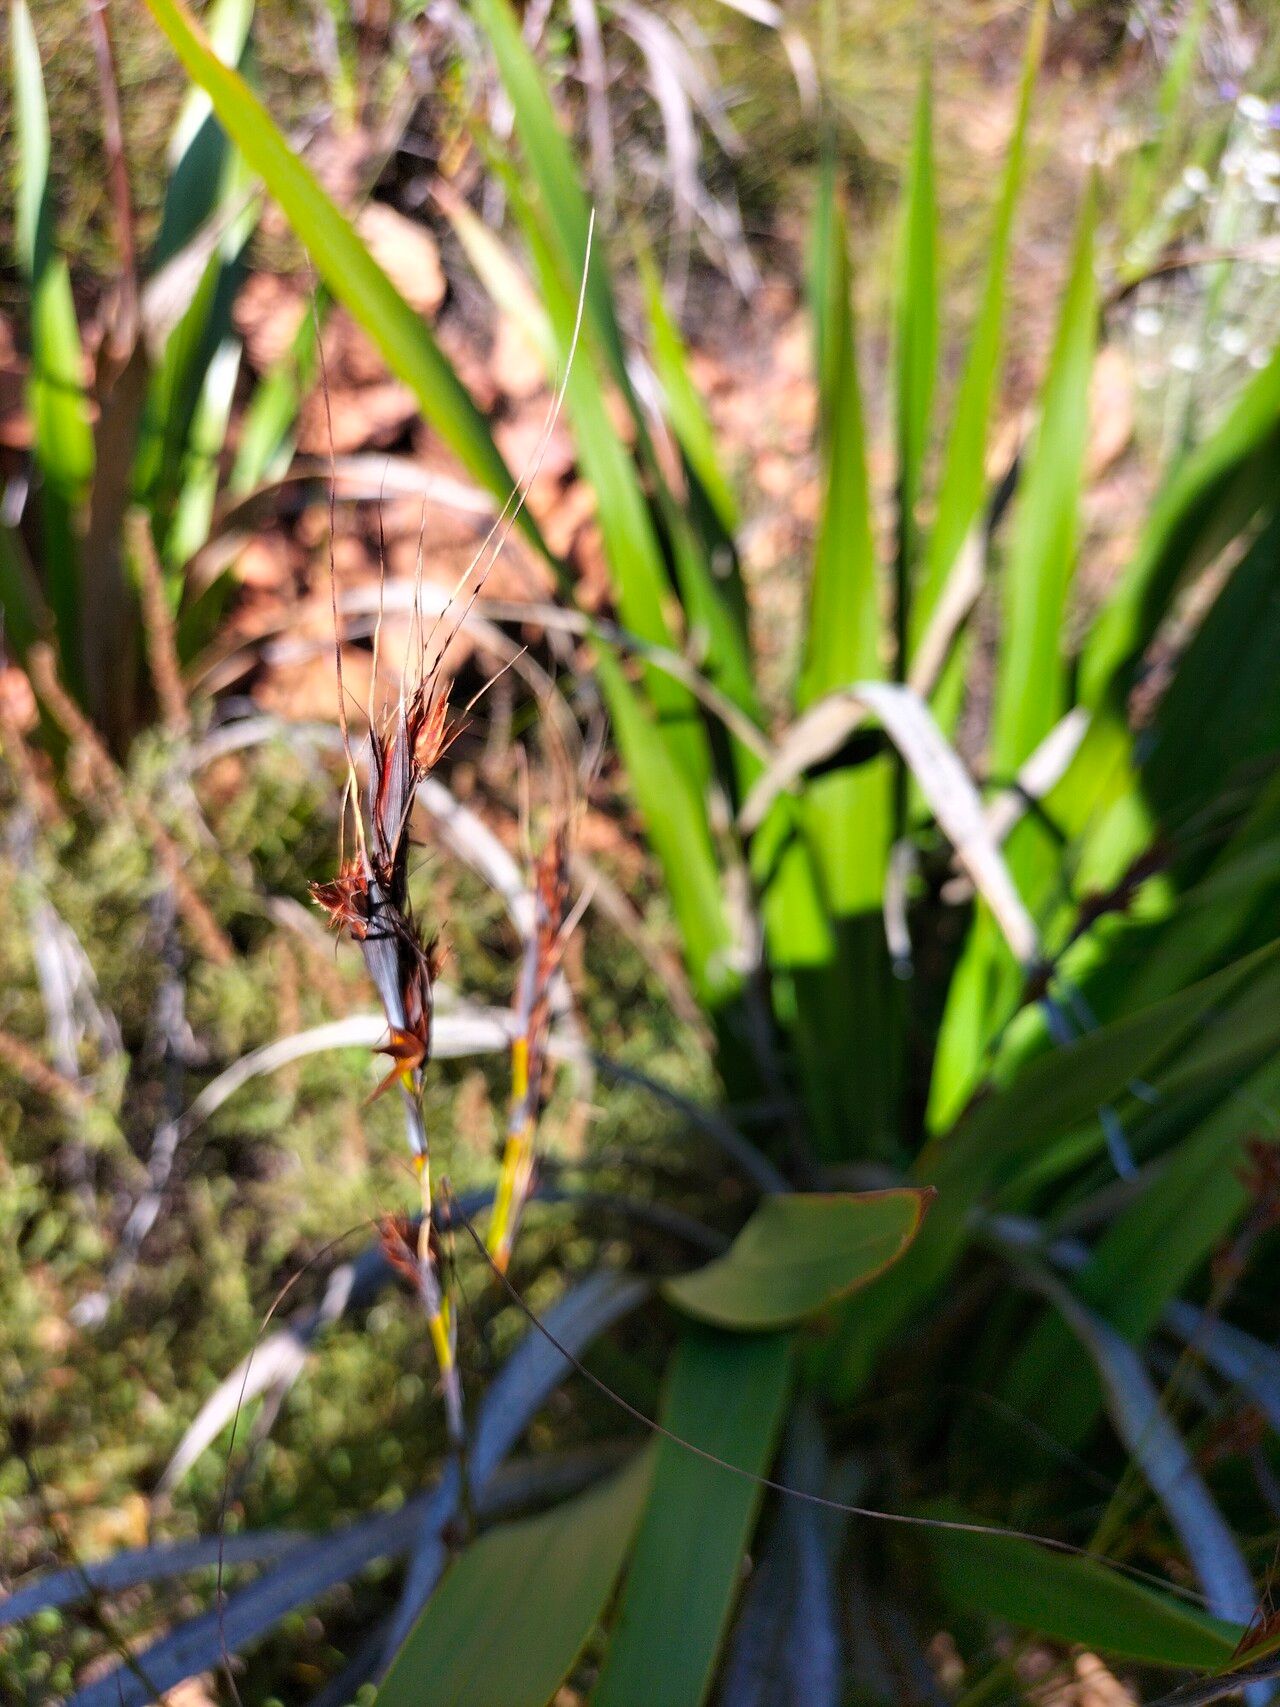
Oh, hello there! I’m so glad you’ve found yourself drawn to the captivating charm of Tetraria ustulata. If you’re anything like me, you’ve probably admired its architectural elegance, those graceful, arching leaves that seem to dance in the breeze. It’s a stunner, truly, and the idea of multiplying that beauty is just pure gardening joy, isn’t it?
Why Grow More Tetraria ustulata?
There’s something incredibly satisfying about nurturing a new plant from a tiny slip of the parent. It’s not just about getting more of a good thing; it’s about understanding a plant’s life cycle, its resilience, and your own green-thumb prowess. Now, I don’t want to sugarcoat things – Tetraria ustulata can be a tad particular. For absolute beginners, it might present a little challenge, but don’t let that deter you! With a bit of patience and these tips, you’ll be well on your way.
When the Garden Whispers “Now”
The absolute sweetest spot for propagating Tetraria ustulata is right as spring is unfurling its green banner. Think late spring to early summer. This is when the plant is bursting with energy, ready to put out new growth. You’re essentially tapping into its prime growth phase, giving your cuttings the best possible start.
Gather Your Gardener’s Arsenal
Before we dive in, let’s make sure you’re equipped. Here’s what you’ll want to have on hand:
- Sharp Pruning Shears or a Clean Knife: For making precise cuts.
- Rooting Hormone (Powder or Gel): This is a real confidence booster for our plant friends.
- Well-Draining Potting Mix: A good blend would be 50% perlite and 50% peat moss or coconut coir. Avoid heavy garden soil.
- Small Pots or Trays: Clean ones, of course!
- Plastic Bags or a Propagator Lid: To create a humid environment.
- A Watering Can with a Fine Rose: Gentle watering is key.
- Optional: Bottom Heat Mat: This can be a game-changer, especially if your home is on the cooler side.
The Art of Reproduction: How To Do It
For Tetraria ustulata, the most successful method is division. While stem cuttings are common for many plants, this particular beauty thrives when you work with its existing root structure.
Method: Division
- Prepare Your Parent Plant: Gently remove the Tetraria ustulata from its pot. If it’s in the ground, carefully dig around it, trying to disturb the roots as little as possible.
- Loosen the Soil: Gently brush away as much of the old soil from the root ball as you can. You want to see where the natural divisions are.
- Identify Your Divisions: Look for natural breaks in the root system, where clumps of foliage are clearly connected to their own set of roots. You’re aiming for sections that have both healthy roots and some good foliage.
- Separate with Care: This is where you can gently pull apart the plant with your hands if the roots are soft enough. For tougher divisions, you might need to use a clean, sharp knife or even your pruning shears to cut through the root ball. Be as gentle as possible not to damage the delicate root hairs.
- Trim Excess Foliage (Optional but Recommended): If any of the divisions have very large, heavy leaves that might stress the new plant, go ahead and trim them back by about one-third. This reduces water loss from the leaves while the roots are establishing.
- Pot Up Your New Plants: Get your clean pots ready with your well-draining mix. Make a little well in the center of each pot and firmly plant your division. You want the base of the foliage to be at soil level.
- Water Gently: Give each new plant a good, gentle watering to settle the soil around the roots.
My Little Gardener’s Secrets
Here are a couple of things I’ve learned over the years that really make a difference:
- Humidity is King: Tetraria ustulata loves a humid microclimate when it’s trying to root. After potting your divisions, cover the pots with a clear plastic bag or a propagator lid. Make sure the leaves aren’t touching the plastic, as this can encourage rot. Poke a few small ventilation holes in the bag after a day or two.
- The Magic of Bottom Heat: If you can, placing your pots on a gentle bottom heat mat can significantly speed up root development. It mimics the warmth of spring soil and gives those roots a real nudge. Don’t let it get too hot, just a gentle warmth.
Life After Rooting & Spotting Trouble
Once your new Tetraria ustulata has started to show signs of new growth – watch for those little green shoots emerging from the base – you know it’s working on its roots! You can gently tug on a plant; if there’s resistance, it’s got roots.
- Gradual Acclimation: As your plant strengthens, begin to gradually reduce the humidity. Start by opening the plastic bag a little each day, or prop up the propagator lid. Eventually, you’ll remove the covering altogether.
- Watering Schedule: Keep the soil consistently moist but not waterlogged. Overwatering is the quickest way to invite problems. Let the top inch of soil dry out slightly between waterings.
- Troubleshooting: The most common issue you’ll encounter is rot, usually caused by overwatering or poor drainage. You’ll see leaves turning yellow and mushy, or the base of the plant becoming soft and dark. If you spot this, remove the affected plant immediately to prevent it from spreading. Ensure you have the right soil and aren’t overwatering.
Keep Nurturing, Keep Growing!
Propagating Tetraria ustulata is a journey, and like any good journey, it requires a little patience. Don’t be discouraged if your first attempt isn’t picture-perfect. Every gardener has had a few moments of doubt! Celebrate the successes, learn from the challenges, and most importantly, enjoy the process of bringing more beauty into your world. Happy gardening!
Resource:
https://identify.plantnet.org/k-world-flora/species/Tetraria%20ustulata%20(L.)%20C.B.Clarke/data