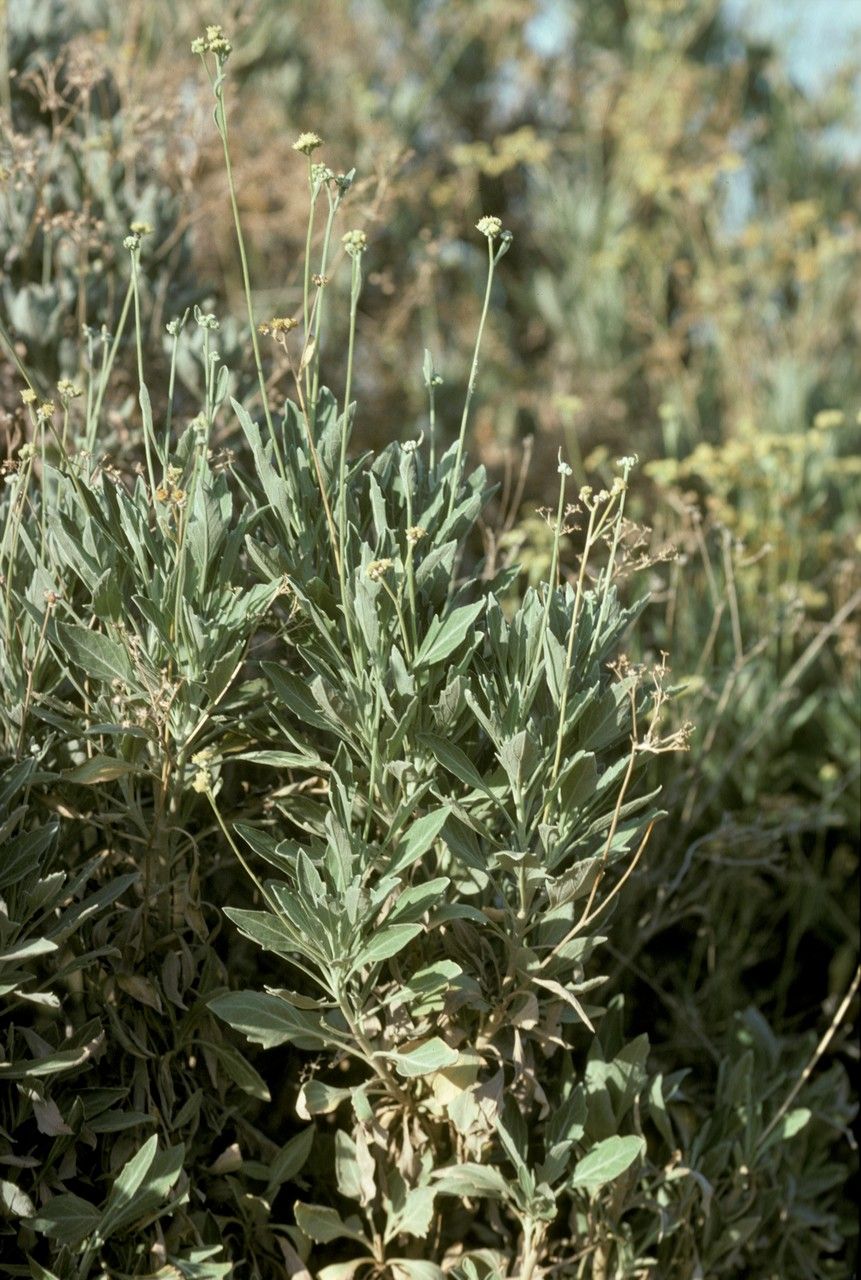
Hello fellow plant lovers! Grab a mug of your favorite brew, and let’s chat about a wonderfully rewarding little charmer: Parthenium argentatum, often known as Silver Leaf or Silvery Pot Marigold. This plant boasts these absolutely lovely, fuzzy, silver-grey leaves that bring a touch of understated elegance to any space. Plus, those cheerful yellow daisy-like flowers? A true delight!
Propagating Parthenium argentatum is a fantastic way to share its beauty or simply expand your own collection without a hefty price tag. For beginners, I’d say it falls somewhere in the middle. It’s not exceptionally tricky, but it does appreciate a bit of attention and the right conditions. With a little patience and these tips, you’ll be well on your way to success.
The Best Time to Start
My go-to time for propagating Parthenium argentatum is during its active growing season, which is typically late spring through early to mid-summer. This is when the plant is brimming with energy and has the best chance of putting out roots quickly. Trying to propagate when the plant is dormant or stressed is just asking for disappointment.
Supplies You’ll Need
Here’s what I like to have on hand before I get started:
- Sharp Pruning Shears or a Craft Knife: Clean cuts are crucial!
- Well-Draining Potting Mix: A blend of 50% good quality potting soil and 50% perlite or coarse sand works wonders.
- Small Pots or Seedling Trays: Anything that holds your mix and allows for drainage.
- Rooting Hormone (Optional but Recommended): This helps speed things up and increases success rates, especially for cuttings.
- Clear Plastic Bag or Dome: To create a humid environment.
- Spray Bottle: For gentle misting.
- Watering Can: For watering.
Propagation Methods
While Parthenium can be grown from seed, I find stem cuttings to be the most reliable and rewarding method. It’s also quite straightforward!
Stem Cuttings:
- Select a Healthy Stem: Look for a healthy, non-flowering stem from your mature plant. Aim for a piece that’s about 4-6 inches long.
- Make the Cut: Using your clean shears or knife, make a clean cut just below a leaf node. This is where the magic happens, as roots are most likely to form.
- Remove Lower Leaves: Gently strip off the leaves from the bottom two-thirds of the cutting. This prevents them from rotting in the soil and encourages rooting.
- Apply Rooting Hormone (Optional): If you’re using rooting hormone, dip the cut end of the stem into the powder or gel. Tap off any excess.
- Pot Up: Fill your small pots or trays with your well-draining potting mix and moisten it lightly.
- Insert the Cutting: Make a small hole in the soil with your finger or a pencil and insert the cutting, ensuring the nodes where you removed leaves are buried. Gently firm the soil around it.
- Create Humidity: Water the soil gently until it’s evenly moist but not soggy. Then, lightly mist the leaves of the cutting. Cover the pot with a clear plastic bag, sealing it to trap humidity, or place it under a clear dome.
Water Propagation (Another Option):
If you’re feeling experimental or just want to watch the roots grow, you can try water propagation too!
- Prepare the Cutting: Follow steps 1-3 from the stem cutting method.
- Place in Water: Fill a small jar or glass with clean water. Make sure to remove any leaves that would sit below the waterline. This is crucial to prevent rot.
- Location: Place the jar in a bright spot, but out of direct, harsh sunlight.
- Change Water: Change the water every few days to keep it fresh and oxygenated.
The “Secret Sauce” (Pro Tips)
Here are a couple of things I’ve learned over the years that make a big difference:
- Bottom Heat is Your Friend: For stem cuttings, placing your pots on a seedling heat mat can dramatically speed up root development. It mimics the warmth of summer and encourages those roots to sprout. You’ll be surprised how much faster things happen!
- Don’t Drown Your Cuttings: This is especially true for water propagation, but it applies to soil cuttings too. Avoid soggy soil or stagnant water. A little dampness is good; a swamp is bad. Good drainage and allowing the top layer of soil to dry slightly between waterings is key.
Aftercare & Troubleshooting
Once you see new growth on your cuttings, it’s a good sign that roots are forming.
- For Soil Cuttings: Gradually acclimatize your new plants to the ambient humidity by opening the plastic bag or dome for increasing periods over a week. Once they’re looking robust, you can remove the cover completely. Continue to water when the top inch of soil feels dry.
- For Water Cuttings: When the roots are about an inch long, you can carefully transplant them into your well-draining potting mix. Treat them gently, as they’ll be quite fragile. Keep the soil consistently moist for the first couple of weeks.
The biggest challenge you might face is rot. If your cuttings turn black and mushy, or if they simply refuse to root and start to wilt, it’s usually a sign of too much moisture and not enough air circulation. Don’t be discouraged if a few don’t make it! It’s part of the learning process.
A Little Encouraging Closing
Propagating plants is a wonderful way to connect with nature and fill your home and garden with more of the greenery you love. Be patient with your Parthenium argentatum cuttings. Sometimes it takes a few weeks for roots to appear. Enjoy the process, celebrate each little success, and happy growing!
Resource:
https://identify.plantnet.org/k-world-flora/species/Parthenium%20argentatum%20A.Gray/data