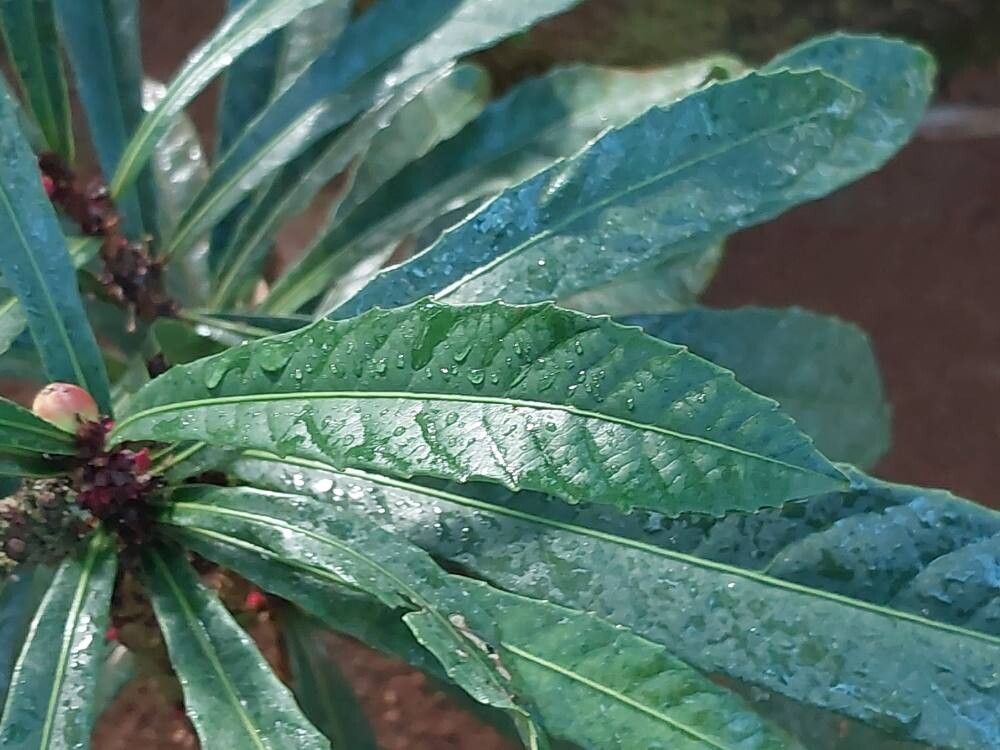
Oh, hello there! Come on in, grab a mug. Today, we’re diving into something truly special: Bocquillonia castaneifolia. If you’ve ever seen this beauty, you know it’s got a certain charm, right? With its delicate leaves and graceful habit, it brings a touch of elegance to any space. And the best part? You can have more of these lovelies without a trip to the nursery! Propagating your own plants is incredibly rewarding, like watching little miracles unfold right before your eyes. Now, I won’t lie, Bocquillonia can be a bit of a diva when it comes to propagation, so it might be a touch more challenging than, say, a spider plant. But with a little care and attention, we can absolutely achieve success.
The Best Time to Start
When it comes to getting your Bocquillonia to form new roots, spring and early summer are your golden windows. This is when the plant is actively growing, pushing out new shoots and full of life. You’re essentially tapping into its natural energy surge, which gives your cuttings the best chance to thrive. Look for healthy, semi-hardwood stems – they’re neither brand new and floppy nor old and woody. These are usually found on the current season’s growth.
Supplies You’ll Need
Here’s what you’ll want to have on hand:
- Sharp, clean pruning shears or a sharp knife: Cleanliness is key to preventing disease!
- Rooting hormone powder or gel: This is a little booster that can significantly improve your success rate.
- A well-draining potting mix: I like a blend of equal parts peat moss, perlite, and a little bit of coarse sand. You can also find specific “seed starting” or “cuttings” mixes.
- Small pots or propagation trays: Ensure they have drainage holes.
- A plastic bag or propagation dome: This creates a mini-greenhouse effect to keep humidity high.
- Water spray bottle: For misting.
- Optional: A heat mat: This is a game-changer for many cuttings, especially if your space is on the cooler side.
Propagation Methods
Let’s get our hands dirty! I find that stem cuttings are generally the most reliable method for Bocquillonia.
Stem Cuttings:
- Take your cutting: Using your clean shears, snip a piece of stem that’s about 4-6 inches long. Make sure it has at least two or three sets of leaves. Cut just below a leaf node, that little bump where the leaf attaches to the stem. This is where the magic of root formation happens.
- Prepare the cutting: Gently remove the lower leaves from the cutting, leaving just two at the very top. If your top leaves are very large, you can even cut them in half horizontally to reduce water loss.
- Apply rooting hormone: Dip the cut end of the stem into your rooting hormone. Tap off any excess – you don’t need a thick coating.
- Plant the cutting: Make a small hole in your potting mix with a pencil or your finger. Insert the prepared end of the cutting into the hole, ensuring the nodes where the lower leaves were are buried. Gently firm the soil around the stem.
- Create a humid environment: Water the soil lightly until it’s evenly moist. Then, cover the pot with a clear plastic bag or place it under a propagation dome. Make sure the leaves aren’t touching the plastic. If you’re using a seedling tray, you can cover the whole tray.
- Provide warmth and light: Place your cuttings in a bright spot with indirect light. If you have a heat mat, place the pots on top of it. This gentle warmth from below can significantly speed up root development.
The “Secret Sauce” (Pro Tips)
Here are a couple of things I’ve learned over the years that really make a difference:
- My absolute favorite trick is using bottom heat. Even if you think your house is warm enough, a gentle warmth from a heat mat below the pots signals to the plant’s base that it’s time to get growing! It’s like giving your cuttings a cozy little heated bed.
- When you’re misting, be mindful. You want to keep the humidity high, but you don’t want water sitting on the leaves for prolonged periods, especially overnight. This can encourage fungal issues. A light misting in the morning is usually best.
Aftercare & Troubleshooting
Once your cuttings have been planted, the waiting game begins. Keep the soil consistently moist but not soggy. You can check this by gently poking your finger into the soil about an inch down. If it feels dry, it’s time for a light watering.
You’ll know your cuttings have rooted when you see new leaf growth or when they offer a slight tug of resistance when gently pulled. This usually takes anywhere from 4-8 weeks, sometimes longer. Once you see signs of life, you can gradually acclimate them to lower humidity by opening the plastic bag a little more each day.
Now, what if things go wrong? The most common culprits are rot and shriveling.
- Rot usually happens if the soil is too wet and there isn’t enough air circulation. Your cutting might turn mushy and black at the base. If you see this, unfortunately, it’s best to discard it and start again with fresh cuttings and ensure your mix is very well-draining.
- Shriveling can occur if the cutting dries out too much, or if it’s in too much direct sun. Make sure that plastic bag or dome is doing its job, and avoid harsh, direct sunlight.
A Encouraging Closing
Growing new plants is a journey, and it’s filled with learning. Don’t get discouraged if your first attempt isn’t perfect. Each time you try, you’ll gain more insight into what your plants need. Be patient, observe your cuttings closely, and most importantly, enjoy the thrill of nurturing life. Happy propagating!
Resource:
https://identify.plantnet.org/k-world-flora/species/Bocquillonia%20castaneifolia%20Guillaumin/data