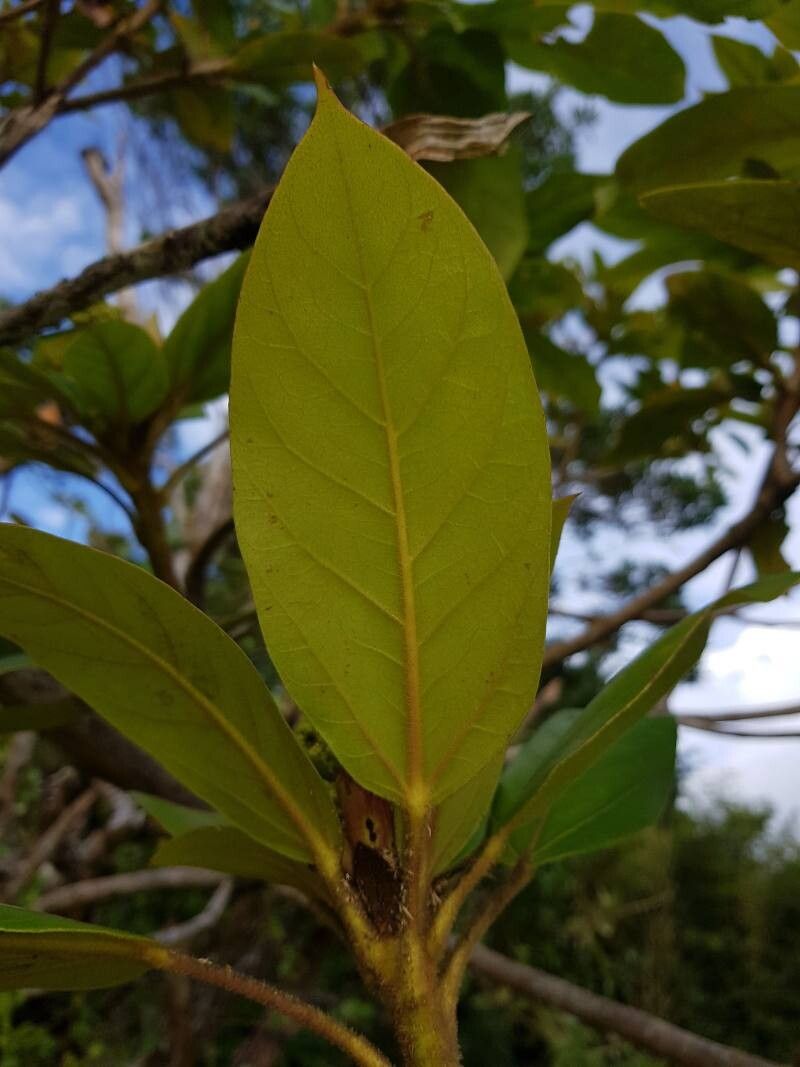
Hello, fellow plant lovers! Pull up a chair and let’s chat about a truly magnificent specimen: Oreopanax oerstedianus. Sometimes called the Handkerchief Tree or the Panamanian Oak, this beauty boasts intricate, hand-shaped leaves that bring a touch of the exotic to any space. Growing them from scratch is incredibly satisfying. I’ll be honest, it’s not the easiest plant for absolute beginners, but with a little patience and the right guidance, you’ll be well on your way to success!
The Best Time to Start
For Oreopanax oerstedianus, spring and early summer are your best friends for propagation. This is when the plant is actively growing and has the energy reserves to push out new roots. Look for stems that are firm but not woody. Think of it as catching the plant at its most vigorous!
Supplies You’ll Need
Gathering your tools beforehand makes the whole process smoother. Here’s what I always have on hand:
- Sharp Pruning Shears or a Clean Knife: Essential for making clean cuts.
- Rooting Hormone (Optional, but Recommended): Specifically, a powder or gel form for stem cuttings.
- Well-Draining Potting Mix: A blend of perlite, peat moss, and regular potting soil works wonders. A cactus/succulent mix can also be a good base.
- Small Pots or Seedling Trays: With drainage holes, of course!
- Plastic Bags or a Propagation Dome: To create a humid environment.
- Watering Can with a Fine Rose or Spray Bottle: For gentle watering.
- Labels and a Permanent Marker: So you don’t forget what’s what!
Propagation Methods
I’ve found the most reliable method for Oreopanax oerstedianus is through stem cuttings. It’s straightforward and gives you a great chance of success.
- Take Your Cuttings: Using your sharp shears, select a healthy stem that’s about 4-6 inches long. Make a clean cut just below a leaf node (where a leaf attaches to the stem). Remove the lower leaves, leaving just a couple at the very top. This helps prevent rot and encourages rooting.
- Apply Rooting Hormone (Optional): Dip the cut end of the stem into your rooting hormone. Tap off any excess. This step can significantly speed up root development.
- Plant Your Cuttings: Fill your small pots with your well-draining potting mix. Make a hole in the center with your finger or a pencil, and insert the cut end of your stem. Gently firm the soil around it.
- Water Gently: Water the soil thoroughly until it’s moist but not waterlogged.
- Create Humidity: This is crucial! You can either cover the pot with a clear plastic bag (propping it up with skewers so it doesn’t touch the leaves) or place it under a propagation dome. This traps moisture, mimicking the humid environment the plant loves. Place the pots in a bright spot, but out of direct sunlight.
The “Secret Sauce” (Pro Tips)
Here are a few little tricks I’ve learned over the years that can really make a difference:
- Bottom Heat is Your Friend: If you have access to a heat mat, placing your pots on it can dramatically improve rooting success. It warms the soil consistently, encouraging those roots to sprout.
- Don’t Drown Your Cuttings: While humidity is key, overwatering is the enemy. The soil should be consistently moist, like a wrung-out sponge, not soggy. If you see water pooling, you’ve added too much.
- Be Patient and Watch for Calluses: Before you even see roots, you might notice a slight swelling or the formation of a callus at the cut end. This is a good sign your cutting is preparing to root!
Aftercare & Troubleshooting
Once you see new growth or feel resistance when you gently tug on your cutting, it’s a good sign roots have formed! Gradually acclimate your new plant to regular humidity by opening the plastic bag or propagation dome for longer periods each day over a week. Continue to keep the soil moist but well-drained.
The most common issue you’ll encounter is rot. If your cutting turns mushy, black, or starts to wilt dramatically despite being in a humid environment, it’s likely rotted. Often, this is due to too much moisture in the soil or insufficient air circulation. If you catch it early, you might be able to salvage a healthy portion of the stem a few inches below the rot and try again.
A Little Encouragement
Propagating plants is a journey, not a race. There will be times a cutting doesn’t take. Don’t get discouraged! Each attempt teaches you something new. Keep experimenting, enjoy the process of nurturing these new life forms, and soon you’ll be sharing your beautiful Oreopanax oerstedianus babies with friends! Happy growing!
Resource:
https://identify.plantnet.org/k-world-flora/species/Oreopanax%20oerstedianus%20Marchal/data