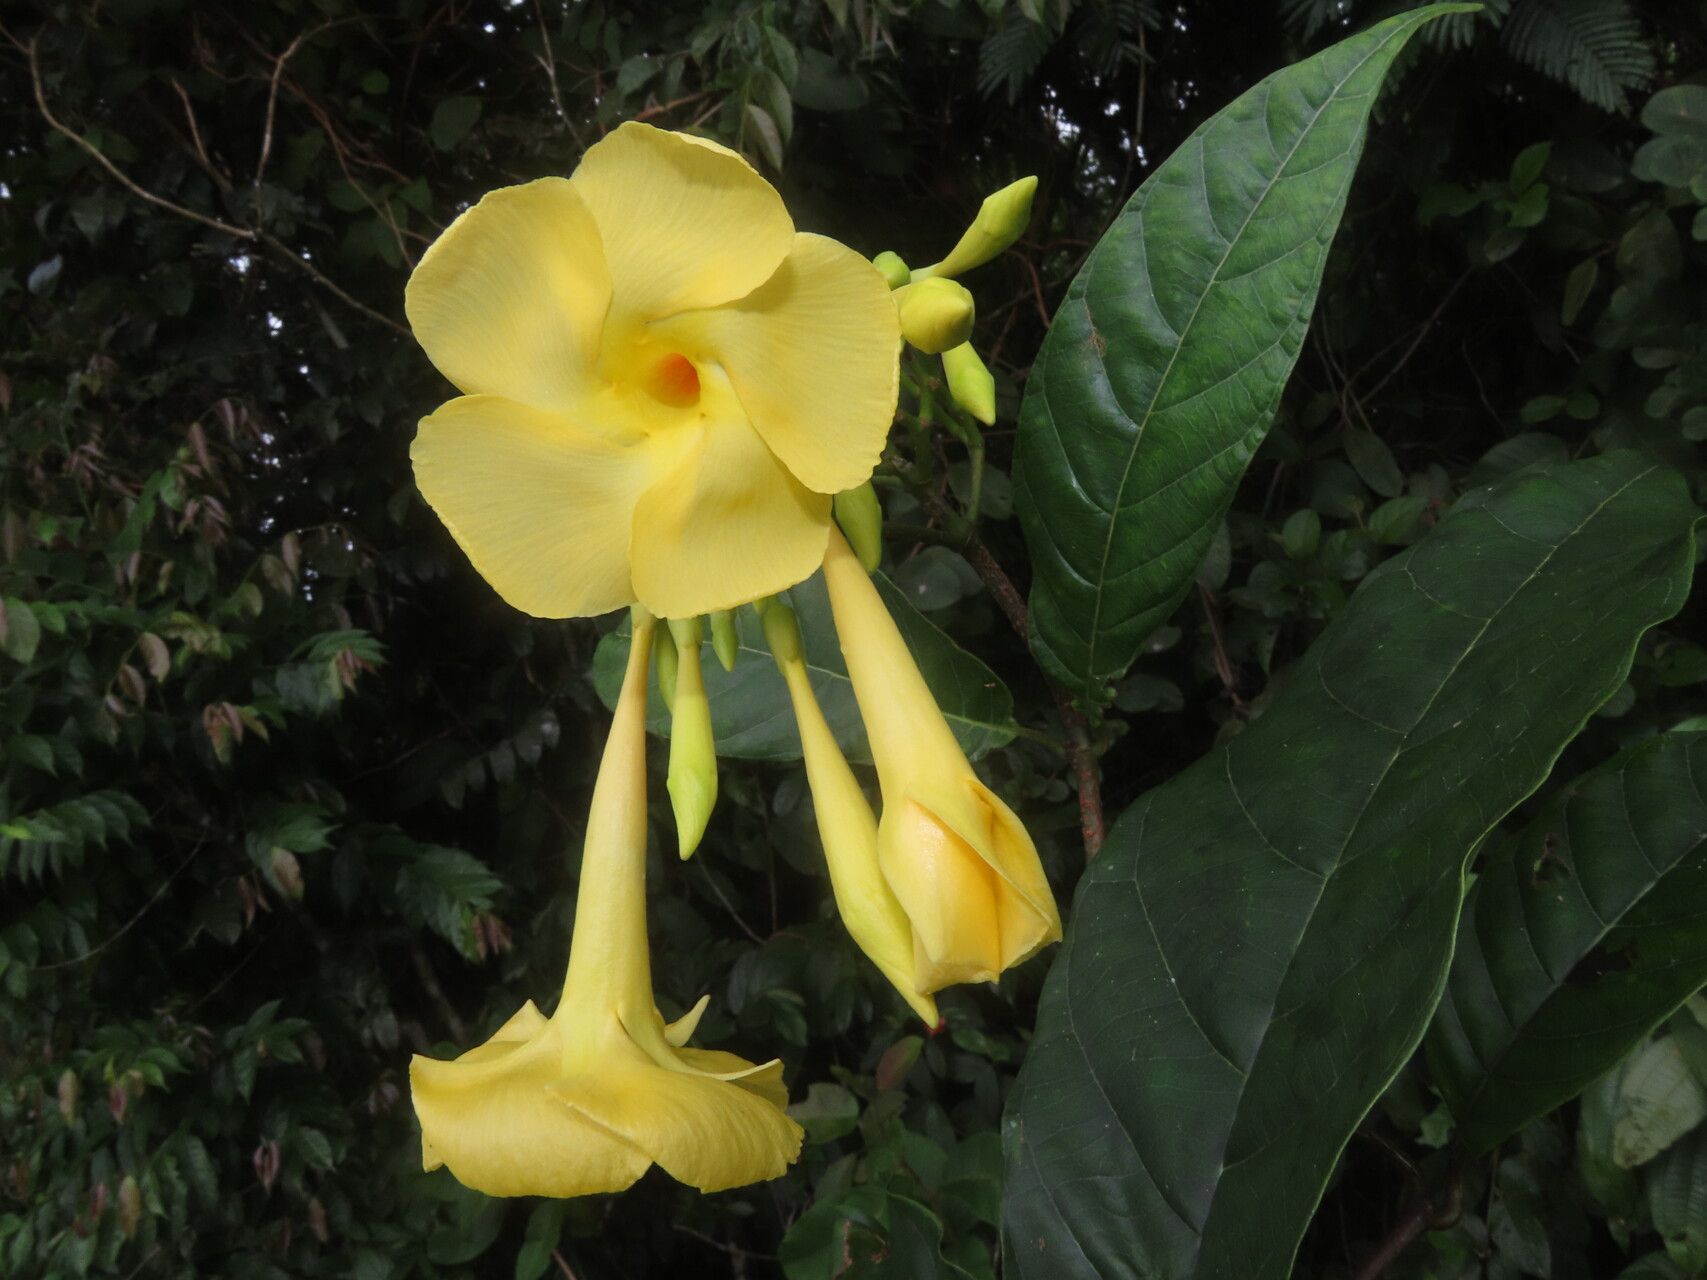
Oh, hello there! Grab your mug, let’s chat about a plant that’s truly captured my heart over the years: Odontadenia semidigyna. If you’re new to the Odontadenia family, imagine the most exquisite, trumpet-shaped flowers, often in shades of delicate pink or creamy white, that just perfume the air with a sweet, intoxicating fragrance. It’s a climber, so picture it gracing a trellis or archway, a real showstopper. Propagating these beauties can feel a bit daunting at first, and I’ll be honest, for absolute beginners, it might lean towards the “challenging” side. But with a little patience and a willingness to learn, you’ll be rewarded with a whole new generation of these stunners. It’s incredibly satisfying to watch a tiny cutting transform into a thriving plant – a little piece of your garden magic shared.
The Best Time to Start
My absolute favorite time to take cuttings is in late spring to early summer. The plant is in full swing of its growing season, full of vigor and ready to send out new shoots. You’re looking for healthy, semi-hardwood stems. These aren’t the floppy, brand-new green growth, nor are they the tough, woody old stems. Think of a pencil – that’s often the perfect thickness. You want a stem that bends slightly without snapping, but has a bit of resilience to it.
Supplies You’ll Need
To give your cuttings the best start, have these goodies ready:
- Sharp Pruning Shears or a Clean Knife: Sterilized, of course. Clean cuts are crucial.
- Rooting Hormone: A powder or gel form works well. It’s not strictly essential for every plant, but for Odontadenia, it really gives your cuttings a significant boost.
- Peat-Free Seedling Compost or a Perlite/Vermiculite Mix: You want something well-draining that won’t hold too much moisture. A good blend is about 50% perlite and 50% peat-free compost.
- Small Pots or Propagation Trays: Clean ones are a must!
- Plastic Bags or a Clear Propagation Dome: For creating a humid environment.
- Watering Can with a Fine Rose: For gentle watering.
- Labeling Stakes: So you don’t forget what you planted where!
Propagation Methods
For Odontadenia semidigyna, I find that stem cuttings are your best bet. Division is rarely practical for this climbing species, and while water propagation can work for some plants, I’ve had much more reliable results with soil.
Here’s how I do it:
- Select Your Cuttings: As mentioned, look for those healthy, semi-hardwood stems. Aim for cuttings that are about 4-6 inches long.
- Make Your Cuts: Using your sterilized shears, make a clean cut just below a leaf node. A leaf node is where a leaf attaches to the stem. This is where new roots are most likely to form. Remove the lower leaves, leaving just a couple at the very top.
- Apply Rooting Hormone: Dip the cut end of the stem into your rooting hormone, tapping off any excess. This step is really important for encouraging root development.
- Plant Your Cuttings: Fill your small pots with your chosen potting mix. Make a hole in the center with your finger or a pencil, and gently insert the cutting, firming the soil around it. Make sure the leaf nodes you removed are below the soil surface.
- Water Gently: Water thoroughly but gently, until the water starts to drain from the bottom of the pot.
- Create Humidity: Pop the pots into clear plastic bags or cover them with a propagation dome. This traps moisture around the leaves, preventing them from drying out before roots form. Make sure the leaves don’t touch the sides of the bag too much, if possible.
The “Secret Sauce”
Now, here are a few things I’ve learned that make a real difference:
- Bottom Heat is Your Friend: If you have the option, placing your propagation tray on a gentle heat mat significantly speeds up rooting. It mimics the warmth of spring soil and encourages those roots to get going.
- Don’t Drench, Just Damp: While humidity is key, you don’t want waterlogged soil. The soil should feel consistently moist, like a wrung-out sponge, not soggy. Overwatering is the quickest way to rot those precious cuttings.
- Give Them Space (and Light!): Once rooted, don’t keep them crammed together for too long. Once they’re showing signs of new growth, they’ll appreciate a bit more individual space and bright, indirect light. Avoid direct, harsh sun, which can scorch delicate new leaves.
Aftercare & Troubleshooting
Once you start seeing new leaf growth or feel resistance when gently tugging on the cutting (a sign of roots!), your cutting has most likely rooted. This usually takes anywhere from 4 to 8 weeks, sometimes longer depending on conditions.
At this point, you can gradually acclimate your new plant to lower humidity. Slowly open the plastic bag or ventilation on your dome over a few days. Water as needed, ensuring the soil dries out slightly between waterings.
The most common problem you’ll encounter is rot. If your cutting turns black and mushy, it’s likely rotted. This is usually due to too much moisture and not enough air circulation. If you see a cutting starting to go downhill, remove it immediately to prevent it from affecting others and reassess your watering and humidity levels. Don’t be discouraged if you lose a few; it’s all part of the learning process!
A Little Patience Goes a Long Way
So, there you have it. Take your time, observe your cuttings, and trust your intuition. Propagating Odontadenia semidigyna is a wonderful way to expand your collection and share the joy of this magnificent plant. Enjoy the journey, and happy propagating!
Resource: