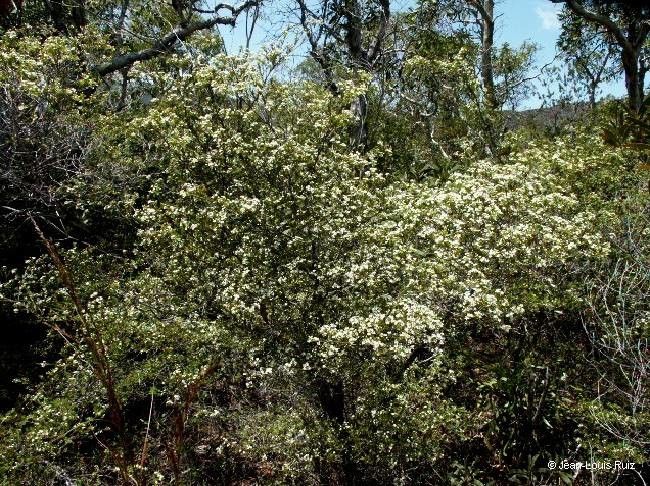
Hello fellow garden enthusiasts! Today, I want to chat about a plant that has brought so much charm to my own garden and to so many others: Sannantha procera, often called the “prostrate peppermint” or “Australian rosemary” for its lovely, aromatic foliage. I’ve always admired its delicate, star-shaped flowers and the way it cascades so gracefully. And the best part? It’s actually quite rewarding to multiply!
If you’re new to plant propagation, I’m happy to tell you that Sannantha procera is a pretty forgiving plant to start with. You don’t need years of experience to successfully create new plants from your existing ones. It’s a wonderful way to expand your collection or share these beauties with friends.
The Best Time to Start
For the most success with Sannantha procera, I always aim to take cuttings in the late spring or early summer. This is when the plant is actively growing, and the new, semi-hardwood stems have a good balance of flexibility and sturdiness. Avoid taking cuttings from old, woody stems. You want fresh, vigorous growth.
Supplies You’ll Need
Gathering your supplies beforehand makes the whole process much smoother. Here’s what I usually have on hand:
- Sharp pruning shears or secateurs: Cleanliness is key to prevent disease.
- Small pot or tray: With drainage holes, of course!
- Good quality potting mix: A well-draining mix is essential. I often use a blend of potting soil and perlite or coarse sand for extra aeration.
- Rooting hormone (optional but recommended): This can really give your cuttings a boost.
- Small trowel or dibber: For making holes in the soil.
- Plastic bag or propagator: To create a humid environment for your cuttings.
- Watering can or spray bottle: For gentle watering.
Propagation Methods
My go-to for Sannantha procera is stem cuttings. It’s straightforward and usually yields great results.
Stem Cuttings:
- Selecting your stems: Look for healthy, non-flowering stems that are about 10-15 cm long. They should be flexible but not so soft that they flop over easily.
- Taking the cuttings: Using your clean secateurs, make a clean cut just below a leaf node. A leaf node is where a leaf grows from the stem, and it’s where the magic of root formation often begins. Gently remove the lower leaves, leaving just a few at the top.
- Applying rooting hormone (if using): Dip the cut end of the stem into your rooting hormone powder or gel. Tap off any excess.
- Potting up: Fill your small pot with your prepared potting mix. Use your dibber or trowel to make a hole in the center, deep enough for the cuttings. Gently insert the cuttings into the holes, making sure the nodes where you removed the leaves are below the soil surface.
- Firming the soil: Gently firm the soil around the cuttings to ensure good contact.
- Watering: Water the pot gently using a watering can with a fine rose or a spray bottle. You want the soil to be moist but not waterlogged.
- Creating humidity: Place the pot and cuttings inside a plastic bag or a propagator. Seal it loosely to allow for some air circulation. This creates a humid microclimate that helps prevent the cuttings from drying out while they’re trying to root.
The “Secret Sauce” (Pro Tips)
Here are a couple of little tricks I’ve picked up over the years that really seem to make a difference:
- Bottom warmth is your friend: If you can, place your pot on a heating mat designed for seedlings. This gentle warmth from below encourages root development. Just make sure the mat isn’t too hot.
- Don’t crowd your cuttings: While it’s tempting to cram as many cuttings into a pot as possible, give them a little breathing room. This helps with air circulation and reduces the risk of fungal issues. If you’re using a tray, plant them with a few centimeters between each.
- Watch for leaf contact: If you’re using a plastic bag, try to ensure the leaves of your cuttings don’t touch the sides of the bag too much, especially if condensation builds up. This can encourage rot. You can prop up the bag with small sticks if needed.
Aftercare & Troubleshooting
Once your cuttings have been potted, place the container in a bright spot out of direct, harsh sunlight. Keep the soil consistently moist but not soggy. You can check for roots by gently tugging on a cutting after about 4-6 weeks. If there’s resistance, you’ve got roots!
The most common issue you might encounter is rot. If you see your cuttings turning black and mushy, it’s usually a sign of too much moisture and not enough air circulation. If this happens, try to remove the affected cuttings immediately and ensure your pots have good drainage. Sometimes, a slight reduction in watering or opening up the propagator a little more can help.
A Encouraging Closing
Propagating plants is a journey of patience and observation. Don’t get discouraged if not every cutting takes. Each attempt is a learning experience. Soon enough, you’ll have a windowsill full of tiny Sannantha procera babies, ready to bloom and bring joy. Happy propagating!
Resource: