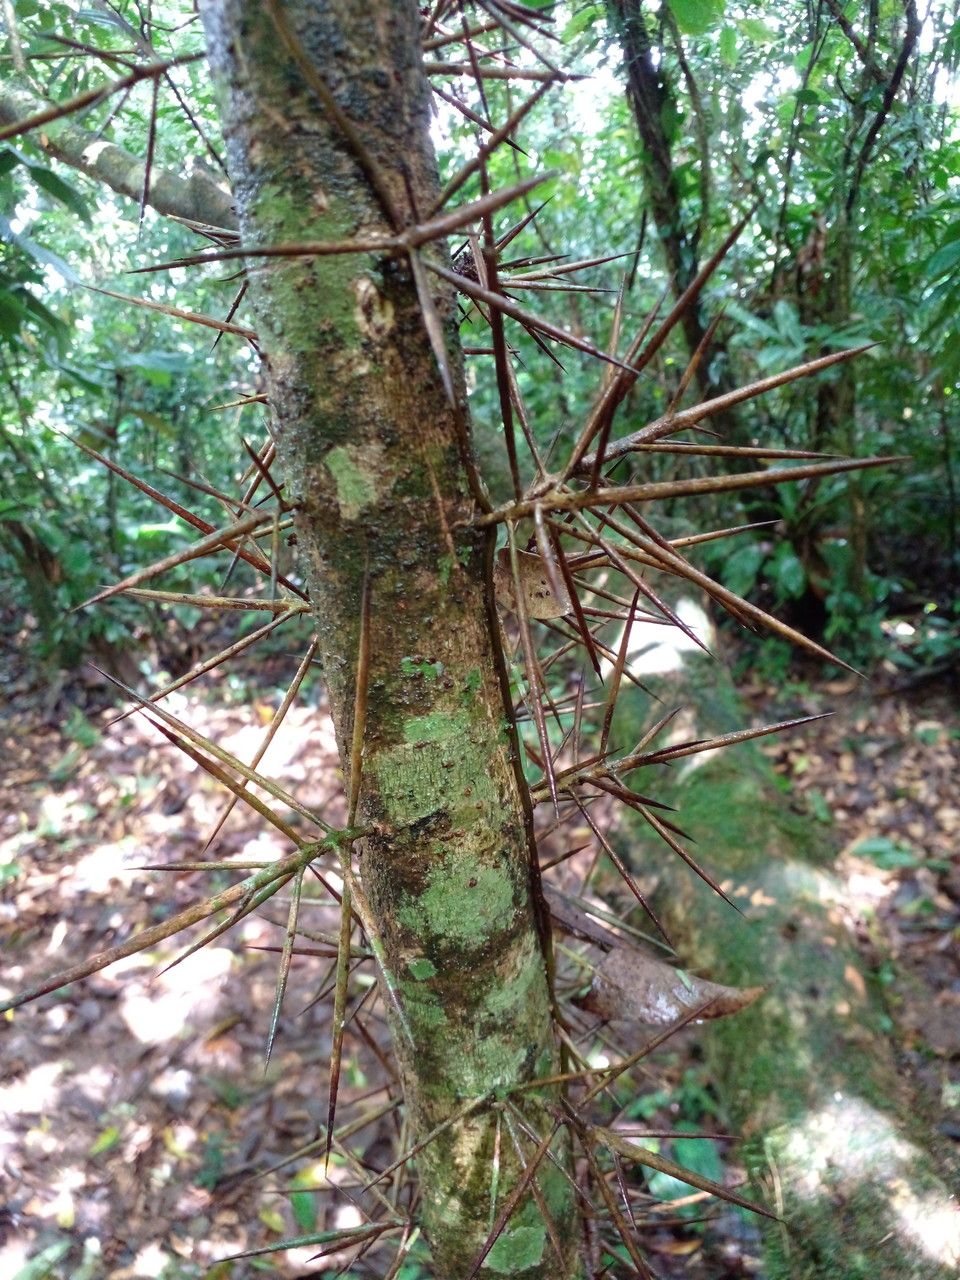
Hello, fellow plant enthusiasts! Today, I want to talk to you about a delightful shrub that’s a bit of a hidden gem in many gardens: Xylosma oligandra. With its glossy, dark green leaves and graceful, arching habit, it adds a wonderful texture and year-round interest. Plus, its relatively compact size makes it a versatile addition, happy in borders or even containers. Best of all, it’s quite rewarding to propagate, and I think even beginners will find success with a little guidance.
The Best Time to Start
For Xylosma oligandra, I’ve found the late spring or early summer to be the sweet spot. This is when the plant is actively growing and has plenty of energy to dedicate to establishing new roots. You’ll want to look for stems that are semi-hardwood – they’re not brand new and floppy, but they’re not woody and tough either. They should snap cleanly when bent, rather than just bending or breaking.
Supplies You’ll Need
Here’s what you’ll want to have on hand to get started:
- Sharp Pruning Shears or a Clean Knife: For taking clean cuts.
- Small Pots or Seed Trays: With drainage holes, of course!
- Rooting Hormone: A powder or gel specifically for stem cuttings.
- Well-Draining Potting Mix: A good blend is one part peat moss or coco coir, one part perlite, and one part coarse sand. This ensures great aeration.
- Plastic Bag or Clear Cloche: To create a humid environment.
- Spray Bottle: For misting.
- Small Labels: To keep track of your new babies.
Propagation Methods
The most reliable way to multiply your Xylosma oligandra is through stem cuttings. It’s straightforward, and I’ve had great success with it.
- Take Your Cuttings: Using your clean shears or knife, take cuttings that are about 4-6 inches long. Make the cut just below a leaf node (where a leaf attaches to the stem).
- Prepare the Cuttings: Gently remove the lower leaves from the cutting, leaving just a couple of leaves at the top. This prevents them from rotting once in the soil and reduces moisture loss.
- Apply Rooting Hormone: Dip the cut end of the stem into your rooting hormone, tapping off any excess. This step really gives your cuttings a boost.
- Pot Them Up: Fill your small pots or trays with your prepared potting mix. Make a small hole in the center of the soil with a pencil or your finger.
- Insert the Cuttings: Gently place the hormone-coated end of the cutting into the hole and firm the soil around it.
- Create Humidity: Water the soil gently until it’s moist but not soggy. Then, cover the pots with a plastic bag or cloche. Make sure the leaves don’t touch the plastic. You can use stakes to prop up the bag if needed.
The “Secret Sauce”
Here are a couple of things I’ve learned over the years that can really make a difference:
- Bottom Heat is Your Friend: If you have a propagation mat, using it can significantly speed up root development. It keeps the soil at a consistent, warm temperature, encouraging those roots to form.
- Air Circulation is Key (Once Rooted): While you want humidity to start, once you see signs of new growth, it’s time to start gradually introducing your cuttings to normal air. Unzip the plastic bag a little each day or lift the cloche for increasing periods. This prevents fungal issues.
Aftercare & Troubleshooting
Once your cuttings have been in the soil for about 4-6 weeks, give them a gentle tug. If you feel resistance, that’s a good sign roots have formed! You can also look for new leaf growth.
- Gradual Acclimation: As I mentioned, slowly remove the plastic cover. Once they are fully acclimated, you can treat them like small, established plants. Keep the soil consistently moist but not waterlogged. Misting them occasionally is still a good idea.
- Watch for Rot: The most common problem is rot due to too much moisture. If you see stems turning mushy and black, they’ve likely succumbed to rot. Ensure your soil mix is very well-draining and that you’re not overwatering. Remove any affected cuttings promptly to prevent it from spreading. Brown, crispy leaves usually mean they are drying out too much, so increase misting or check moisture levels more frequently.
Don’t be discouraged if you don’t have 100% success the first time. Gardening is all about learning and observing. Be patient with your little Xylosma babies, enjoy the process of nurturing them, and soon you’ll have a small army of these lovely shrubs to share or plant throughout your own garden! Happy propagating!
Resource:
https://identify.plantnet.org/k-world-flora/species/Xylosma%20oligandra%20Donn.Sm./data