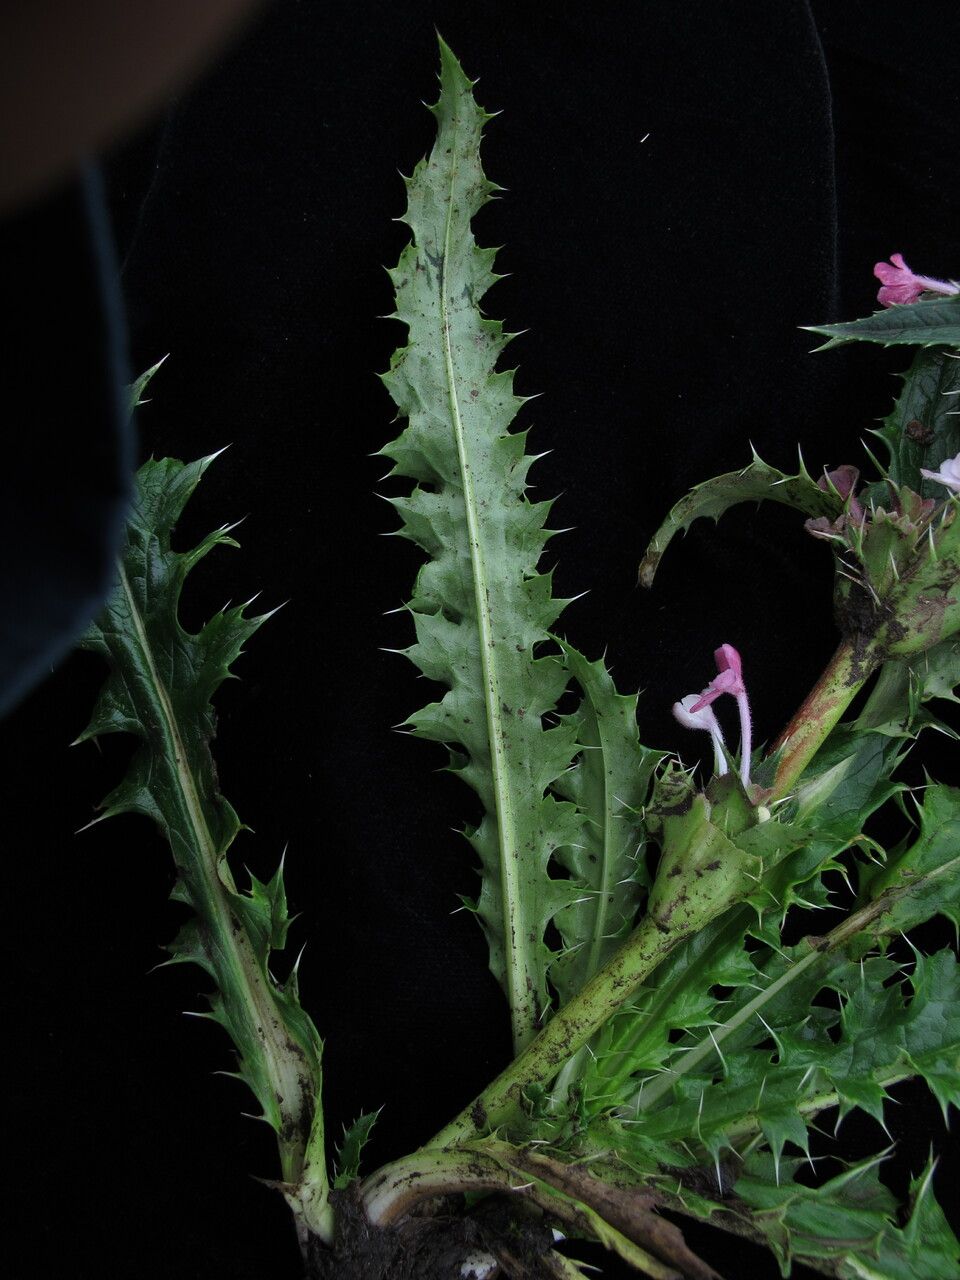
Oh, hello there! Come in, come in, pull up a chair. I’ve got a fresh pot of coffee brewing, and I’m just buzzing to talk about Morina nepalensis. If you haven’t met this beauty, imagine a plant that brings a touch of the exotic to your garden with its spiky, thistle-like blooms that are often a charming shade of pink or purple. They have this unique, almost architectural presence, and let me tell you, successfully propagating them feels like unlocking a little garden secret. It’s rather rewarding, and while it might seem a bit daunting at first glance, with a little know-how, you’ll be enjoying this plant in multiple spots in no time. Don’t worry, we’ll take it step-by-step.
The Best Time to Start
For Morina nepalensis, the sweet spot for propagation is generally late spring to early summer. This is when the plant is actively growing and full of vigor. You want to catch it after it’s had a chance to get going for the season, but before the heat of high summer really sets in. This active growth phase means it’s got the energy to put towards developing roots.
Supplies You’ll Need
Here’s what you’ll want to have on hand:
- Sharp, clean pruning shears or a sharp knife: For making clean cuts.
- Small pots or seed trays: With good drainage holes, of course.
- Well-draining potting mix: A good starting point is a blend of peat moss or coir, perlite, and a bit of compost. You can also buy specific seed starting or cutting mixes.
- Rooting hormone (optional but recommended): A powder or gel that encourages root development.
- Watering can with a fine rose attachment: To water gently without disturbing cuttings.
- Clear plastic bags or a propagator lid: To maintain humidity.
- Labels and a marker: So you don’t forget what you planted where!
Propagation Methods
The most reliable way I’ve found to propagate Morina nepalensis is through stem cuttings.
- Taking Cuttings: In late spring or early summer, select a healthy, non-flowering stem from your mature plant. Using your sharp pruning shears or knife, take a cutting that’s about 4-6 inches long. Make the cut just below a leaf node – that’s the point where the leaves join the stem. These nodes are often where roots will form.
- Preparing the Cuttings: Gently remove the lower leaves from the cutting, leaving just a few at the top. This prevents them from rotting once planted. If you’re using rooting hormone, dip the cut end of the stem into it, tapping off any excess.
- Planting the Cuttings: Fill your small pots or trays with your prepared potting mix. Moisten the mix thoroughly but make sure it’s not waterlogged. Using a pencil or your finger, make a small hole in the soil. Insert the cut end of the prepared stem into the hole. Firm the soil gently around the stem to ensure good contact.
- Creating a Humid Environment: Water everything lightly. Then, place a clear plastic bag loosely over the pot, or put the pots inside a propagator with the lid on. This is crucial for keeping the humidity high, which helps the cuttings retain moisture.
The “Secret Sauce” (Pro Tips)
Now for a couple of things that have made all the difference for me over the years:
- Bottom Heat is Your Friend: If you have the option, placing your pots on a gentle heating mat can significantly speed up the rooting process. Think of it as giving the roots a cozy place to start developing. We’re talking a subtle warmth, not intense heat.
- Don’t Let Leaves Touch the Soil: When you’re preparing your cuttings, ensure no leaves are buried in the soil or touching damp soil. Any foliage in direct contact with moist soil is a prime spot for mildew and rot to set in before roots even have a chance to form.
Aftercare & Troubleshooting
Once your cuttings are planted and in their humid environment, the key is patience. Keep them in a bright spot, but out of direct, harsh sunlight, which can scorch the tender cuttings. Water sparingly, just enough to keep the soil consistently moist, but never soggy. You can check for roots by giving a very gentle tug on a cutting. If you feel resistance, congratulations! Roots are forming.
Now, for the troubleshooting. The most common issue you might face is rot. If you see your cuttings turning black and mushy, it’s usually a sign of too much moisture and not enough air circulation. If this happens, try to remove the affected cuttings immediately and ensure your remaining ones have slightly less water and better airflow. Another sign of failure is if the cuttings simply start to wilt and dry out – this typically means the humidity wasn’t high enough or they weren’t watered adequately. Don’t be discouraged if a few don’t make it; it’s part of the learning process!
A Little Encouragement
Propagating Morina nepalensis is a journey, and like any good garden project, it requires a bit of patience and observation. But the thrill of seeing your own little plants grow from cuttings is truly special. So, give it a go! Enjoy the process, learn from each attempt, and soon you’ll have a whole patch of these wonderful plants to admire. Happy gardening!
Resource:
https://identify.plantnet.org/k-world-flora/species/Morina%20nepalensis%20D.Don/data