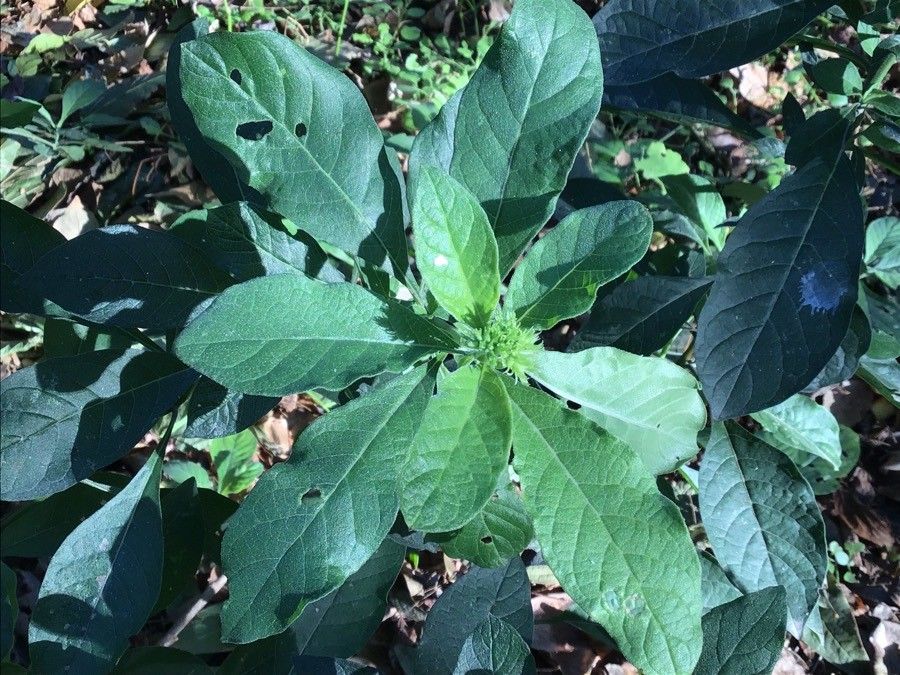
Oh, Heliotropium verdcourtii! It’s one of those plants that just makes my heart sing every summer. That intoxicating vanilla-cherry fragrance, those deep purple-blue flower clusters… it’s pure magic. And the best part? You can easily fill your garden, or pots, with it by taking a few cuttings. It’s a wonderfully rewarding process, and I promise, even if you’re new to the plant world, you can totally master this.
The Best Time to Start
For Heliotropium verdcourtii, the sweet spot for taking cuttings is late spring to early summer. This is when the plant is actively growing, full of energy, and more likely to take root quickly. Look for healthy, non-flowering stems. Growth that’s firm but still a little flexible is ideal.
Supplies You’ll Need
Here’s what you’ll want to have on hand before you get started:
- A sharp, clean pair of pruning shears or a sharp knife. Sterilize them with rubbing alcohol to prevent disease.
- Rooting hormone (gel or powder). This isn’t strictly essential, but it really gives your cuttings a boost.
- A well-draining potting mix. I like a blend of equal parts peat moss or coco coir, perlite, and a bit of compost.
- Small pots or seed trays with drainage holes.
- A plastic bag or a propagator lid to create a humid environment.
- Labels to mark your cuttings.
- Watering can or spray bottle.
Propagation Methods
Let’s get our hands dirty! Stem cuttings are really the star here for Heliotropium verdcourtii.
Stem Cuttings:
- Select Your Stems: Find healthy stems on your established plant. Look for sections that are about 4-6 inches long. You want to avoid stems that have flowers or flower buds on them – we want the plant to focus its energy on growing roots, not producing blooms.
- Make the Cut: Using your sterilized shears or knife, make a clean cut just below a leaf node. A leaf node is where a leaf attaches to the stem. This is where the magic happens, as this is where roots tend to form.
- Prepare the Cuttings: Gently remove the lower leaves from the stem, leaving just a few at the top. This helps prevent rotting when the cutting is in the soil and reduces moisture loss.
- Apply Rooting Hormone: Dip the cut end into your rooting hormone, tapping off any excess. This gives your cutting a great head start.
- Plant Your Cuttings: Fill your small pots with the prepared potting mix. Make a small hole in the center with your finger or a pencil. Carefully insert the stick end of the cutting into the hole. Gently firm the soil around it. You can usually fit 2-3 cuttings in a small pot, spaced a couple of inches apart.
- Create a Humid Environment: Water the soil lightly. Then, cover the pot with a clear plastic bag or a propagator lid. This traps moisture and humidity, which is crucial for cuttings to form roots. Make sure the leaves aren’t touching the inside of the bag if possible.
- Provide Light and Warmth: Place the pots in a spot with bright, indirect light. Avoid direct sun, as it can scorch the delicate cuttings. A windowsill is usually perfect.
The “Secret Sauce” (Pro Tips)
- Don’t drown your cuttings! While humidity is key, the soil should be moist, not soggy. Overwatering is the quickest way to invite rot. Let the top layer of soil dry out slightly between waterings.
- Bottom heat is your friend. If you have a heat mat designed for houseplants, popping your propagator on it can significantly speed up root development. Heliotropium verdcourtii loves a bit of warmth to get those roots going.
- Whisper sweet-nothings (or just check them daily!). Regularly check your cuttings for any signs of wilting or mold. Remove any leaves that start to turn yellow or brown.
Aftercare & Troubleshooting
Once you see new leaf growth or gently tug on a cutting and feel resistance (indicating root formation), it’s time to start easing them out of their high-humidity environment. Gradually remove the plastic bag or lid over a few days to acclimate them to normal room humidity.
Water them regularly, keeping the soil consistently moist but not waterlogged. When they’ve grown a bit larger and you can see a good root system through the drainage holes, you can transplant them into slightly larger pots.
The most common sign of failure is rot. If your cuttings turn black and mushy, or develop fuzzy mold, they’ve likely succumbed to rot. This is usually due to too much moisture and poor air circulation. Don’t worry if a few don’t make it – it’s all part of the learning curve! Just snatch them out and try again.
A Encouraging Closing
Propagating Heliotropium verdcourtii is such a joy. It gives you more of that incredible fragrance to enjoy and the satisfaction of knowing you grew them yourself. Be patient, keep an eye on them, and don’t be afraid to experiment. That first sign of a new leaf or a strong root is so exciting, and before you know it, you’ll have a whole collection! Happy gardening, my friend.
Resource:
https://identify.plantnet.org/k-world-flora/species/Heliotropium%20verdcourtii%20Craven/data