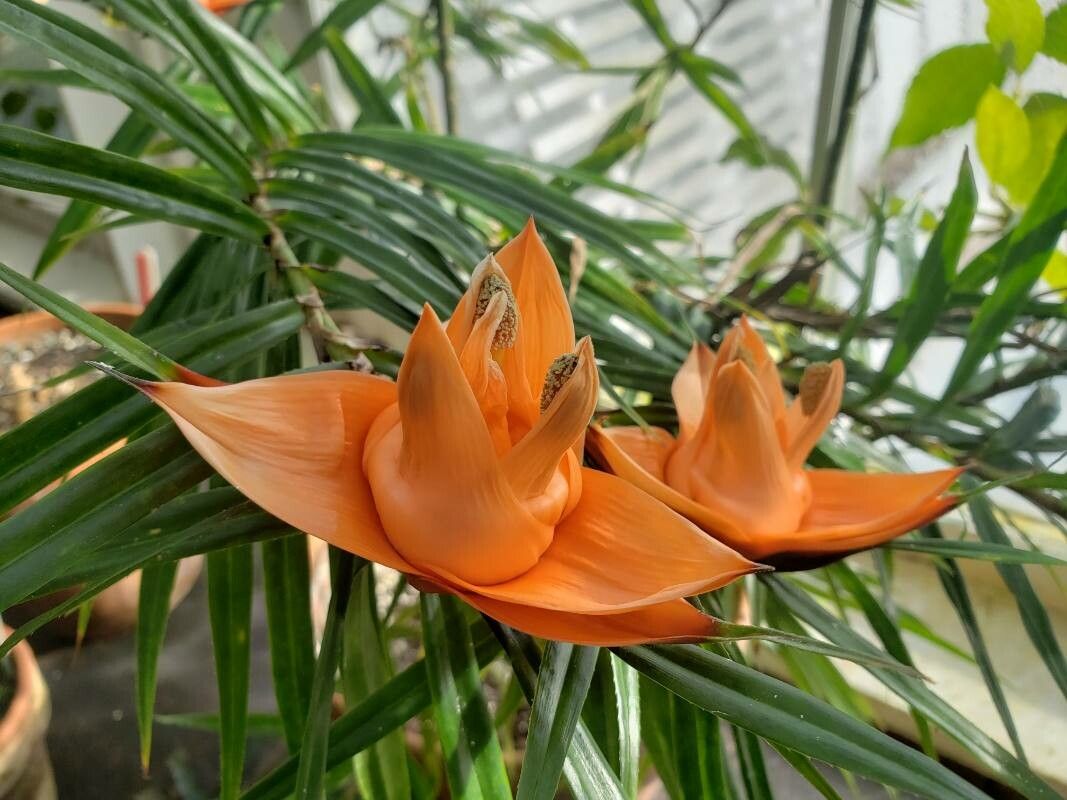
Oh, hello there! Come on in and have a seat. I’ve been so excited to chat with you about Freycinetia multiflora. This gorgeous vine, with its lush, strap-like leaves and those beautiful, fragrant flower spikes that appear in bunches – it truly is a showstopper in any tropical or subtropical garden. And the best part? Bringing new Freycinetia plants into your life is incredibly rewarding. It’s not the absolute easiest plant to propagate, I’ll admit, but with a little patience and these tips, you’ll be well on your way to success.
The Best Time to Start
For the highest chance of success with Freycinetia, I find spring and early summer are your best friends. This is when the plant is actively putting on new growth, and those cuttings will have the most vitality to develop roots. Aim for a time when the weather is warm but not scorching, and there’s plenty of bright, indirect light.
Supplies You’ll Need
Before we get our hands dirty, let’s gather our tools. Here’s what you’ll want on hand:
- Sharp, clean pruning shears or a sharp knife: Essential for making clean cuts.
- Small pots or propagation trays: Something with drainage holes is a must!
- Propagation mix or a well-draining potting soil: I like a mix of equal parts peat moss, perlite, and a bit of compost. Sand can also be a good addition to improve drainage.
- Rooting hormone (optional but recommended): A powdered or gel form works well. It really gives those cuttings a boost.
- Watering can or spray bottle: For gentle watering.
- Plastic bags or a clear plastic dome: To create a humid environment.
- Labels or markers: To keep track of your cuttings.
Propagation Methods
Freycinetia multiflora is best propagated through stem cuttings. It’s straightforward, and I’ve had great luck with it.
- Select Your Cuttings: Look for healthy, semi-hardwood stems on your mature Freycinetia. These are typically stems that are not brand new and green, but also not old and woody. They should feel firm but still have some flexibility. Aim for cuttings that are about 4-6 inches long.
- Make the Cut: Using your sharp pruning shears or knife, make a clean cut just below a leaf node. A leaf node is where a leaf grows from the stem. This is where the magic of root development happens.
- Prepare the Cuttings: Remove the lower leaves from the bottom half of the cutting. You want to have at least one or two leaf nodes exposed. If the leaves are very large, you can even cut them in half to reduce water loss through transpiration.
- Apply Rooting Hormone (Optional): Dip the cut end of the stem into your rooting hormone powder or gel. Tap off any excess. This step isn’t strictly necessary, but it significantly speeds up the rooting process and improves the success rate.
- Plant Your Cuttings: Fill your small pots or propagation tray with your propagation mix. Make a small hole in the center of the soil with your finger or a pencil. Insert the cut end of the Freycinetia cutting into the hole, ensuring at least one or two leaf nodes are buried. Gently firm the soil around the stem.
- Water Gently: Water the soil thoroughly but gently until water drains from the bottom. You don’t want to drown your cuttings.
- Create Humidity: This is a crucial step! Cover the pot or tray with a clear plastic bag or a clear plastic dome. This will create a humid microclimate, essential for preventing the cuttings from drying out before they can develop roots. Make sure the leaves aren’t touching the plastic if possible.
The “Secret Sauce” (Pro Tips)
Over the years, I’ve picked up a few tricks that make a real difference.
- The “Bottom Heat” Trick: If you have a heat mat designed for propagation, placing your pots on it can work wonders. Freycinetia roots love warmth, and bottom heat encourages faster root development. You can often find affordable ones online.
- Don’t Drown Them! While humidity is key, overwatering at this stage is the quickest way to invite rot. Your soil should be consistently moist, not soggy. I like to check by gently pressing the soil with my finger. If it feels damp, it’s good. If water readily squeezes out, you’ve gone too far.
- Air Circulation is Your Friend: Once you see signs of new growth (which can take several weeks!), it’s time to gradually introduce your cuttings to air. Start by opening the plastic bag or dome for a few hours each day, slowly increasing the duration over a week or two. This hardens them off and prevents fungal issues.
Aftercare & Troubleshooting
Once you see new leaf growth emerging from your cuttings, it’s a good sign that roots are forming! You can gently tug on a cutting to feel for resistance – that’s the roots holding on.
Continue to keep the soil evenly moist and the humidity high until the new growth is well-established. As the tiny plants get stronger and more roots develop, you can gradually remove the humidity cover.
The most common issue you’ll encounter is rot. If a cutting turns black and mushy, it’s likely rotted. This is usually due to overwatering and poor air circulation. If you see any leaves yellowing and dropping without any new growth, it might be a sign your cutting is struggling. Don’t give up on the others, though! Sometimes a few just don’t make it.
A Encouraging Closing
So there you have it! Propagating Freycinetia multiflora is a bit of a waiting game, but so worth the effort. Seeing those first tiny roots and new leaves emerge is such a thrill. Be patient with your little green babies, and enjoy the journey of nurturing new life. Happy gardening!
Resource:
https://identify.plantnet.org/k-world-flora/species/Freycinetia%20multiflora%20Merr./data