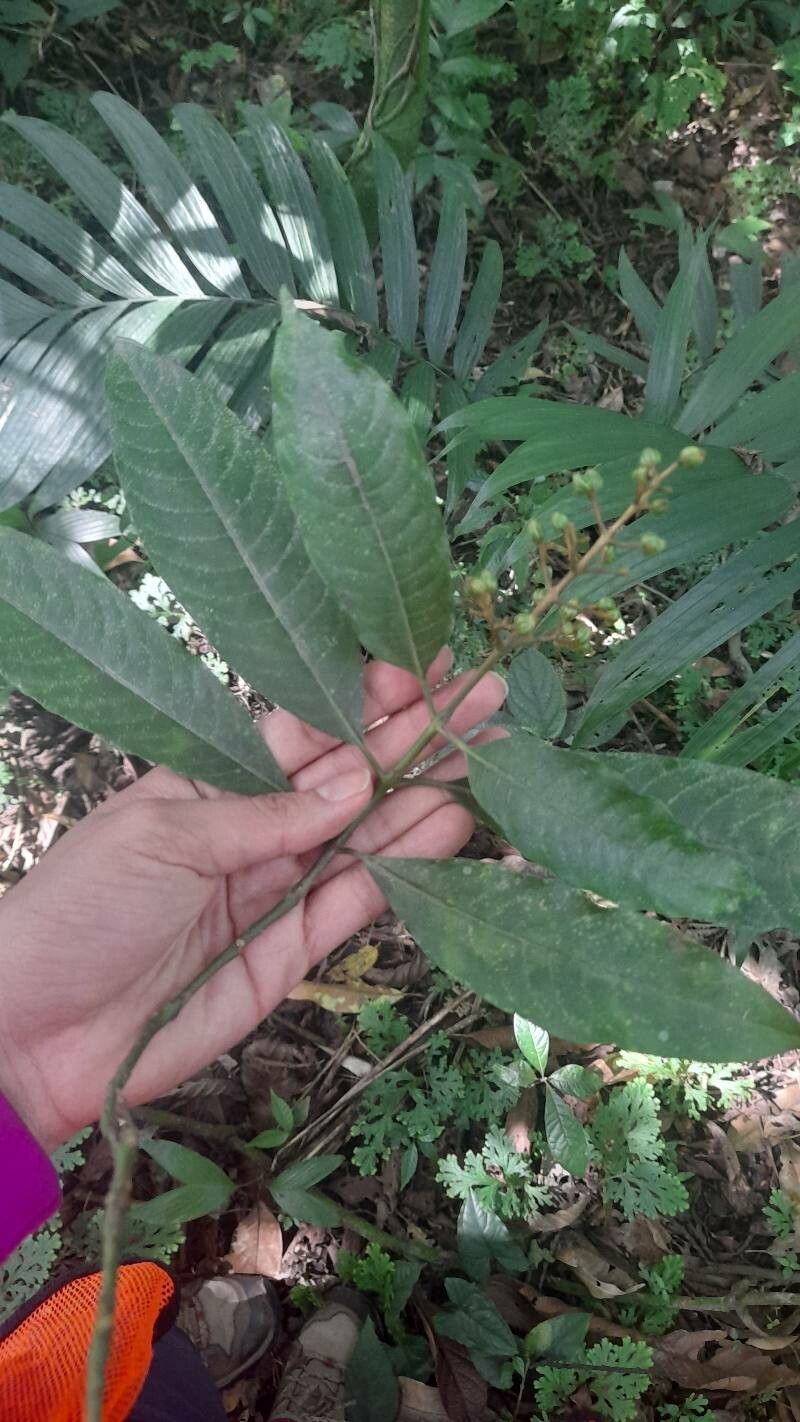
Hello fellow plant enthusiasts! Today, we’re diving into the wonderful world of Vismia camparaguey. You know, those gorgeous trees with their vibrant orange sap – it’s like bottled sunshine! Growing them from scratch is incredibly rewarding, giving you more of that cheerful beauty for your garden or even a special pot. If you’re wondering about starting out, I’d say Vismia is moderately easy to propagate. It’s not quite as fuss-free as a spider plant, but with a little attention, you’ll have great success.
When’s the Best Time to Get Your Hands Dirty?
For the best chance of success with your Vismia cuttings, I always recommend starting in the late spring or early summer. This is when the plant is actively growing, and those new shoots have plenty of vigor to put into developing roots. Think of it as the plant’s enthusiastic growth spurt – that’s prime time for propagation!
What You’ll Need for Your Propagation Adventure
Gathering your supplies beforehand makes the whole process so much smoother. Here’s what I keep on hand:
- Sharp Pruning Shears or a Knife: Clean cuts are crucial for preventing disease.
- Rooting Hormone: This is a great help, especially for woody cuttings. I like to use a powder form.
- Well-Draining Potting Mix: A blend of peat moss, perlite, and a bit of compost works beautifully. You want something airy that won’t hold too much moisture.
- Small Pots or Propagation Trays: Make sure they have drainage holes!
- Plastic Bags or a Propagator: To create a humid environment for your cuttings.
- Watering Can with a Fine Rose: Gentle watering is key.
Let’s Get Propagating!
There are a couple of excellent ways to multiply your Vismia. I find stem cuttings to be the most reliable.
Propagation by Stem Cuttings:
- Select Your Cuttings: Look for healthy, semi-hardwood stems on your mature Vismia. These are stems that are new enough to be flexible but not so soft they’ll flop over. Aim for cuttings that are about 6-8 inches long.
- Make Your Cuts: Using your clean pruning shears, make a clean cut just below a leaf node (where a leaf attaches to the stem). These nodes are where roots are most likely to form.
- Prepare the Cutting: Gently remove the lower leaves from the cutting, leaving only the top two or three. This reduces water loss and prevents leaves from rotting in the soil.
- Apply Rooting Hormone: Dip the cut end of the stem into the rooting hormone, making sure it’s well-coated. Tap off any excess.
- Place in Potting Mix: Make a small hole in your pre-moistened potting mix with a pencil or your finger. Carefully insert the dipped end of the cutting into the hole, ensuring a good portion of the stem is in the soil. Gently firm the soil around it.
- Create Humidity: Water the soil lightly. Then, cover the pot with a clear plastic bag, propping it up with a stick or two so it doesn’t touch the leaves. Alternatively, place the pot inside a propagator.
- Find the Right Spot: Place your pots in a bright location out of direct sunlight. A windowsill is usually perfect.
My “Secret Sauce” Tips for Vismia Success
After all these years, I’ve learned a few tricks that really seem to give cuttings that extra boost.
- Don’t Let Leaves Touch the Water: This might sound simple, but if you’re doing water propagation, ensure the leaves aren’t submerged. They’ll rot quickly, and it can spread to the cutting itself. For stem cuttings in soil, this means keeping those lower leaves off the surface.
- Consider Bottom Heat: While not strictly essential for Vismia, placing your propagation tray or pots on a heat mat can significantly speed up root development. It mimics the warmth of the soil in the summer months and gives those roots a cozy environment to explore.
- Tap Water Test: I sometimes like to stick a few cuttings in a clear jar of water just to see if they’ll root. It’s a quick way to check if the plant is “rooting inclined” before committing to soil. But remember, the goal is usually to get them into soil as soon as they have a little nub of a root.
Aftercare and What to Watch For
Once your cuttings have been in their humid little homes for a few weeks, it’s time for the exciting part: checking for roots! You can gently tug on a cutting; if there’s resistance, you’ve likely got roots.
- Gradual Acclimatization: When you see new leaf growth, it’s a great sign that roots are forming. Begin to gradually introduce your new plant to drier air. For the first week, lift the plastic bag for a few hours each day. Then, leave it off entirely.
- Moving On: Once your new Vismia has established a good root system and is showing healthy new growth, you can pot it up into a slightly larger container with fresh potting mix.
- Common Pitfalls: The biggest enemy is overwatering, which leads to rot. If a cutting turns black and mushy, it’s usually a sign of too much moisture and not enough air circulation. You might also see wilting if the cutting is too dry, or if it hasn’t rooted yet and is struggling to find water. Don’t be discouraged if a few don’t make it – it happens to all of us!
Keep Nurturing, Keep Growing!
Propagating Vismia camparaguey is a wonderful journey. It takes a little patience and observation, but seeing a brand new plant emerge from a simple cutting is an incredibly joyous experience. Enjoy the process, celebrate every little bit of new growth, and soon you’ll be surrounded by even more of that beautiful orange-sap sunshine! Happy gardening!
Resource: