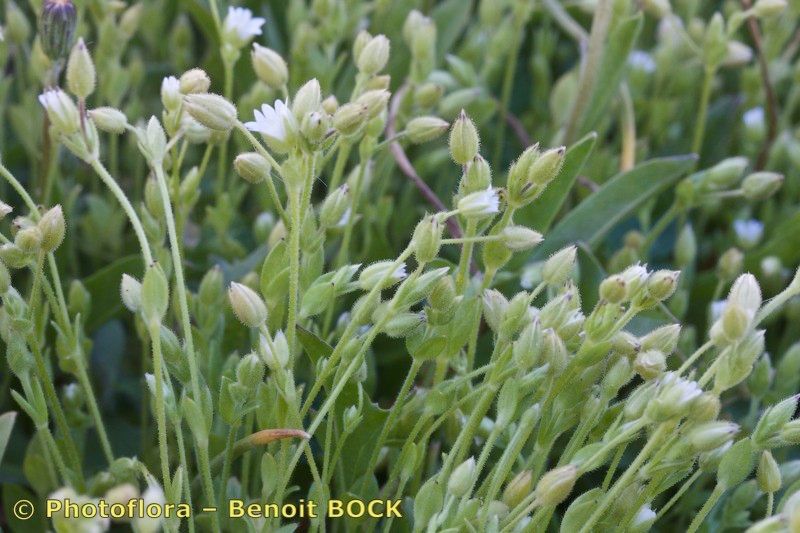
Hello, fellow plant enthusiasts! It’s so wonderful to have you here. I’ve spent two decades getting my hands dirty, and today, I want to share a little gardening joy with you by talking about Cerastium gracile.
Now, this little charmer, often known as dainty chickweed or slender mouse-ear, is an absolute delight in the garden. Its delicate, star-shaped white flowers are like tiny sprinkled diamonds, and it forms a lovely, low-growing carpet that’s perfect for rockeries, borders, or even spilling over the edges of pots. Propagating it is a truly rewarding experience. You get to watch new life sprout from what you started with, and for beginners? I’d say Cerastium gracile is quite forgiving. You’ll likely have success with a little gentle guidance.
The Best Time to Start
For the most success with Cerastium gracile, I always aim for late spring or early summer. This is when the plant is actively growing, brimming with vitality, and the warmth of the season encourages quick rooting. You want to work with cuttings from healthy, non-flowering stems.
Supplies You’ll Need
Gathering your supplies beforehand makes the whole process smoother. Here’s what I usually have on hand:
- Sharp pruning shears or a clean knife: For making precise cuts.
- Rooting hormone (optional but helpful): A little boost for those cuttings.
- Propagating mix or a fine potting soil: Something light and well-draining is key. I often use a 50/50 mix of peat moss and perlite.
- Small pots or trays: With drainage holes, of course!
- Watering can or spray bottle: For gentle watering.
- Plastic bags or a clear propagation lid: To create a humid environment.
Propagation Methods
Let’s get our hands dirty! Cerastium gracile is happy with a couple of easy-to-master methods.
Stem Cuttings
This is my go-to for Cerastium gracile.
- Take your cuttings: In late spring or early summer, select healthy, non-flowering stems. Using your sharp shears, cut pieces that are about 3-4 inches long. Make sure each cutting has at least two sets of leaves. Cut just below a leaf node (where a leaf emerges from the stem) – this is where the magic happens for root formation.
- Prepare the cuttings: Gently remove the lower leaves from the cutting, leaving just the top one or two leaves. This prevents them from rotting in the soil. If you’re using rooting hormone, dip the cut end into it now.
- Plant your cuttings: Fill your small pots with your propagating mix. Make a small hole in the center with your finger or a pencil and gently insert the cut end of the Cerastium gracile stem. Firm the soil gently around it. I usually aim for 3-4 cuttings per pot to increase my chances.
- Create a humid environment: Water the soil gently with your watering can or spray bottle so it’s moist but not waterlogged. Then, cover the pot with a clear plastic bag or a propagation lid. This traps moisture and helps the cuttings stay hydrated until they develop roots.
Division
If your Cerastium gracile has grown into a nice clump, division is a simple way to get more plants.
- Dig up the clump: In late spring or early summer, carefully dig up the entire plant clump.
- Separate the sections: Gently shake off excess soil. You should be able to see where the plant naturally wants to divide. Use your hands or a clean trowel to gently pull the clump apart into smaller sections. Each section should have some roots and a few shoots.
- Replant: Immediately replant these divisions into their new homes, either back in the garden or into pots filled with good potting soil. Water them well.
The “Secret Sauce” (Pro Tips)
Here are a few little tricks I’ve learned over the years that really boost success:
- Bottom Heat is Your Friend: If you’re using stem cuttings and have a propagation mat, placing your pots on it can significantly speed up root development. It simulates the warmth of the soil in spring.
- Don’t Condense Too Much: While humidity is crucial, if you see too much condensation building up inside the plastic bag or lid, open it for a few hours to allow some fresh air circulation. This helps prevent fungal issues.
- Gentle Waterings are Best: Once roots start to form, the trick is to water from the bottom if possible. This encourages roots to grow downwards, seeking moisture. You can do this by placing pots in a tray of water for about 15-20 minutes, allowing the soil to wick up what it needs.
Aftercare & Troubleshooting
Once you see new leaf growth or feel a gentle tug when you lightly pull on a cutting, you know roots have formed!
- Gradual Acclimatization: If you’ve covered your cuttings, slowly start to remove the plastic bag or lid over a few days. This allows the new plant to adjust to normal humidity levels.
- Transplanting: Once the roots have filled the pot, you can carefully transplant your new Cerastium gracile into larger pots or directly into their garden spots.
- Watch for Rot: The most common problem is rot. If your cuttings turn mushy, black, or refuse to root, it’s usually a sign of overwatering or poor drainage. Ensure your soil mix drains well and that you’re not keeping them too soggy. If you spot rot, it’s often best to discard the affected cutting and try again, ensuring better airflow and water management.
There you have it – a simple path to multiplying your beautiful Cerastium gracile. Remember, gardening is all about patience and observation. Be gentle, enjoy the process, and celebrate those tiny new roots! Happy propagating!
Resource:
https://identify.plantnet.org/k-world-flora/species/Cerastium%20gracile%20Dufour/data