Oh, Mandevilla! Those trumpet-shaped blooms, the way they cascade over a trellis or spill out of a hanging basket – they just scream summer, don’t they? I’ve been growing these beauties for years, and honestly, there’s nothing quite like the satisfaction of taking a snip from a thriving plant and coaxing a brand new one into existence. If you’ve fallen for Mandevilla like I have, you’ll be delighted to know that propagating them is quite achievable. It’s not the absolute easiest plant for a complete beginner to start with, but with a little patience and these tips, you’ll certainly be successful.
The Best Time to Start
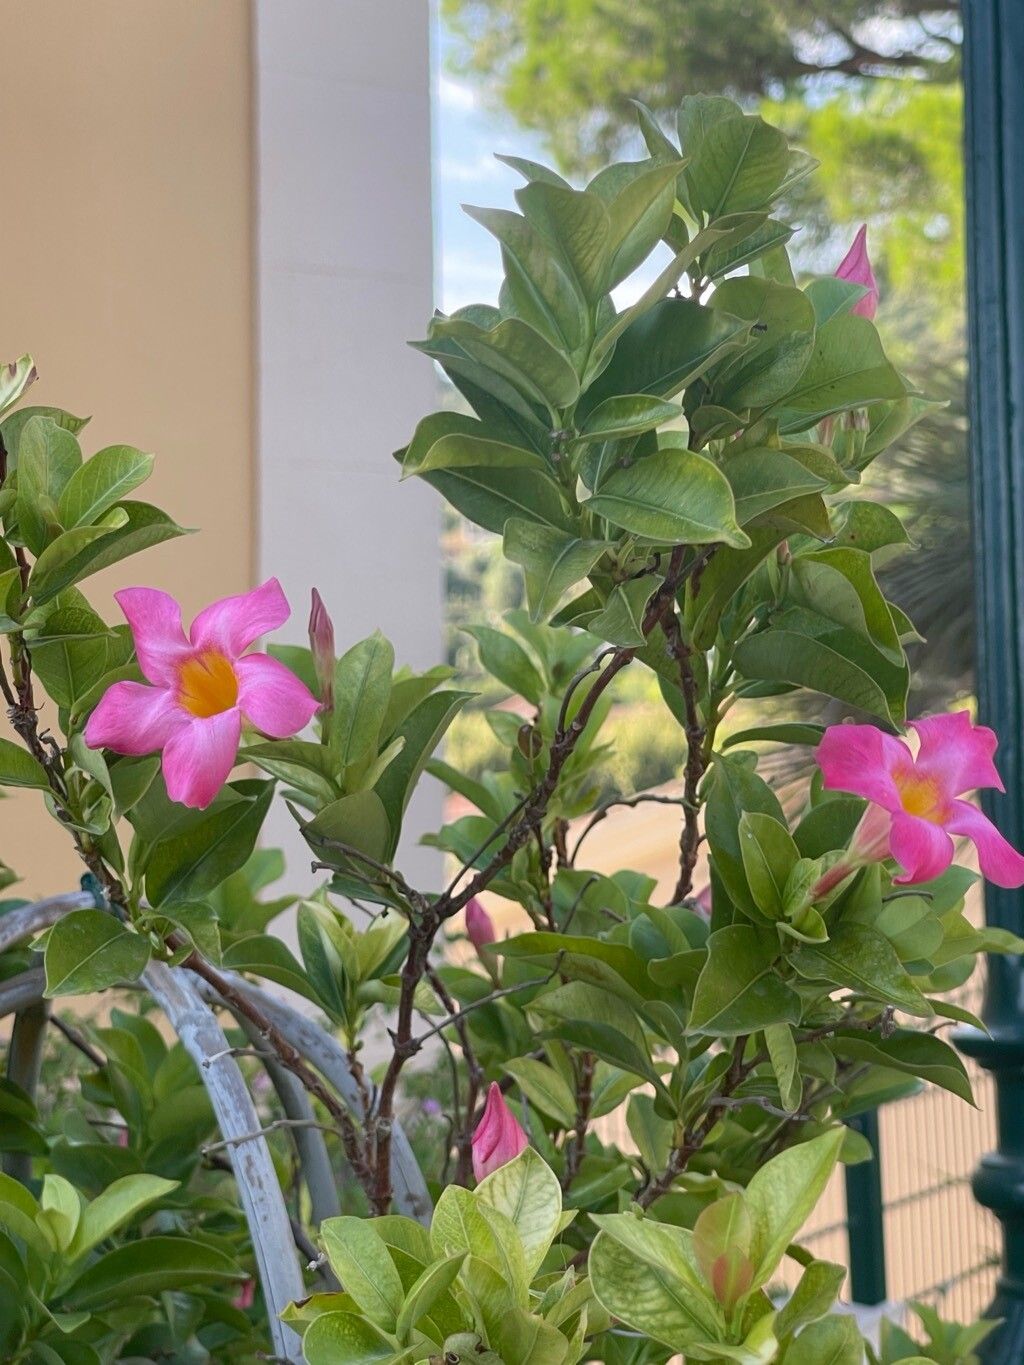
For Mandevilla sanderi, the sweet spot for propagation is when the plant is actively growing. Think late spring or early summer. After the plant has finished its main flush of flowering, or even by taking cuttings from healthy stems that are producing new leaves, you’ll have the best chance of success. We’re looking for stems that are semi-hardwood – not brand new and floppy, but not old and woody either.
Supplies You’ll Need
Gathering your tools beforehand makes the whole process so much smoother. Here’s what I always have on hand:
- Sharp Pruning Shears or a Clean Knife: For clean cuts that heal better.
- Rooting Hormone: A powder or gel that helps cuttings develop roots faster.
- A Well-Draining Potting Mix: I like a blend of peat moss or coco coir, perlite, and a bit of compost. A pre-made succulent or cactus mix also works well.
- Small Pots or Seedling Trays: With drainage holes, of course!
- Clear Plastic Bags or a Propagator Lid: To create a humid environment for your cuttings.
- Water: For watering your cuttings and, if you go that route, for water propagation.
- Optional: Bottom Heat Mat: This can significantly speed up root development.
Propagation Methods
While Mandevillas can be fussy, stem cuttings are generally the most reliable way to go.
Stem Cuttings
- Take Your Cuttings: Using your clean shears, select healthy, non-flowering stems. You’re looking for pieces that are about 4-6 inches long. Make your cut just below a leaf node, which is that little bump where the leaf attaches to the stem. These nodes are where the magic happens for root development.
- Prepare the Cuttings: Gently remove the lower leaves from your cutting, leaving just a few at the top. If any leaves are very large, you can even cut them in half to reduce water loss.
- Apply Rooting Hormone: Dip the cut end of the stem into your rooting hormone, tapping off any excess. This step is crucial for encouraging faster and stronger root growth.
- Plant Your Cuttings: Fill your small pots with your well-draining potting mix. Make a small hole with your finger or a pencil, and carefully insert the cutting, ensuring the bottom leaf nodes are buried in the soil. Gently firm the soil around the stem.
- Create a Humid Environment: Water the soil lightly. Then, cover the pot with a clear plastic bag or place it under a propagator lid. This traps moisture, mimicking ideal conditions. You can use chopsticks or stakes to keep the plastic from touching the leaves.
- Place in Indirect Light: Find a warm spot for your cuttings that receives bright, indirect light. Avoid direct sun, which can scorch the delicate cuttings.
Water Propagation (Use with Caution)
This method is a bit less reliable for Mandevillas, as they can be prone to rot in water. If you try it, be extra vigilant.
- Prepare the Cuttings: Follow steps 1 and 2 from the stem cutting method.
- Place in Water: Put the cuttings into a jar or vase filled with clean water. Ensure that no leaves are submerged, as this is the most common cause of rot. You might need to remove more leaves than usual.
- Change Water Regularly: Change the water every 2-3 days to keep it fresh and oxygenated.
- Wait for Roots: Keep the jar in bright, indirect light. You should start to see tiny white roots emerging from the nodes. Once the roots are about an inch long, you can carefully transplant them into your well-draining potting mix.
The “Secret Sauce” (Pro Tips)
After years of trial and error, I’ve learned a few tricks that seem to make all the difference:
- The Power of the Node: Always, always make your cut directly below a leaf node. That’s where the energy is concentrated for root formation. If you miss a node, your cutting is much less likely to root.
- Bottom Heat is Your Friend: Mandevilla roots are warm-weather lovers. Popping your pots onto a seedling heat mat set on a low temperature can dramatically speed up the rooting process, especially if your room is on the cooler side. You’ll see roots forming in half the time!
- Don’t Disturb Too Soon: I know it’s tempting, but resist the urge to tug on your cuttings to “check” if they’ve rooted. Wait until you see visible new growth at the top of the stem, or feel a slight resistance when you gently tug. This usually takes 4-8 weeks, sometimes longer.
Aftercare & Troubleshooting
Once you’ve got those lovely new roots, the real fun begins!
- Transplanting: When your cuttings have a good set of roots (you’ll see them peeking out of the drainage holes or feel them when you gently lift the pot), it’s time to pot them up into slightly larger containers. Use your regular, well-draining potting mix.
- Gradual Acclimatization: Before removing the plastic bag or propagator lid permanently, start by taking it off for a few hours each day. This helps the young plant adjust to the drier air.
- Watering: Water them consistently, but allow the top inch of soil to dry out between waterings. Overwatering is the quickest way to lose a new plant.
- Troubleshooting: The most common issue you’ll face is rot. If a cutting turns black and mushy, it’s usually a sign of too much moisture and not enough airflow. Discard any rotted cuttings immediately. If a cutting simply wilts and doesn’t seem to be doing anything, it might be too dry or not getting enough light. Don’t give up on the others!
A Little Patience Goes a Long Way
Propagating Mandevilla sanderi is a rewarding journey. There will be moments of doubt, and perhaps a cutting or two that doesn’t make it. But with each success, your confidence will grow. Remember to be patient, observe your plants, and enjoy the process of nurturing new life from your favorite vine. Happy propagating!
Resource:
https://identify.plantnet.org/k-world-flora/species/Mandevilla%20sanderi%20(Hemsl.)%20Woodson/data