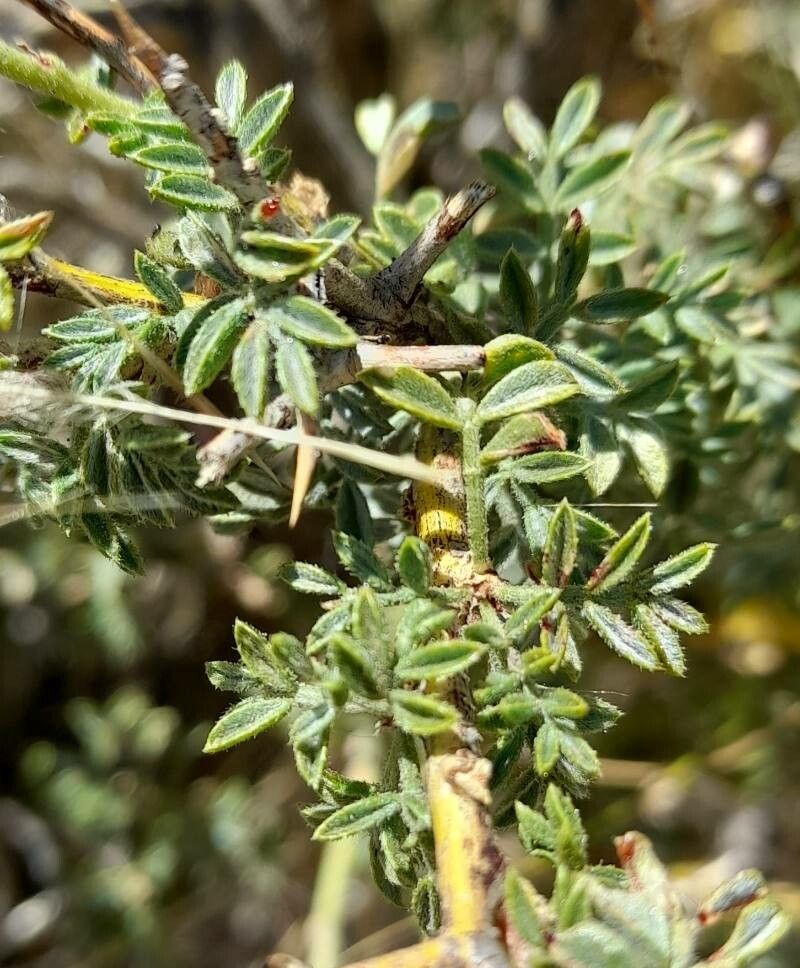
Oh, Adesmia adrianii! If you’ve ever admired its delicate, almost feathery foliage and that subtle charm it brings to a garden border, you’re not alone. It’s a gentle beauty, isn’t it? And the joy of coaxing a brand new plant to life from a small piece of its parent? That’s truly one of the most satisfying parts of gardening for me. While Adesmia adrianii might seem a little reserved, propagating it is actually quite achievable, even for those just starting their plant parent journey. Let’s get our hands dirty!
When Should You Get Started?
For the best results with Adesmia adrianii, you’ll want to take cuttings in late spring or early summer. This is when the plant is actively growing and has a good supply of energy. We’re looking for stems that are strong and healthy, but not so woody that they’ve hardened off completely. Think of it like a teenager – full of life and potential!
What You’ll Need for Your Propagation Station
Gathering your supplies beforehand makes the whole process so much smoother. Here’s what I always have on hand:
- Sharp Pruning Shears or a Clean Knife: Essential for making clean cuts to prevent disease and damage.
- Rooting Hormone: A little touch of this can really give your cuttings a boost, though it’s not always strictly necessary for Adesmia. I prefer a gel form, but powder works too.
- Potting Mix: A good, well-draining mix is key. I usually mix equal parts perlite and a good quality peat-free compost. You can also use a seed-starting mix.
- Small Pots or Seedling Trays: Clean containers are important!
- Plastic Bags or a propagator lid: To create a humid environment.
- Watering Can with a Fine Rose: For gentle watering.
- Labels: Don’t lose track of what you’ve planted!
Let’s Get Propagating! (Stem Cuttings)
This is my go-to method for Adesmia adrianii. It’s reliable and gives you a great chance of success.
- Select Your Cuttings: Look for healthy, non-flowering stems. You want pieces that are about 4-6 inches long. Make your cut just below a leaf node – that’s the little bump on the stem where leaves emerge.
- Prepare the Cuttings: Gently remove the lower leaves from your cutting, leaving only the top set or two. This prevents them from rotting in the soil. If your cuttings are particularly long, you can even take tip cuttings, just focusing on those fresh, leafy ends.
- Apply Rooting Hormone: Dip the cut end of the stem into your rooting hormone, tapping off any excess.
- Plant Your Cuttings: Fill your small pots or trays with your prepared potting mix. Make a small hole with a pencil or your finger and insert the cutting. Gently firm the soil around the base.
- Create a Humid Environment: Water the soil thoroughly and gently. Then, cover the pot with a clear plastic bag or place it inside a propagator lid. This traps moisture, creating a mini-greenhouse effect that helps prevent the cuttings from drying out while they develop roots.
- Find the Right Spot: Place your newly planted cuttings in a bright spot that receives indirect light. Avoid direct sun, which can scorch them.
My Little “Secret Sauce” Tips
Here are a few things I’ve learned over the years that can make a real difference:
- Sterilize Everything: Before you start, give your shears, pots, and any tools a quick wipe down with rubbing alcohol. This is a simple step that seriously reduces the risk of introducing fungal diseases.
- Bottom Heat is Your Friend: If you have space and the inclination, placing your propagation tray on a heated propagator mat can dramatically speed up root development. It mimics the warmth of spring soil wonderfully.
- Be Patient with Pinching: Once you see new growth appearing on your cuttings, it’s a good sign that roots are forming. Sometimes, pinching off the very tip of the new growth can encourage the plant to branch out more, creating a bushier, stronger plant.
Aftercare and What to Watch For
Once your cuttings have developed a good root system – you’ll know because you’ll see new leaves emerging and the cutting will feel a bit more stable when you gently nudge it – it’s time for them to move into individual, slightly larger pots. Continue to keep them in bright, indirect light. Water them when the top inch of soil feels dry.
The most common issue you might encounter is rot, often signaled by stems turning mushy or black at the soil line. This is usually a sign of too much moisture and not enough air circulation. If you see this, remove the affected cutting immediately to prevent it from spreading. Don’t be discouraged if not every cutting takes; it’s all part of the learning curve!
Happy Growing!
Propagating plants is a journey of patience and observation. It’s about learning to read what your plants need. Be gentle with your new little Adesmia adrianii, give them time, and celebrate every tiny success. Before you know it, you’ll have a whole new garden of these lovely plants to share with friends or to create your own little Adesmia haven. Happy propagating!
Resource:
https://identify.plantnet.org/k-world-flora/species/Adesmia%20adrianii%20M.N.Correa/data